Friday, February 13, 2015

Raisin Pie

"The Pennsylvania Dutch loved their pies and ate them morning, noon and night. There were pies on the table at every meal. Everyone helped himself and 'ate himself full.'" - Pennsylvania Dutch Traditional Recipes for Pies and Pastries, 1963

I started this blog as a way to memorialize people I love through the food that I make, using recipes that they made and loved or recipes that remind me of them in some way. That being the case, I think there's no other recipe that I can present next. It has to be Raisin Pie.

Raisin Pie was a favorite of grandfather's and something I will always associate with him.

Oddly, in my research for an authentic Pennsylvania Dutch recipe, I discovered many references to it as a pie traditionally presented to bereaved families. I still don't know if I'm brave enough to make it as I've never been great at making pies, but since it's apparently rumoured to have these special powers, maybe I'll give it a shot. Here's the recipe in the mean time:

From Pennsylvania Dutch Cooking available on Project Gutenberg. (Other sources I've seen replace one cup of water with spiced rum. The choice is yours)

Raisin Pie

1 cup seeded raisins, washed
2 cups water
1½ cups sugar
4 tablespoons flour
1 egg, well beaten
juice of a lemon
2 teaspoons grated lemon rind
pinch of salt

Soak raisins 3 hours, mix sugar, flour and egg. Then add seasoning, raisins and liquid. Cook over hot water for 15 minutes, stirring occasionally. When the mixture is cool, empty into pie-dough lined pie plate. Cover pie with narrow strips of dough, criss-crossed and bake until browned.


Friday, January 2, 2015

Biscotti Regina [The Cookbook]

I meant for this post to go up during the Holiday season, but the best laid intentions, right? The good news is, if you follow the traditional definition of Christmastide (aka the 12 days of Christmas, meaning from the 25th until the epiphany), I've still got 4 days left, so I'm well within the margin of error.

Anyway, today, I'm going to talk about one of my two all time favorite cookies: Biscotti Regina, the queen of cookies.

Over the years, it became a tradition to bake these beauties at my Zia's each holiday season (usually while watching Cary Grant being dangerously charming in The Bishop's Wife), but since moving away from the area it has become increasingly difficult to get back to town in time for the annual cookie bake party. This is but one of the multitude of traditions that my heart breaks a little to leave behind. Growing up is hard...

This year, in the hopes of getting my fix anyway, I decide to bring the tradition of biscotti regina to a cookie party with some good local friends. Hopefully, one day, I will feel as connected to this area as I do my home town.


It's an undertaking to make this recipe. I'm not going to lie to you here. My bisnonna was cooking for a very large and very extended family. I, on the other hand, just have a handful of people (and unfortunately a fair number of them are hesitant to try my recipes when they fall outside their comfort zone). Therefore, I cut this recipe down into thirds. I would have 1/2'd it, but it calls for 3 eggs and I haven't yet figured out how one deals with a 1/2 egg.

I'm not going to tell you it's impossible to do this recipe on your own. Despite my madre's protests when I originally proposed making these cookies on my own this year, I firmly believe it can be done if one has enough patience; however, it is a far more fun and memorable experience with friends and family around you.

 Seed Biscuits (Biscotti ala Regina)
via The Cookbook

Bisnonna Writes: 2 c. sugar, 1lb or 2 c. crisco, 3 eggs, 2 T. baking powder, 2 T vanilla, 8 c. flour, 1/2 c. milk (amy's note: you may need to add a bit more. I found my dough to be rather dry using only this ratio), 1 lb. sesame seeds (toasted), bake 375 degrees for 15 mins.

(Amy's note: You'll notice, as with many of Bisnonna's recipes, there's some missing steps. We'll get to that in a minute. Don't worry.)

Madre adds: If you ever made these with Grandma it was an experience of a lifetime. She always had the job of rolling out the dough and cutting it into little pieces. I always dipped the dough in the milk and got into trouble for getting either seeds in the milk or vice versa. Mom was the one who rolled the dough in the seeds. Sometimes if we were talking too much, they came out really long and skinny. [My brother] used to sneak up after Grandma took them out of the oven and take handfuls for eating later. If you're baking these and some come out a little dark, offer them up to Uncle Frank. He always liked the ones that were a little over baked. He told us they were good for dunking, Another little tidbit to remember is that when you run out of seeds, you can keep rolling the dough and make Aunt Lena cookies. If you're not sure what these are then you're in BIG trouble*. The stories that were shared while baking were priceless!

Amy interprets and fills in the gaps!


  1.  See Bisnonna's notes above for what you need. (You will also need an additional 1/2 cup or so of milk set aside for dipping)
  2. If you sesame seeds aren't pretoasted (and they're cheaper is you buy them this way), bake on an ungreased baking sheet at 350° for 8-10 minutes or until lightly browned.
  3. Combine all other ingredients well in a LARGE bowl (with this amount of flour, using an electric mixer will really help, but obviously isn't necessary).
  4. Take spoonfuls of dough and roll them out into ropes approx. the width of a finger. (Mine are obviously a little thicker than that, but...you do what you can.) 
  5. Cut ropes into smaller pieces. My bisnonna used to claim these should be the size of your first knuckle.
  6. Dip these pieces into milk, then roll in seeds.
  7. Bake ~15 mins at 375
*I will discuss Aunt Lena cookies at a later date, but they are the same dough recipe sans sesame seeds and shapes into little spirals.


Monday, November 17, 2014

Preserving the Bounty: Pumpkin Puree

I've been putting this experiment off a long time. Much like sauerkraut I was under the impression that the whole thing was much harder than it actually turned out to be...plus pumpkin puree is so darn easy to find in cans, so why bother?

Well...it's tasty and easier than you, or at least I, thought.

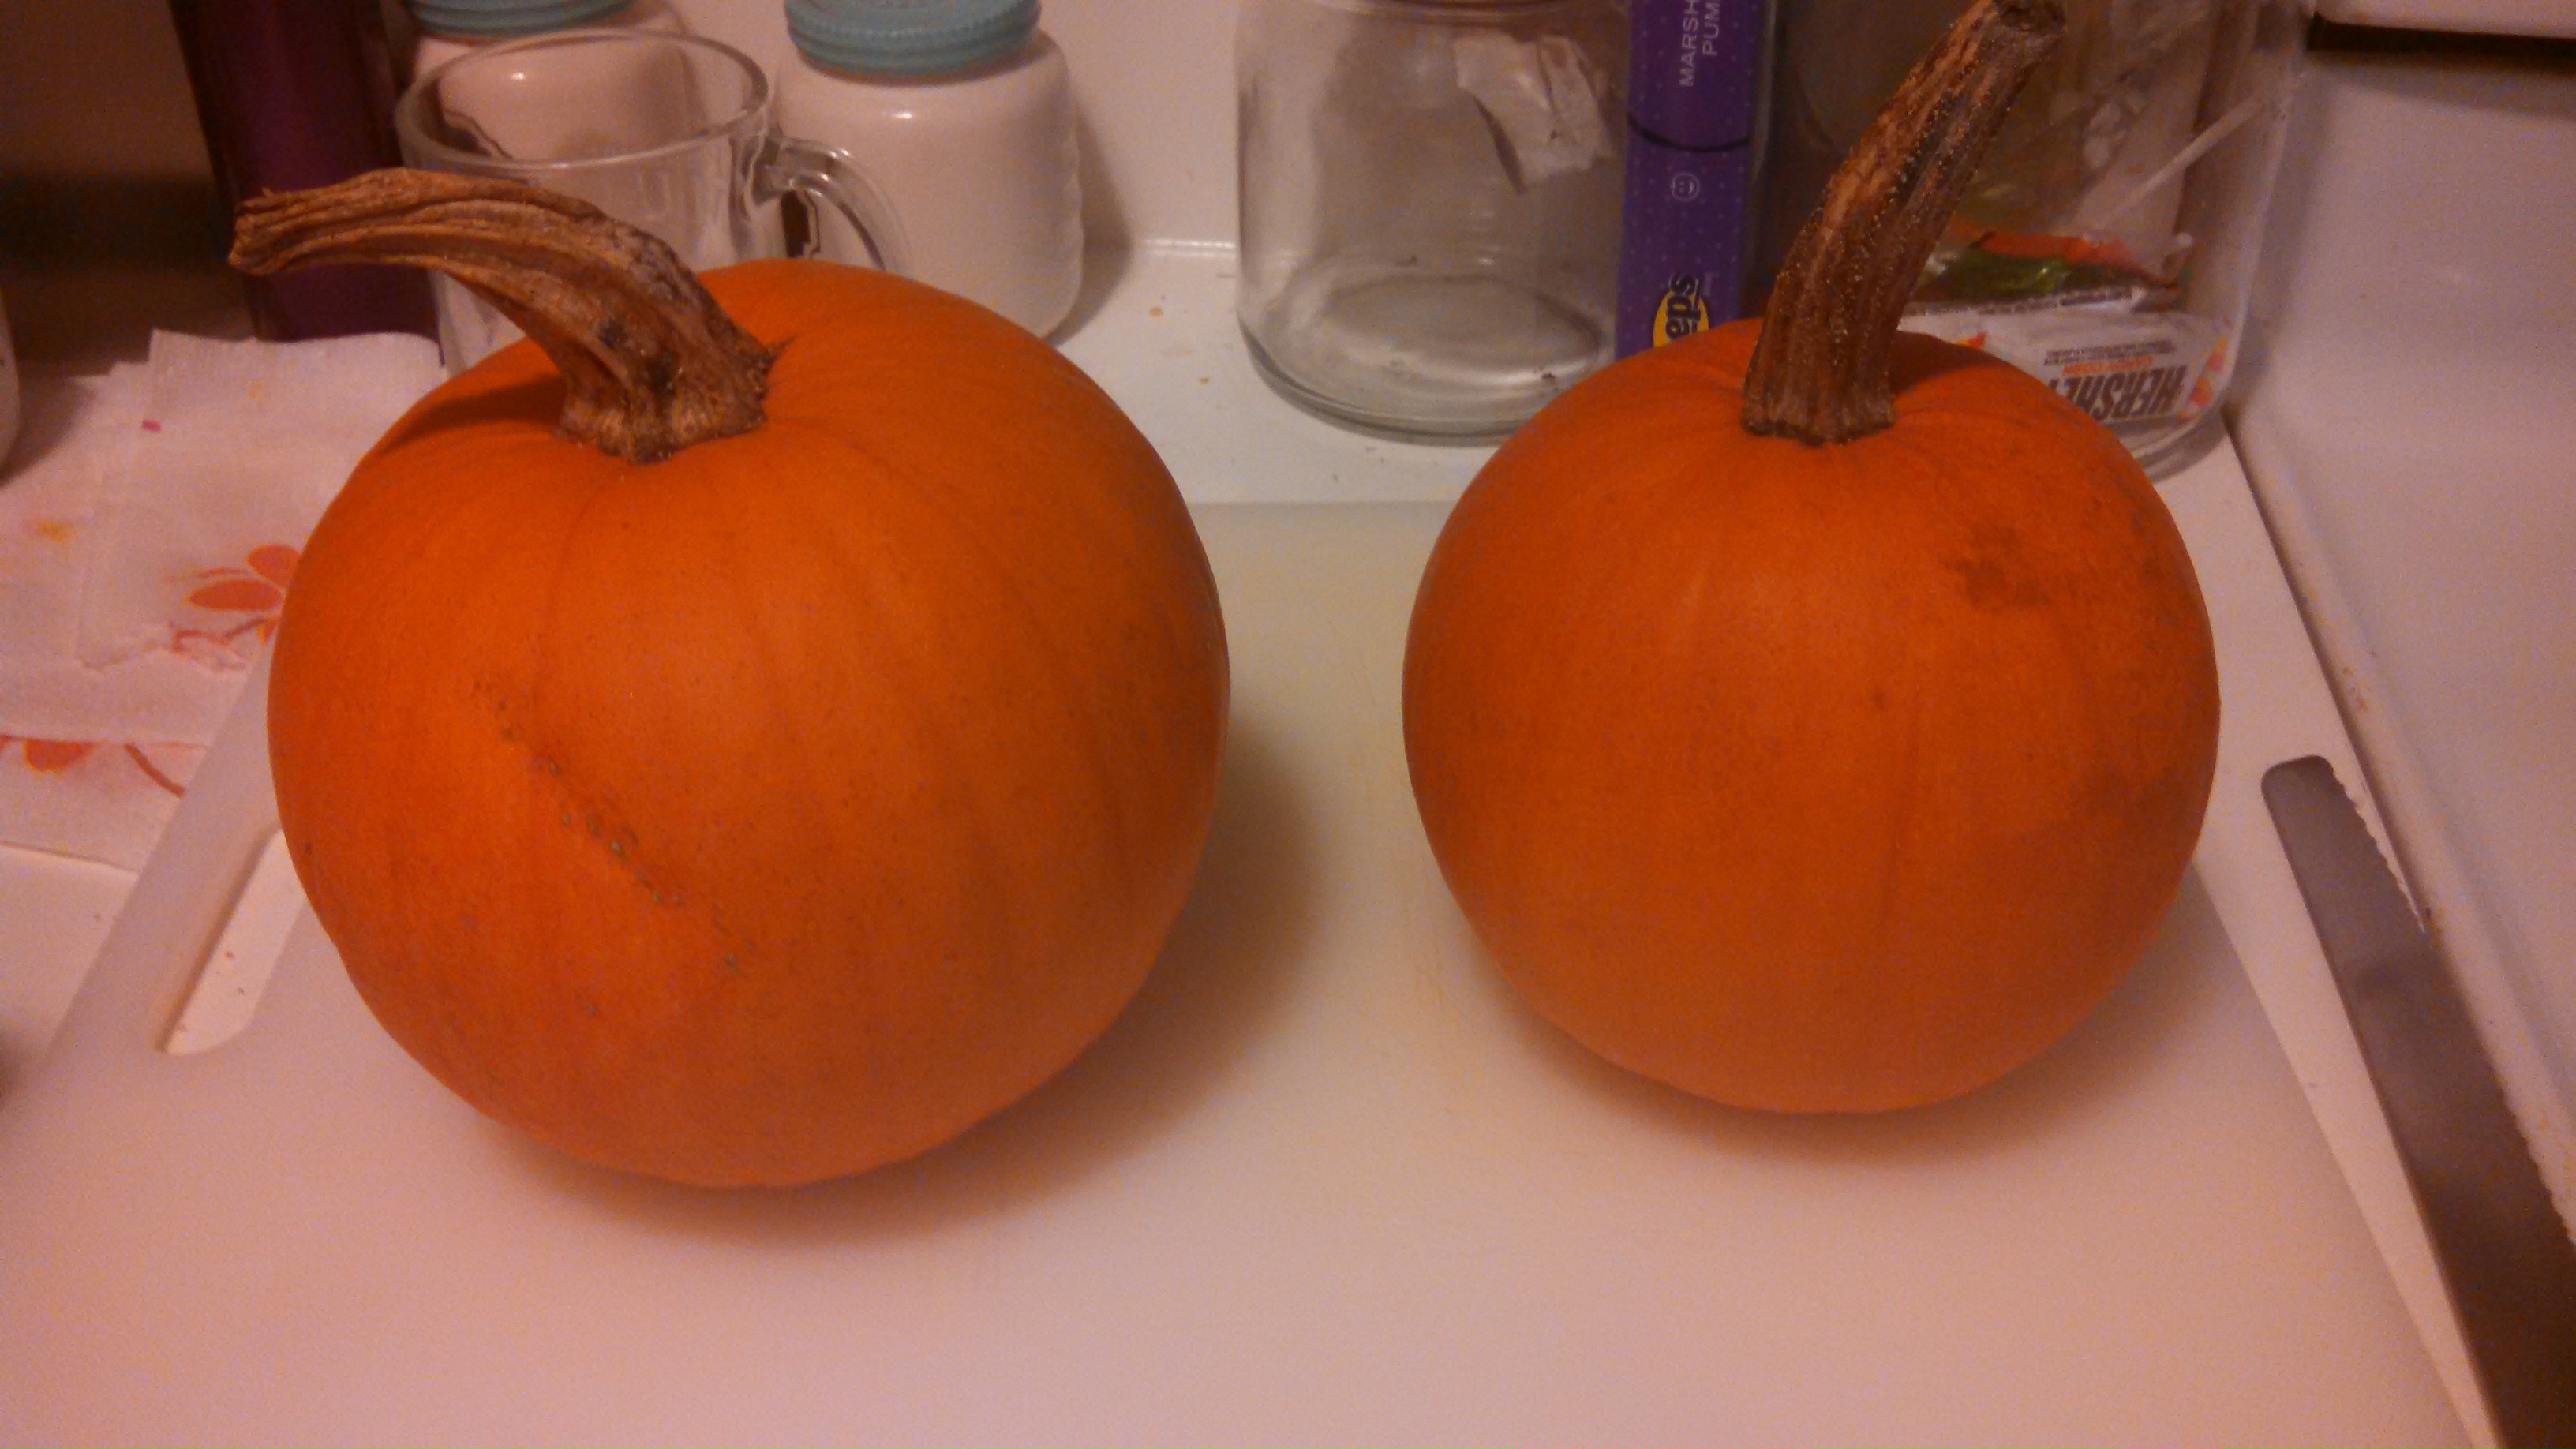
It starts with pie pumpkins, where unlike jack o'lantern pumpkins, erring on the small ish side is a little better.

These guys would make terrible jack o'lanterns, but they were born for baking.
Then you cut into them much in the way you would a jack o'lantern. Take the tops off and scoop out the seeds (save the seeds for later and bake them for a tasty treat. I -loooooove- roasted pumpkin seeds. You don't even know.)


Then cut the pumpkin into quarters and place on a baking sheet. Don't add salt, cinnamon, oil or anything to them. All they need to be is what they are.


Bake them at 350 degrees F for ~ 1 hour. It could be a little less or a little longer depending on how much "meat" on each piece. The important thing in that the "meat" be fork tender.

When it is, -carefully- peel the skin off and pop the "meat" (I really don't know what else to call it) into the blender and puree until nice and smooth.


And there you have it: your very own fresh pumpkin puree to freeze or use as you see fit.

(I promise to post the pumpkin dessert made with this puree soon. I promise.)

Monday, November 3, 2014

Year One in the Garden

I've got a retrospective of my first year gardening over on Medium. Those of you who were interested into my foray should head over and check it out:

My father bit into the first strawberry of the season. He hadn’t even taken it inside to wash; just popped it into his mouth like ballpark peanuts. Seconds later, his face had gone just as red as the not-yet-picked berries on the plant. Before I could run for help, he sucked in a breath and gulped down the air, reaching for another one.
“Damn! Those suckers have a kick to ‘em.”
And that was the year we accidentally cross pollinated habanero peppers and strawberries.
I come from a long line of plant people: fresh tomato snobs and home salsa canners, foodies before foodie was really a word, dating all the way back to the village cheese monger. I have learned a lot of lessons from the garden
But this was my first year on my own.

Later this week: Pumpkin Dessert, so stay tuned!

Tuesday, October 28, 2014

Italian Egg Drop Soup (Stracciatella)

Soup.

I love soup...

If I had to limit myself to eating only two kinds of food for the rest of my life, they would be pizza and soup. If I had to limit myself to one? As much as this pains me, pizza, it would have to be soup.

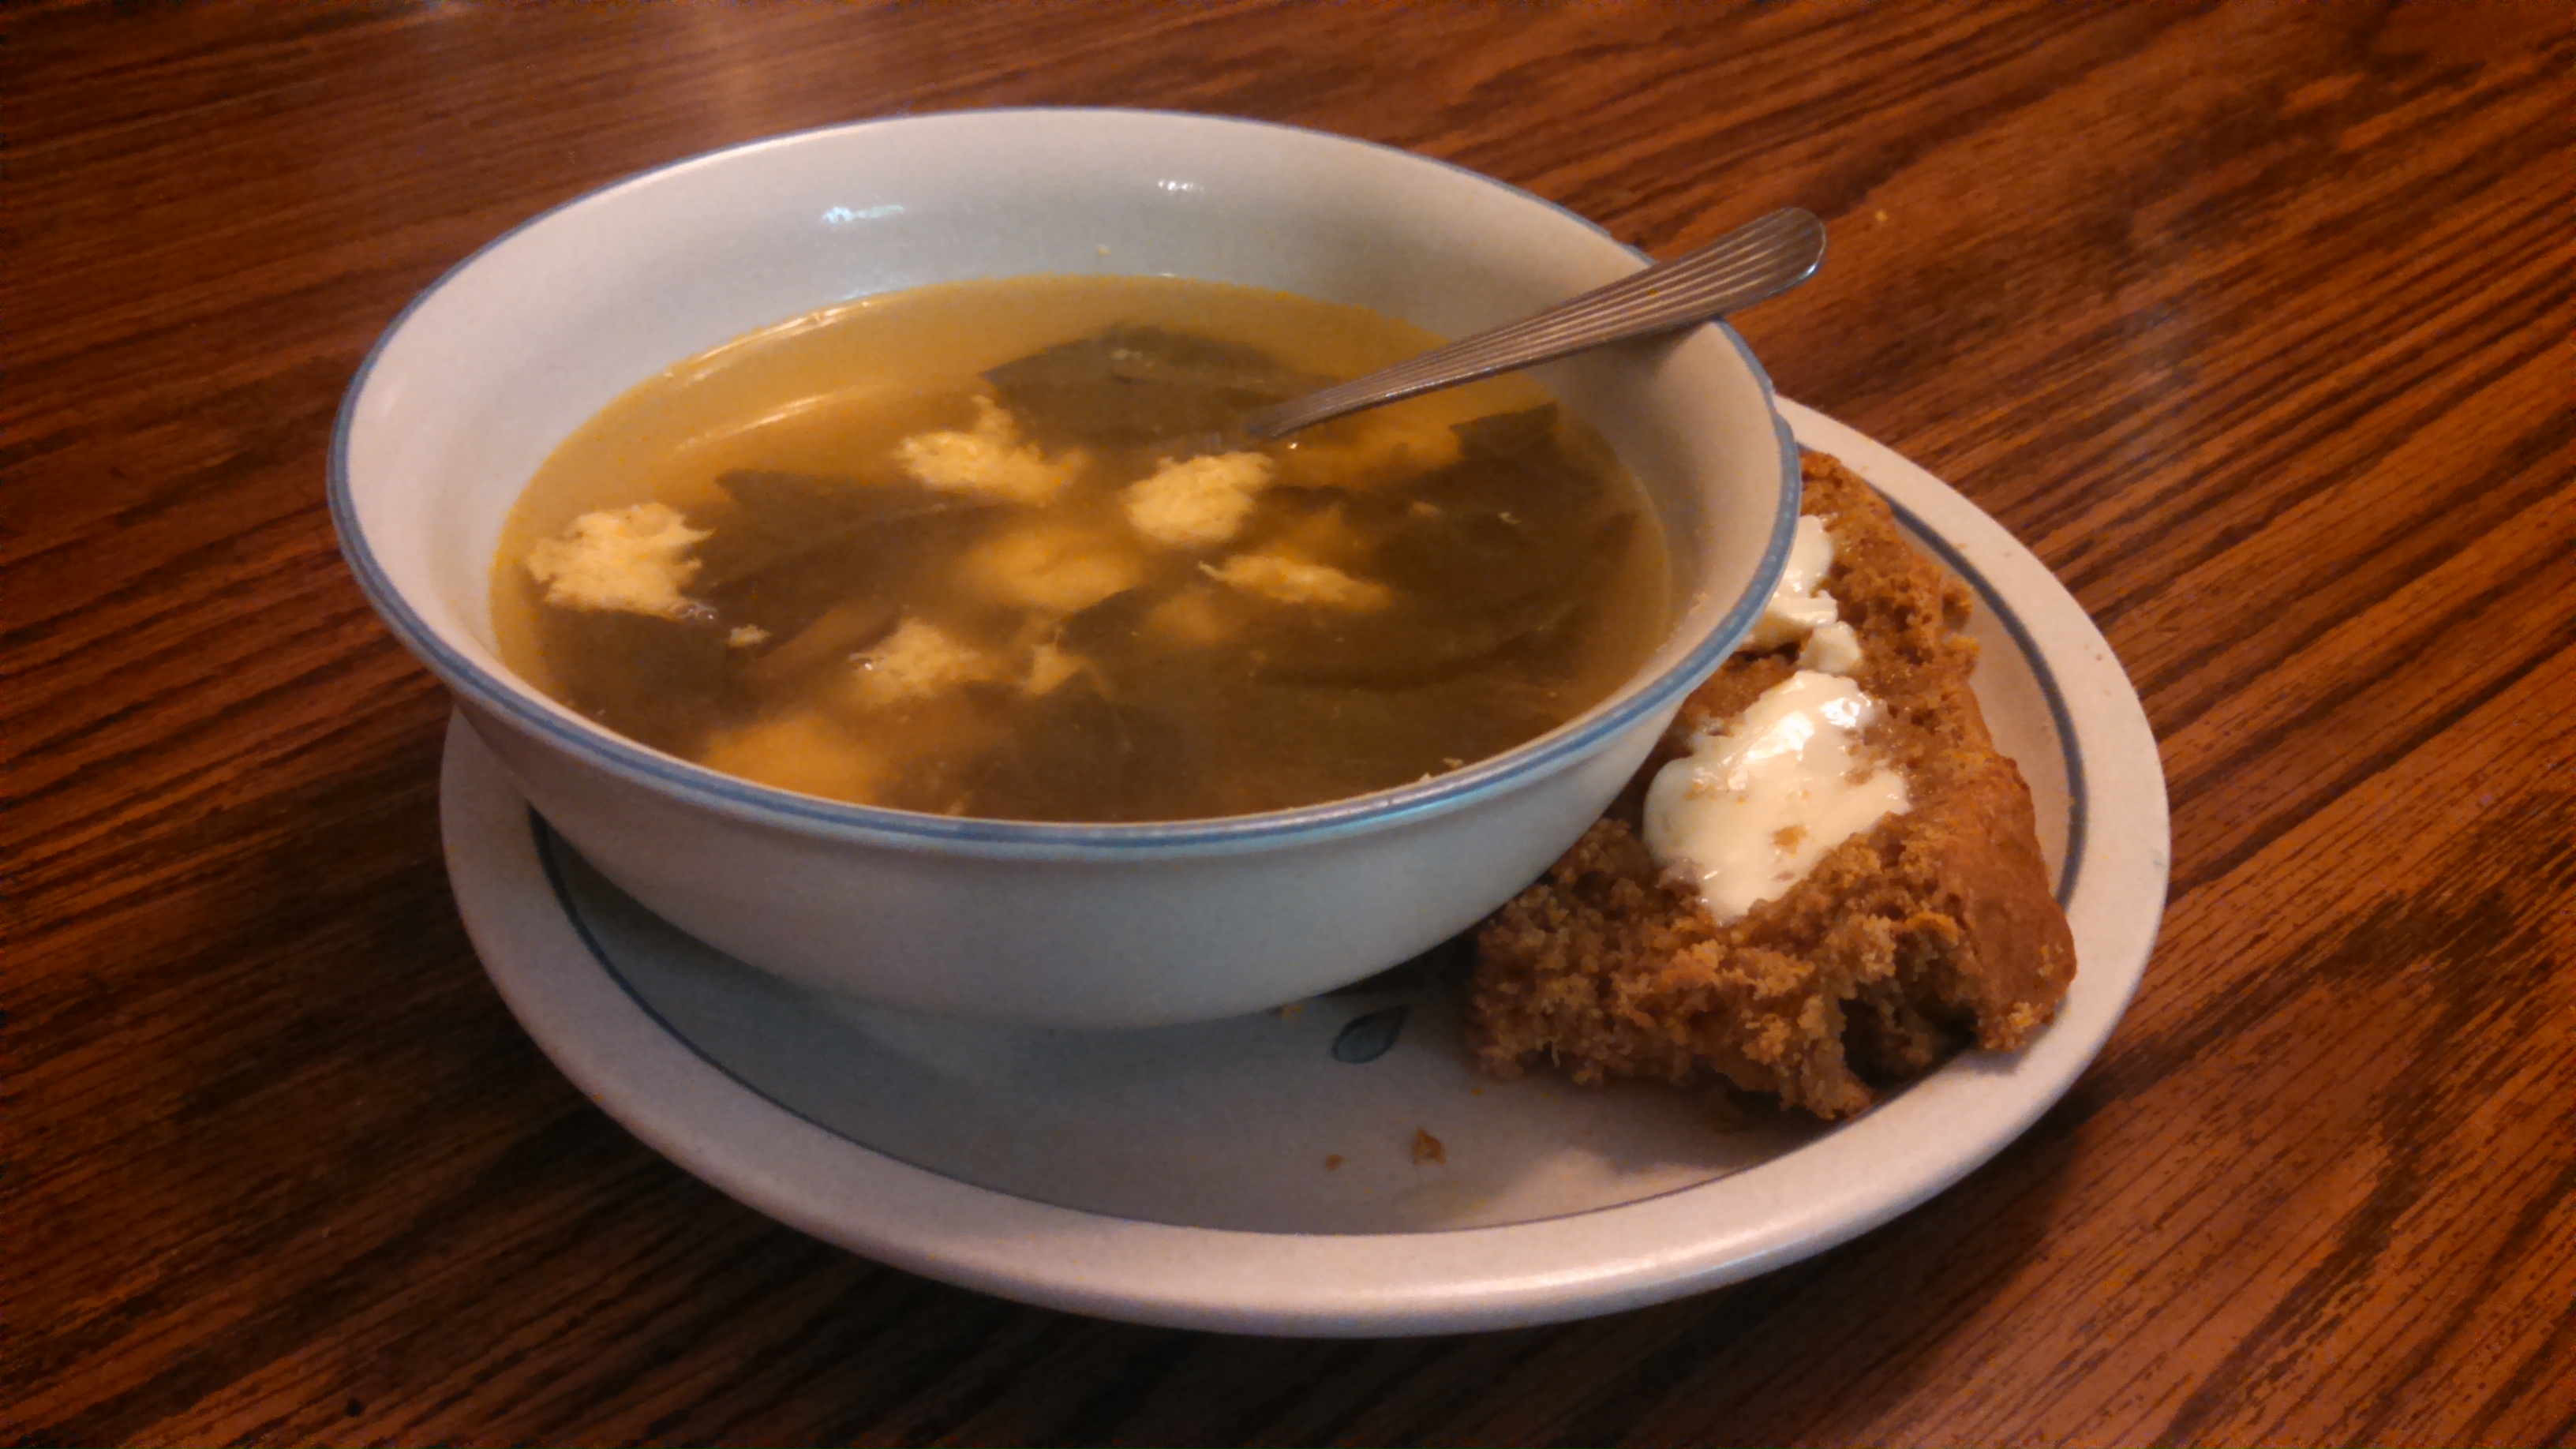
This soup...is spectacular. So much so that I made it twice in a week. And, not just because we really needed to use all the chard.


It's just a perfect soup for when the days begin to chill.


Italian Egg Drop Soup (Stracciatella)
inspired by Simply Recipes

[What You Need]
6 cups chicken broth
1 egg
1 T breadcrumbs
2 T parmesan cheese
2 cloves minced garlic
1 t ginger
1 t tumeric
1 t chili powder
1 or 2 bunch chard

[What to do]
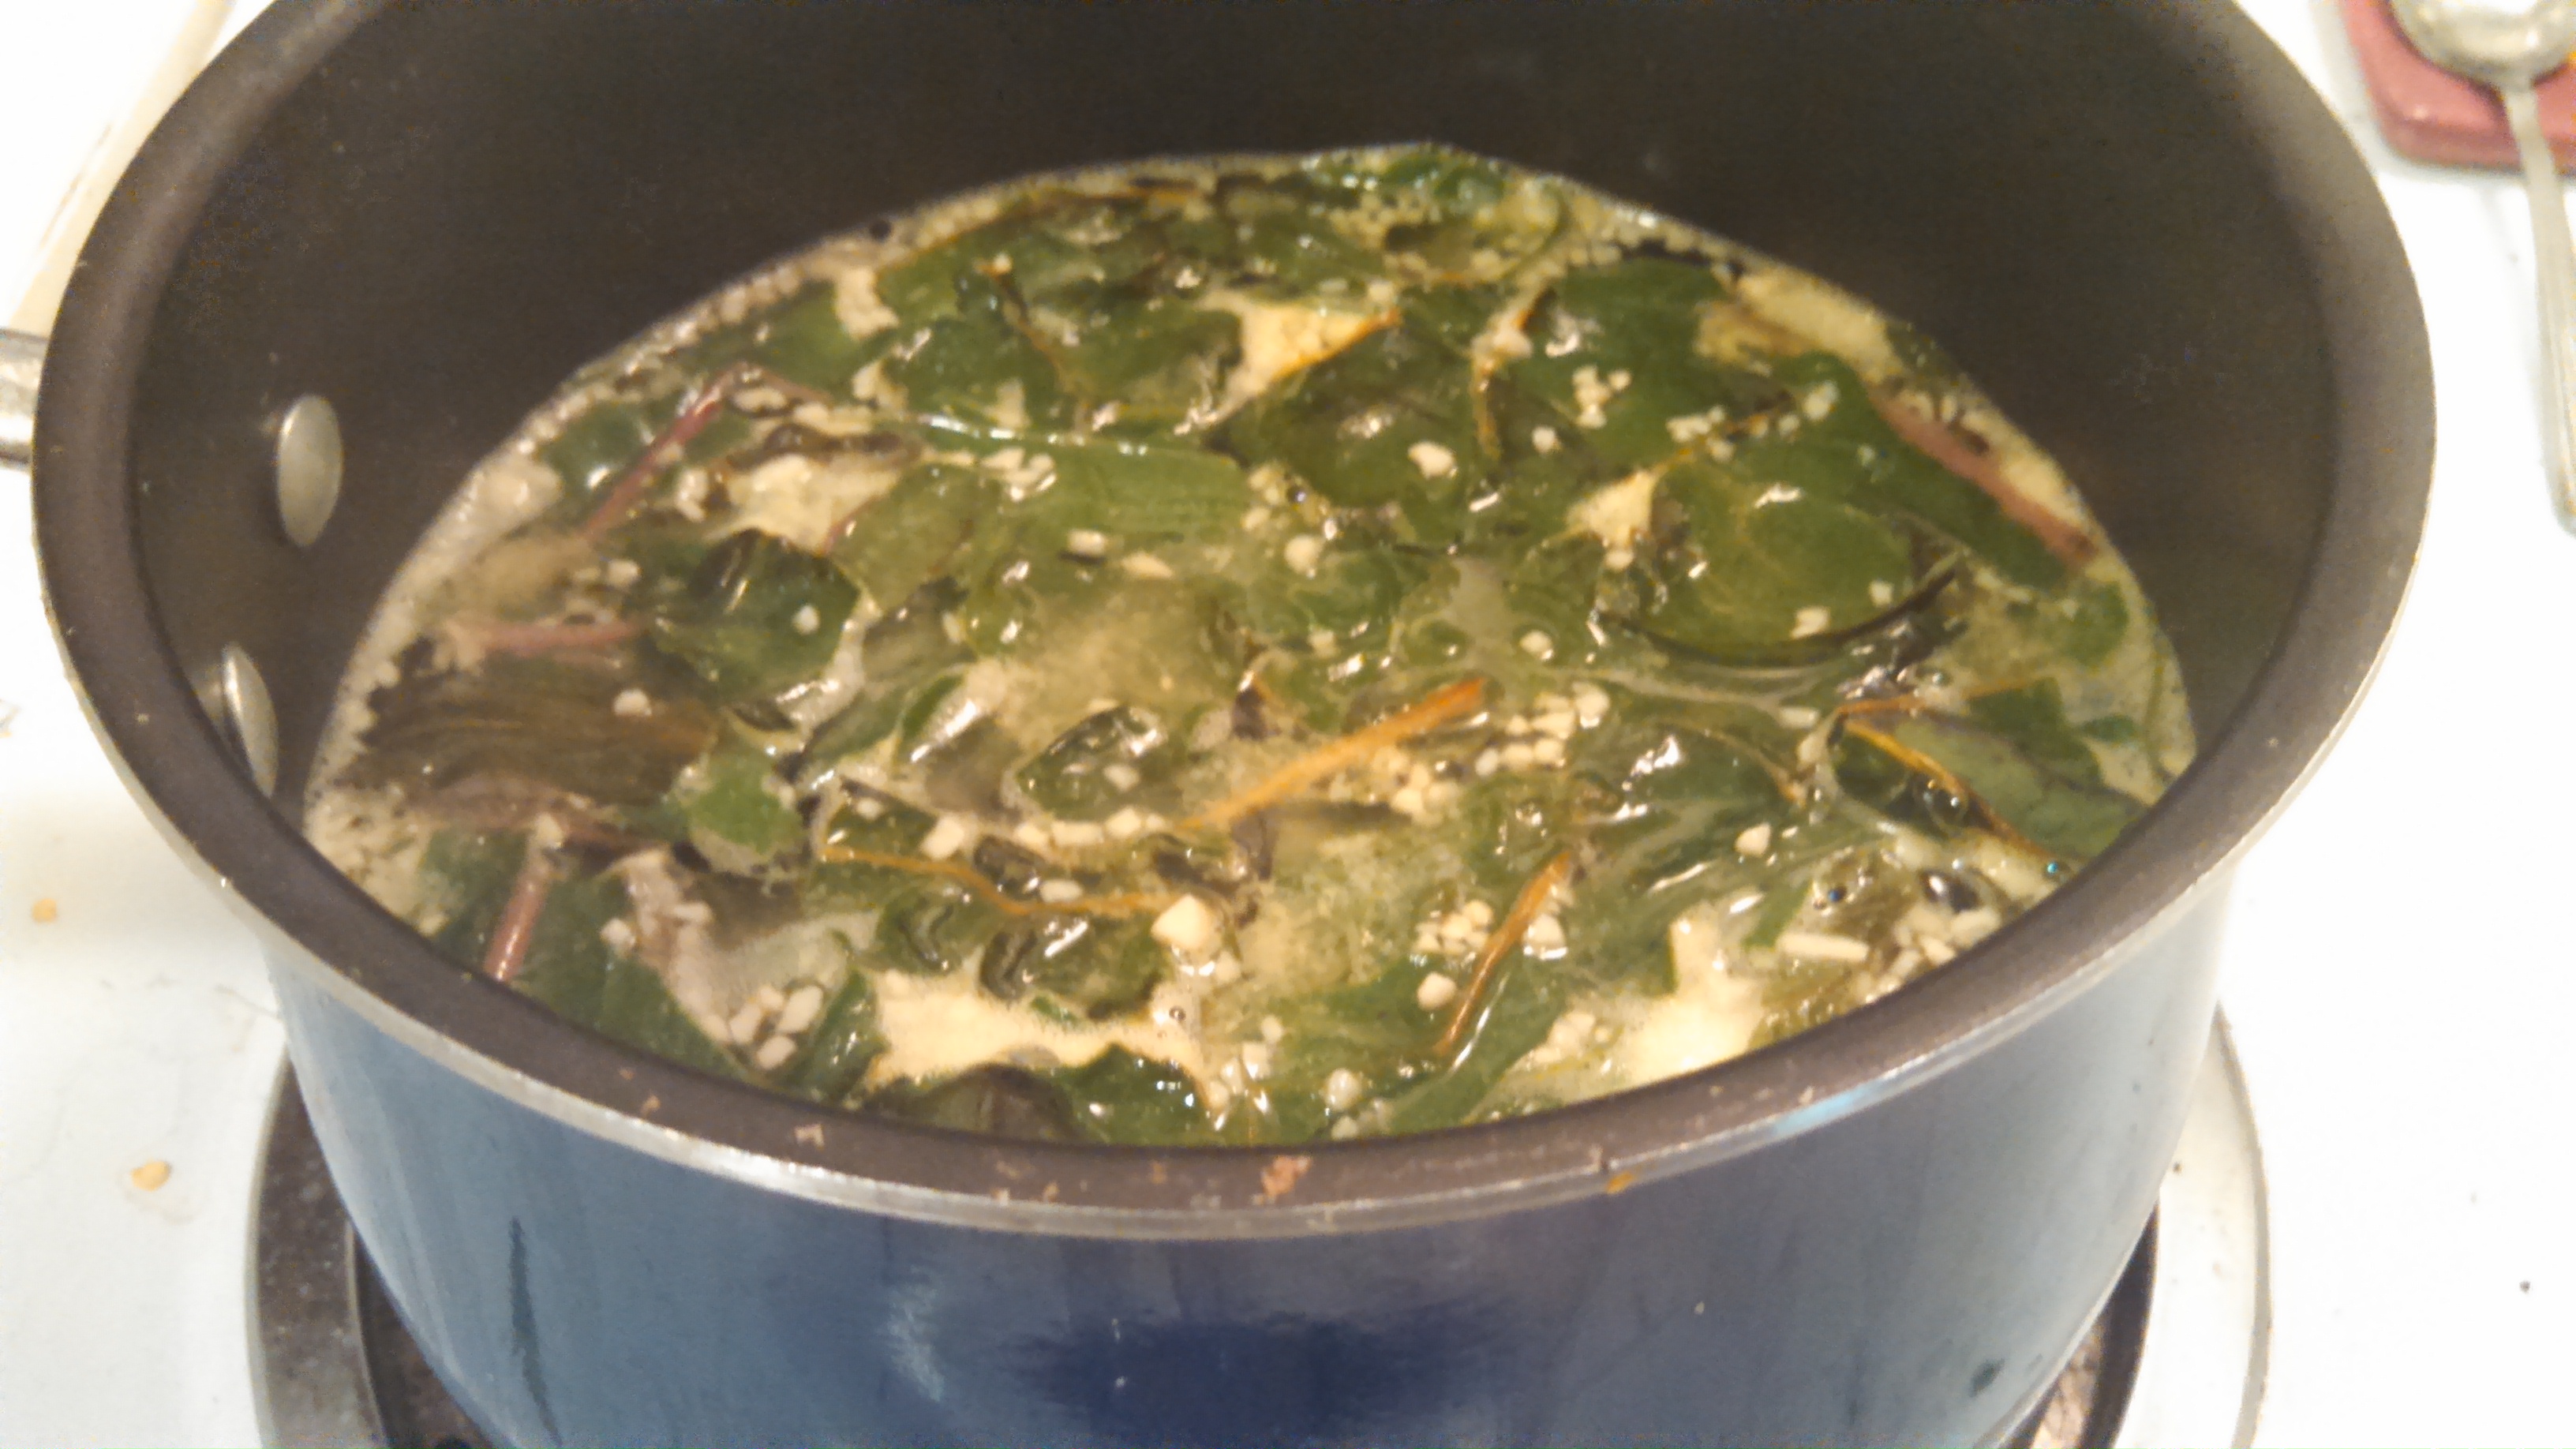
  1. Bring broth to a boil, add chard and garlic. Continue to boil ~5 min.
  2. Whisk egg, cheese, breadcrumbs, and spices together in a separate bowl.
  3. Gently drop the mixture into the soup. Allow to sit for a few seconds, then stir.
  4. Allow to sit for a minute before serving.


Monday, October 13, 2014

Grape Focaccia (Schiacciata all'uva)

One of the best things about sharing most meals with someone else is that you can experiment a little with what you make. If I were only cooking for myself, there is no way on earth I would have attempted this recipe.


Why?


Well, for starters, I'm not the biggest fan of grapes. I know, I know. I'm the girl who made fun of her father constantly throughout childhood for liking tomato soup but refusing to eat fresh tomatoes. I get how silly it sounds for a wine devotee to be grape-shy. But there's a reason for that too.


Grape flavoring reminds me of a certain cold medicine that I was often given as a child. I avoid syrupy cherry flavored items for the same reason. I know the grape was supposed to make it better, but...I now have a lifelong aversion to grapes that aren't in wine form.

As I got older I found the Muscat and Sultana varietals. I began to realize (or so I assumed) that "actual" grapes taste nothing like certain childhood cold medicines. It made logical sense. Medicine wasn't made with actual grapes for flavoring, but artificial flavors. I told myself it would be fine.


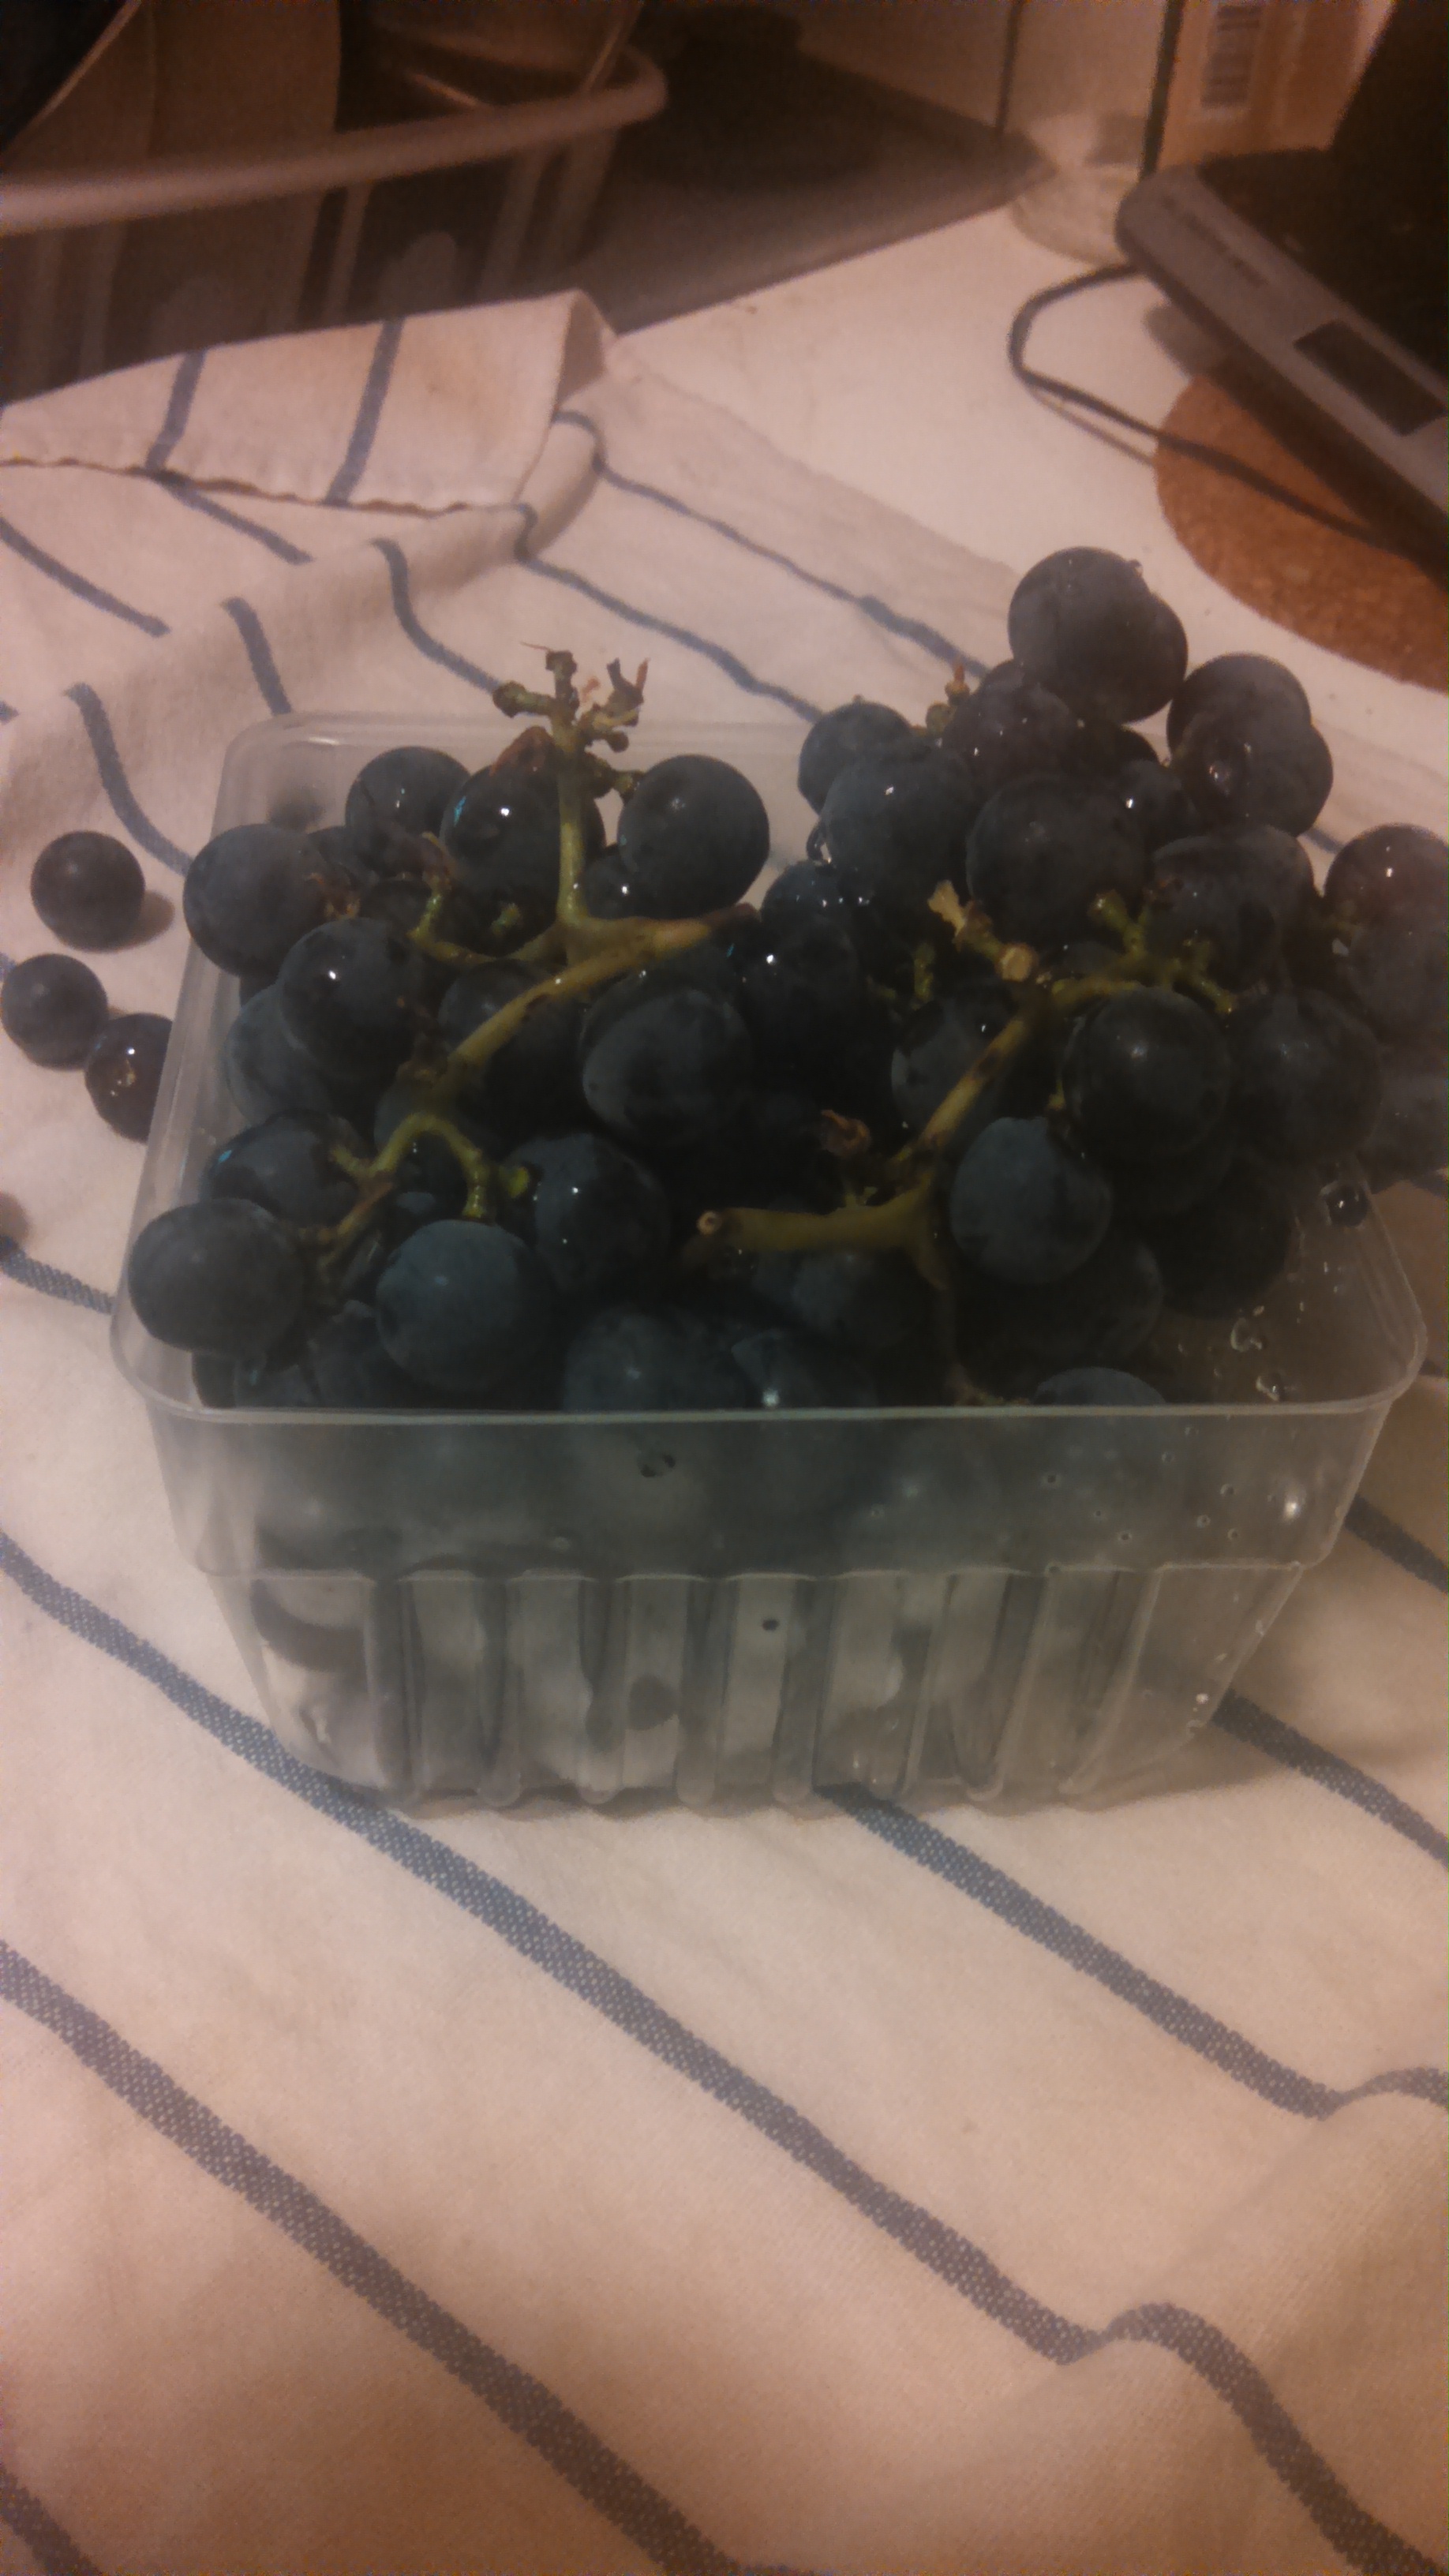
This recipe, though, doesn't call for Muscats or Sultanas. This recipe calls for Concords, which little did I know at the time...

are the inspiration for artificial grape flavor.


Unfortunately, Concord grapes still taste like that childhood grape flavored medication, so I didn't love this, but people at work called it wine bread, so I suppose in the right hands this recipe could be amazing. Head on over to Food52 and check it out.

Monday, September 29, 2014

Preserving the Bounty: Sauerkraut!!!

I've been meaning to try this project for awhile now, but I admit I have always found it terribly intimidating. Sauerkraut, like spaghetti sauce, has deep roots in my family. I can remember many a childhood day that contained it. Also spaghetti sauce, though, I never ate the stuff in childhood. I referred to it as Sour Crap.

Eventually, I saw the light.

And it's a good thing I did too. Cabbage is crazy good for you. Fermented cabbage? Well, that goes and doubles things, now doesn't it?

So...with extra cabbage in hand, I turned to the source:


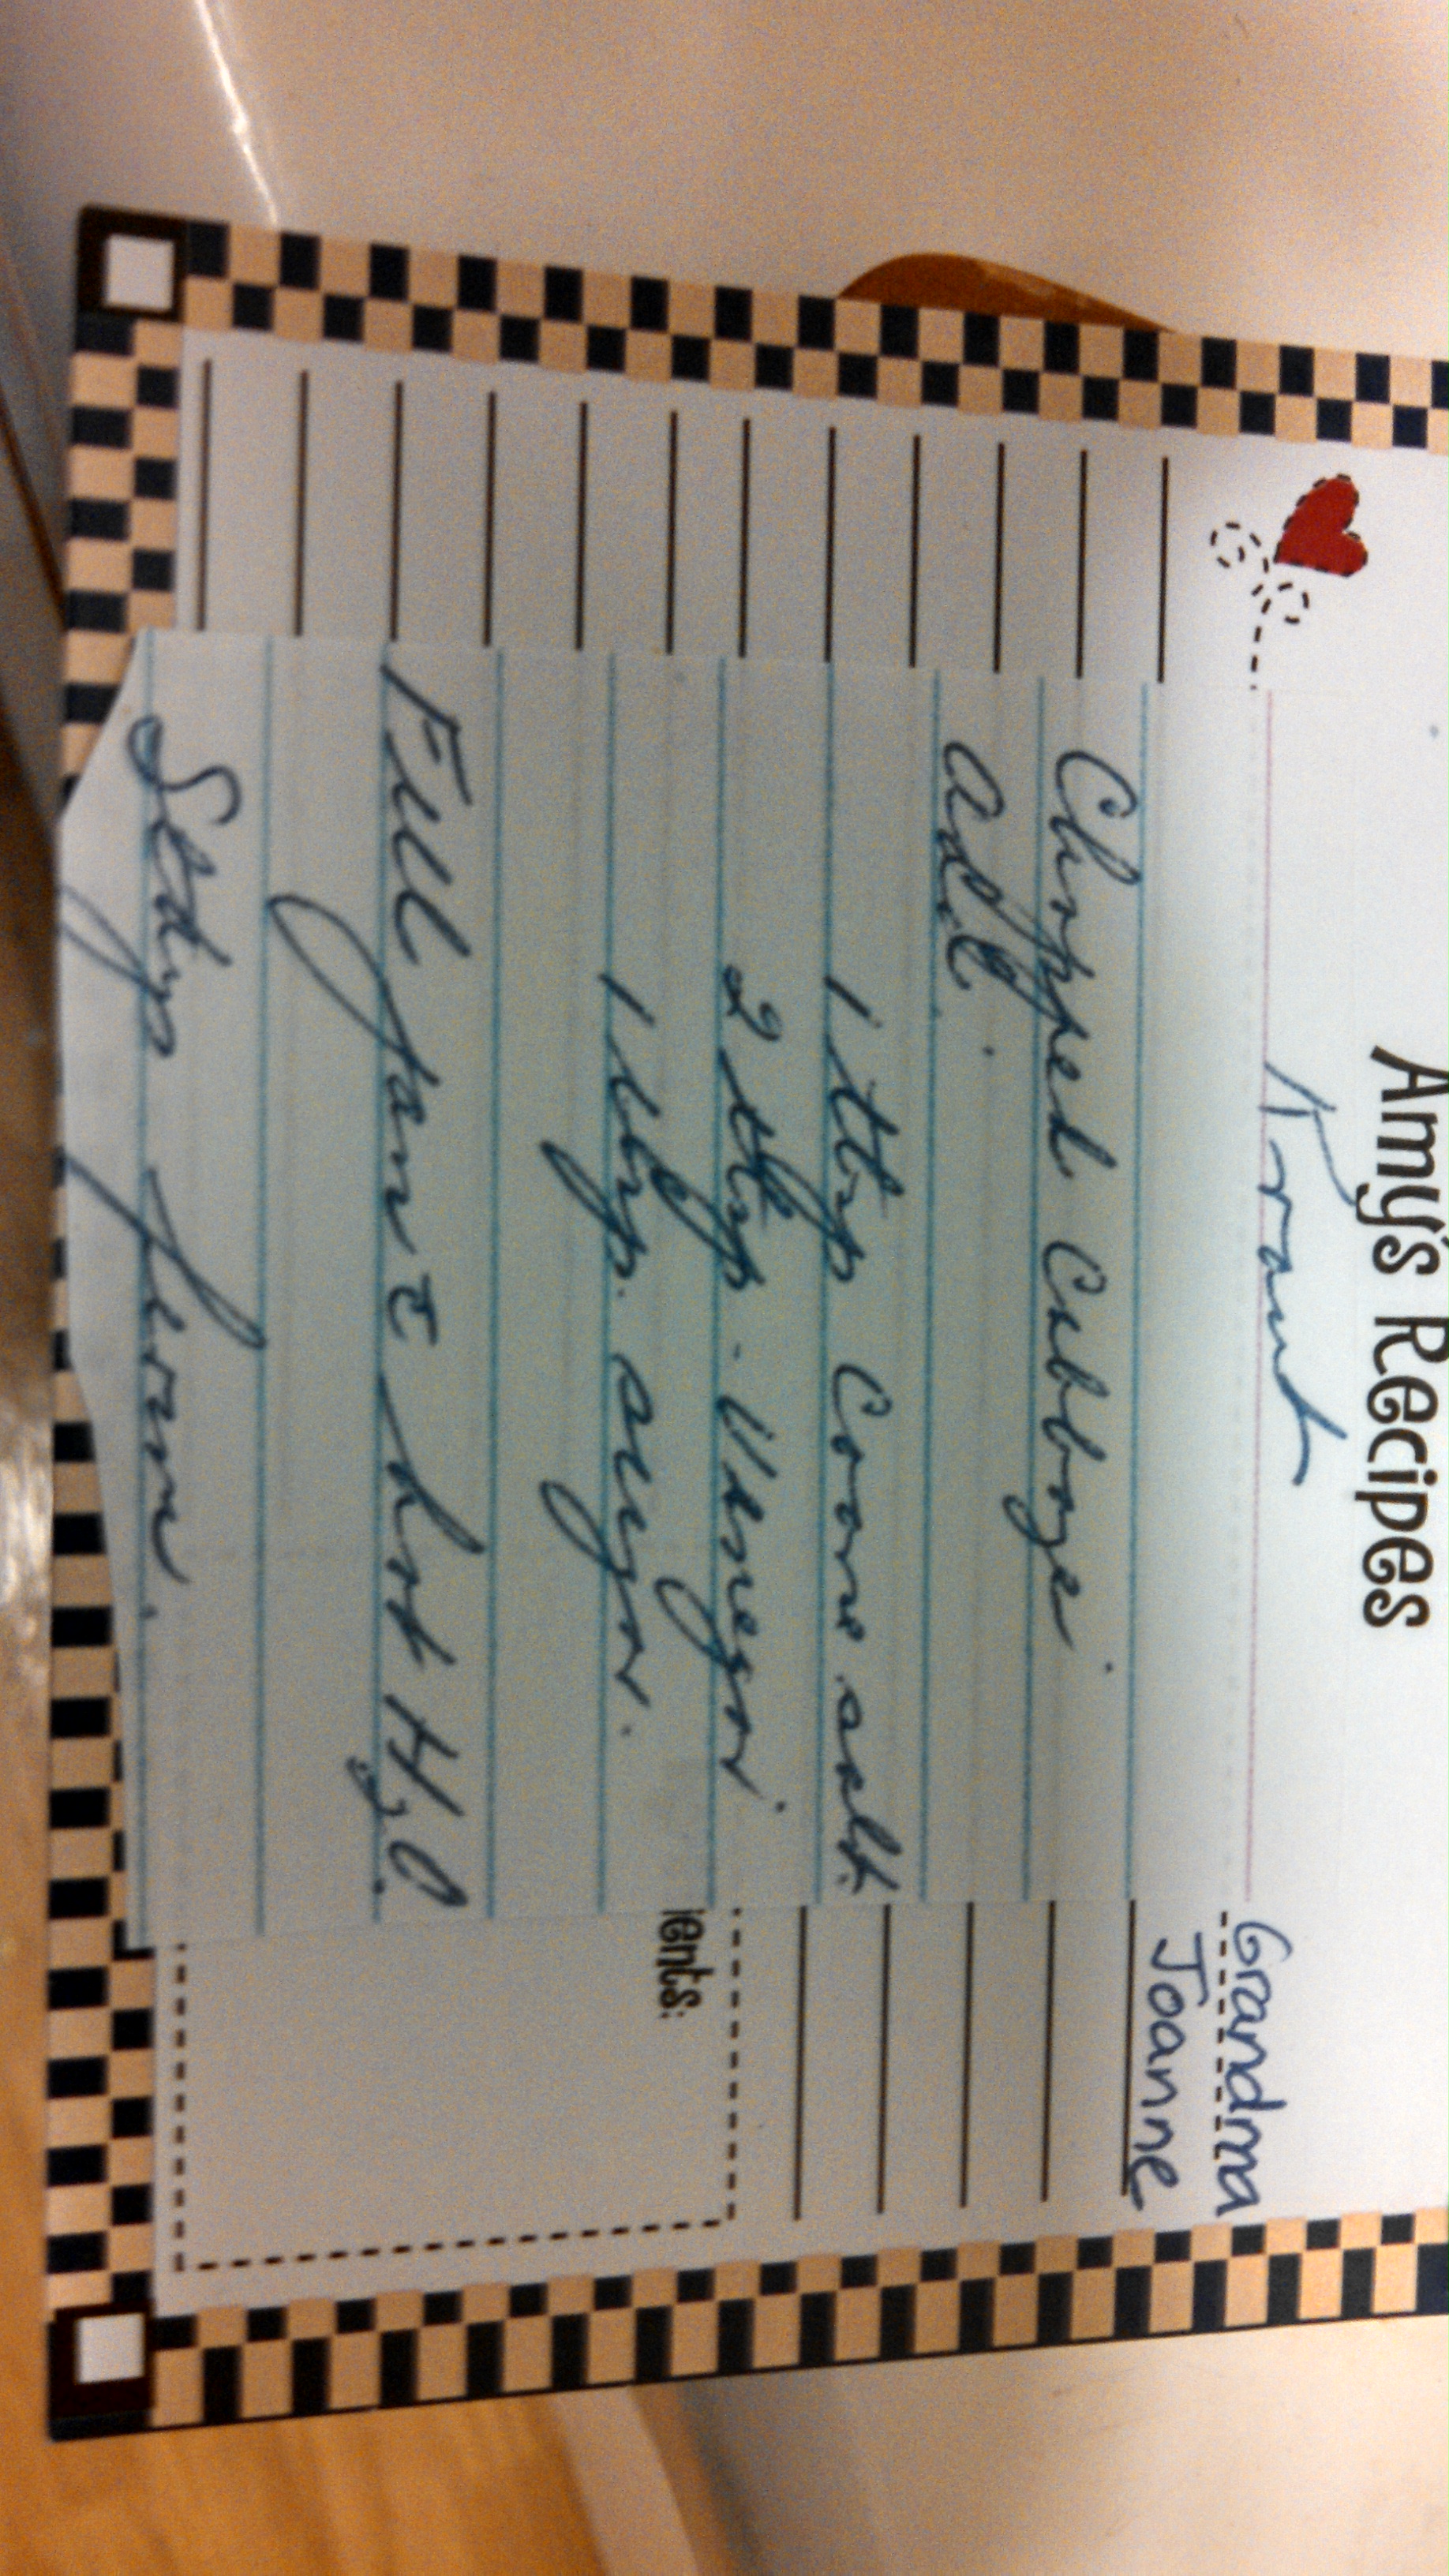
Now, you'll notice a few things about this recipe that differ from other instructions. Number one of which is the addition of sugar and vinegar. I have heard that naturally fermented sauerkraut (aka the super healthy stuff) contains neither of these things, only salt. This being my first time making it, using my nonna's recipe was important to me, so I opted to use these ingredients. I may change that in the future depending on my research.

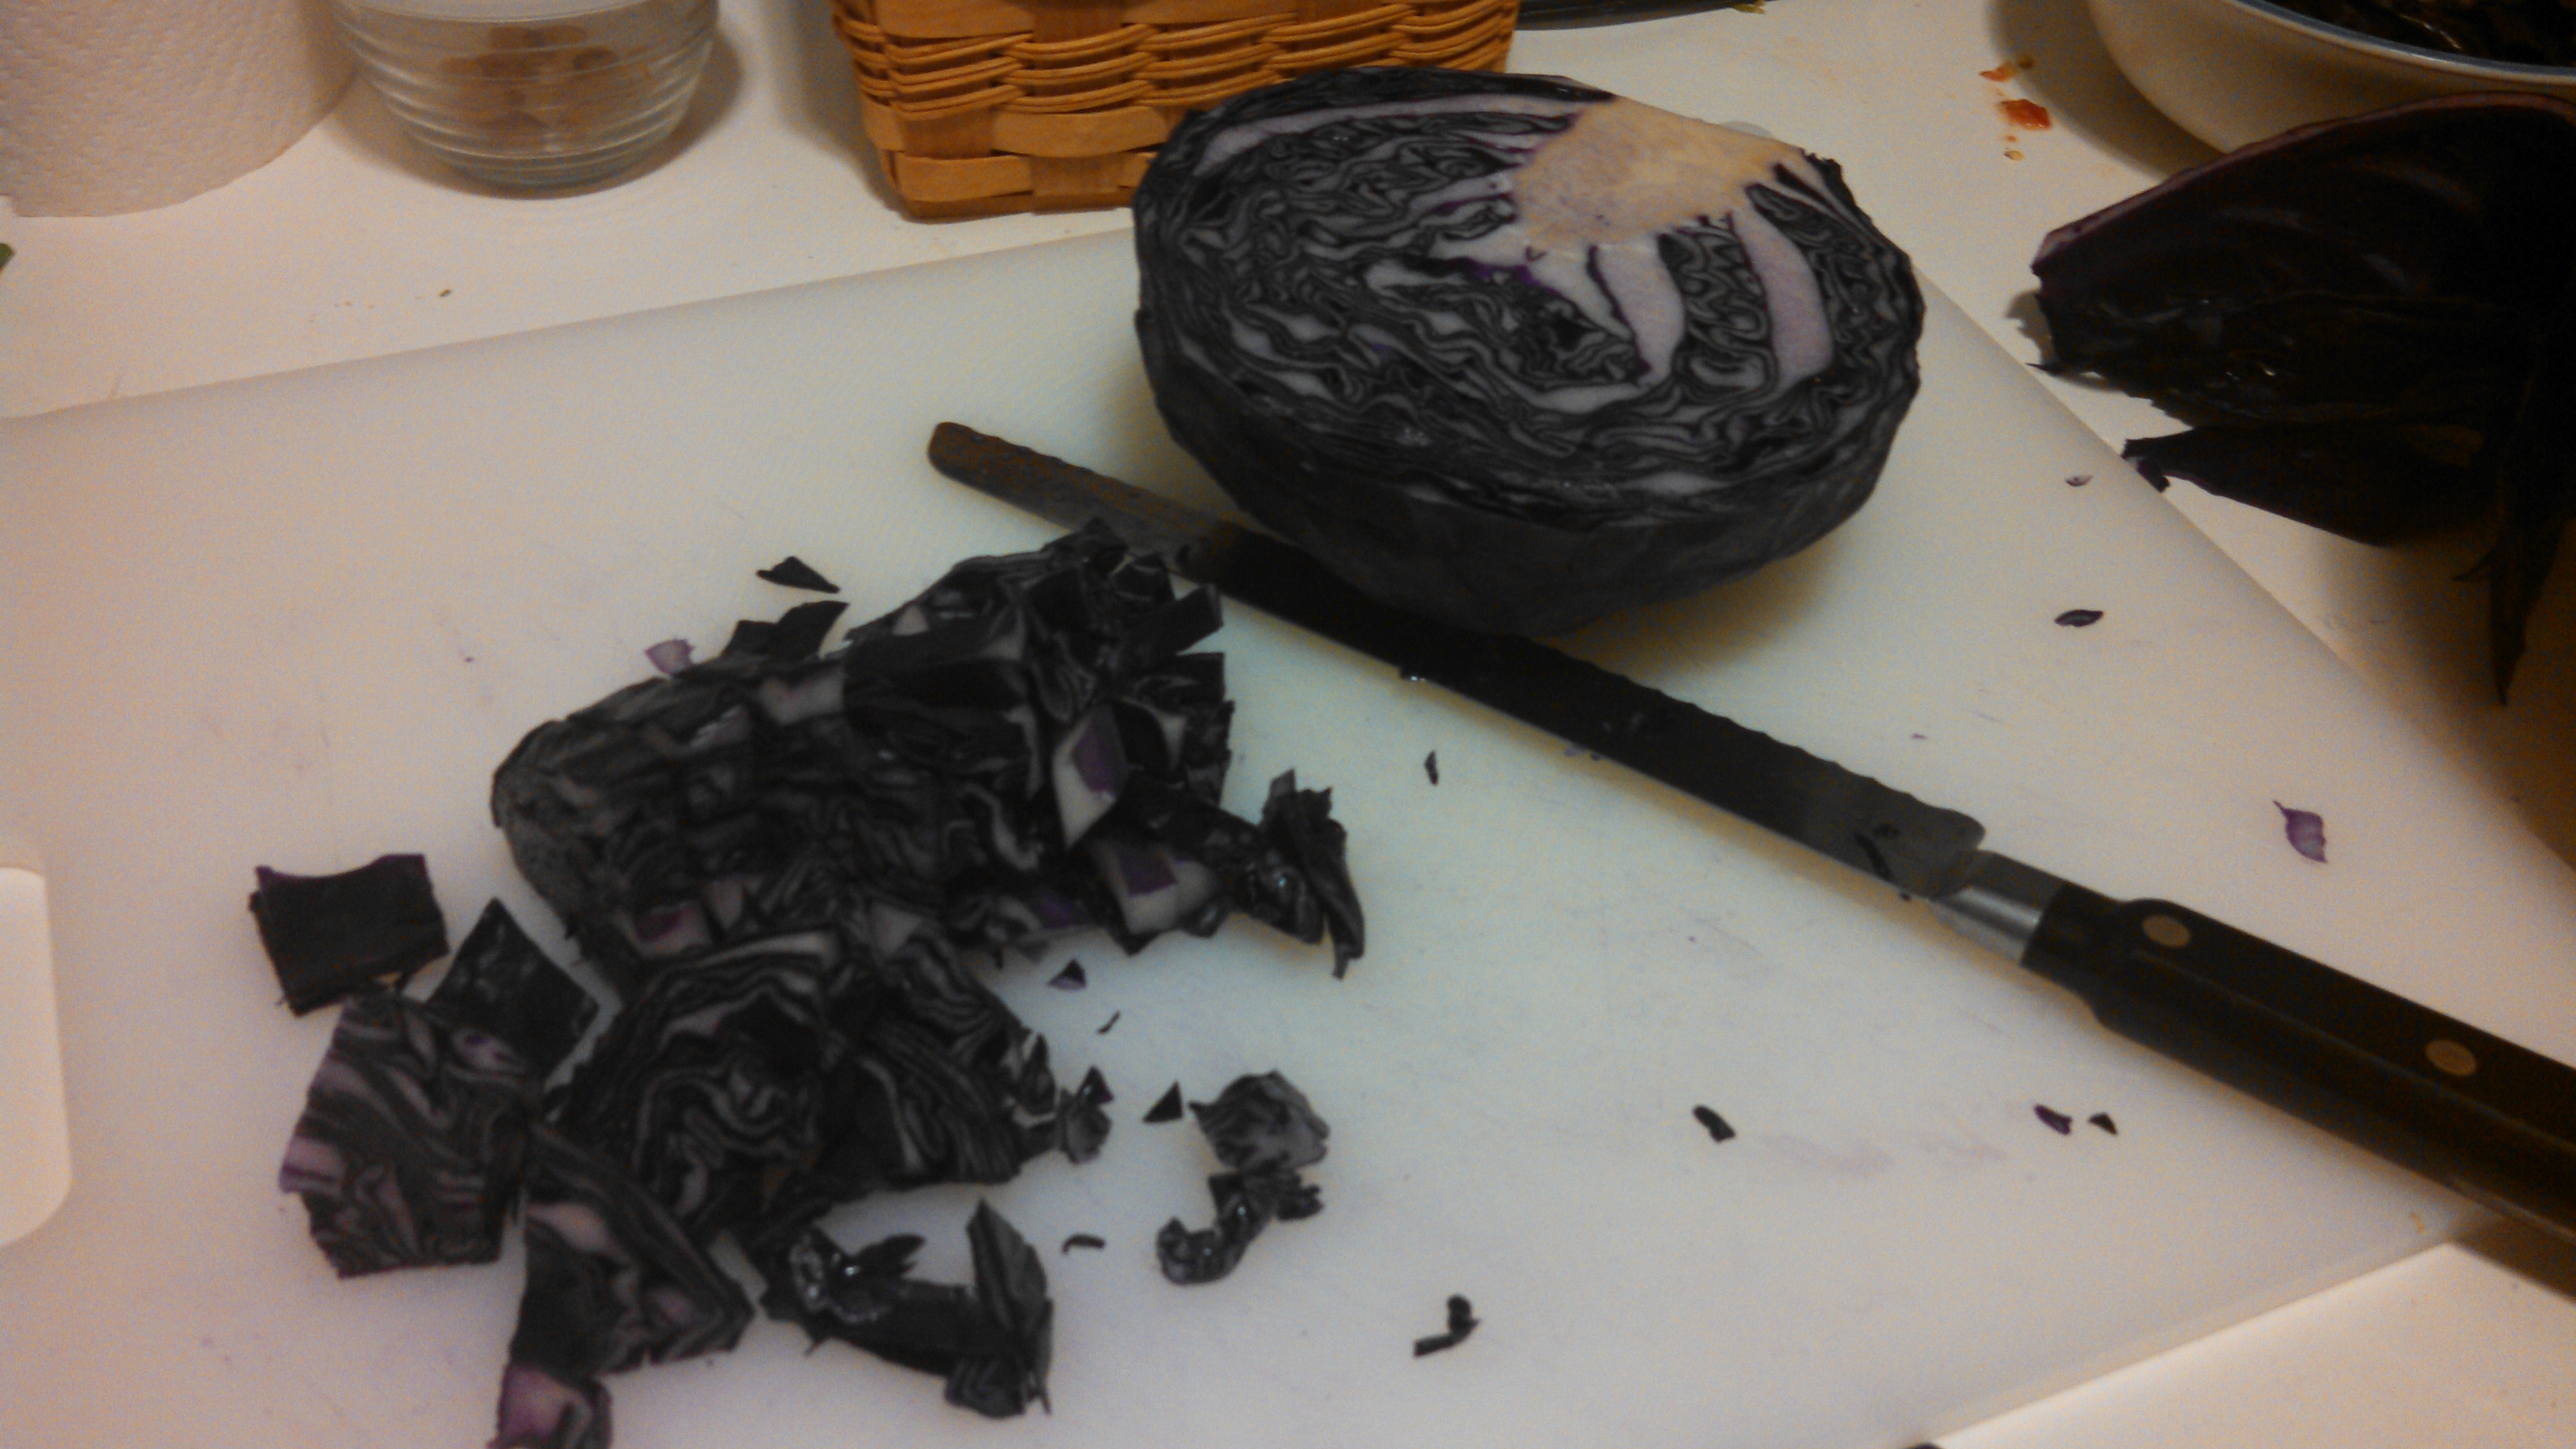
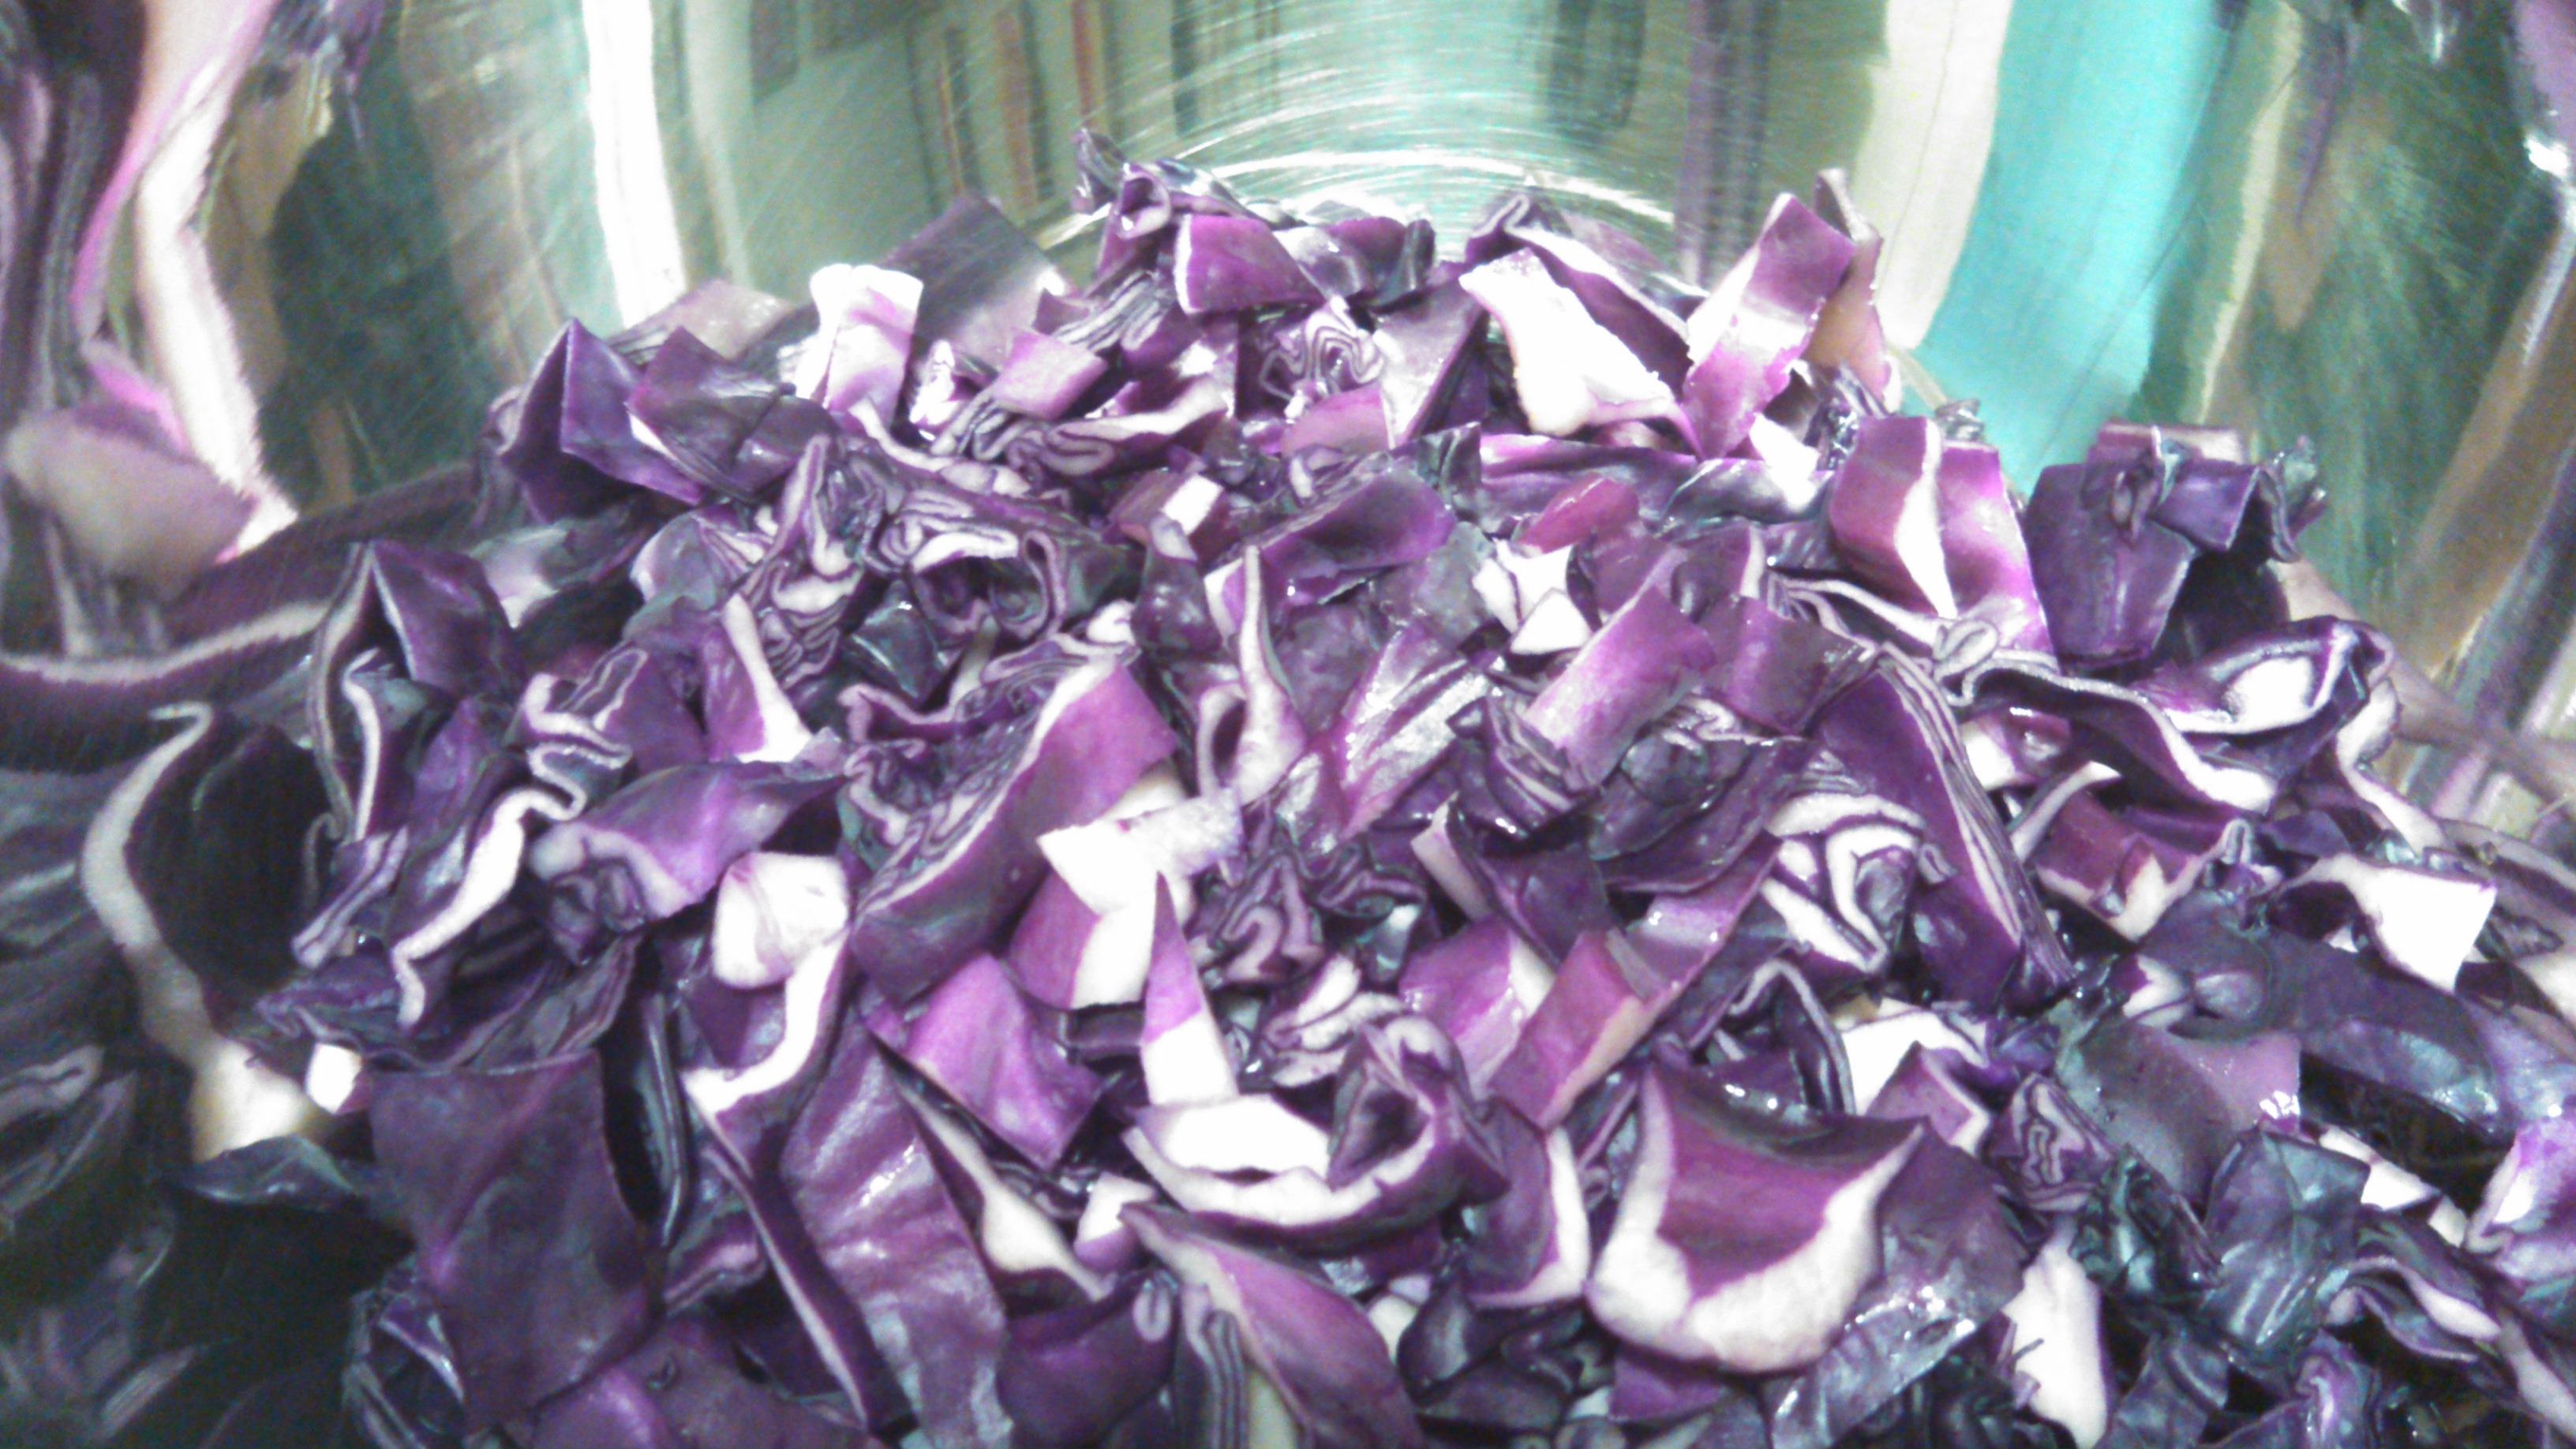
Also my cabbage is weird because it's purple, but this is what we grew in the garden this year. It actually turns out rather nicely, just make sure you have some lemon juice on hand in case your hands or counters get stained.

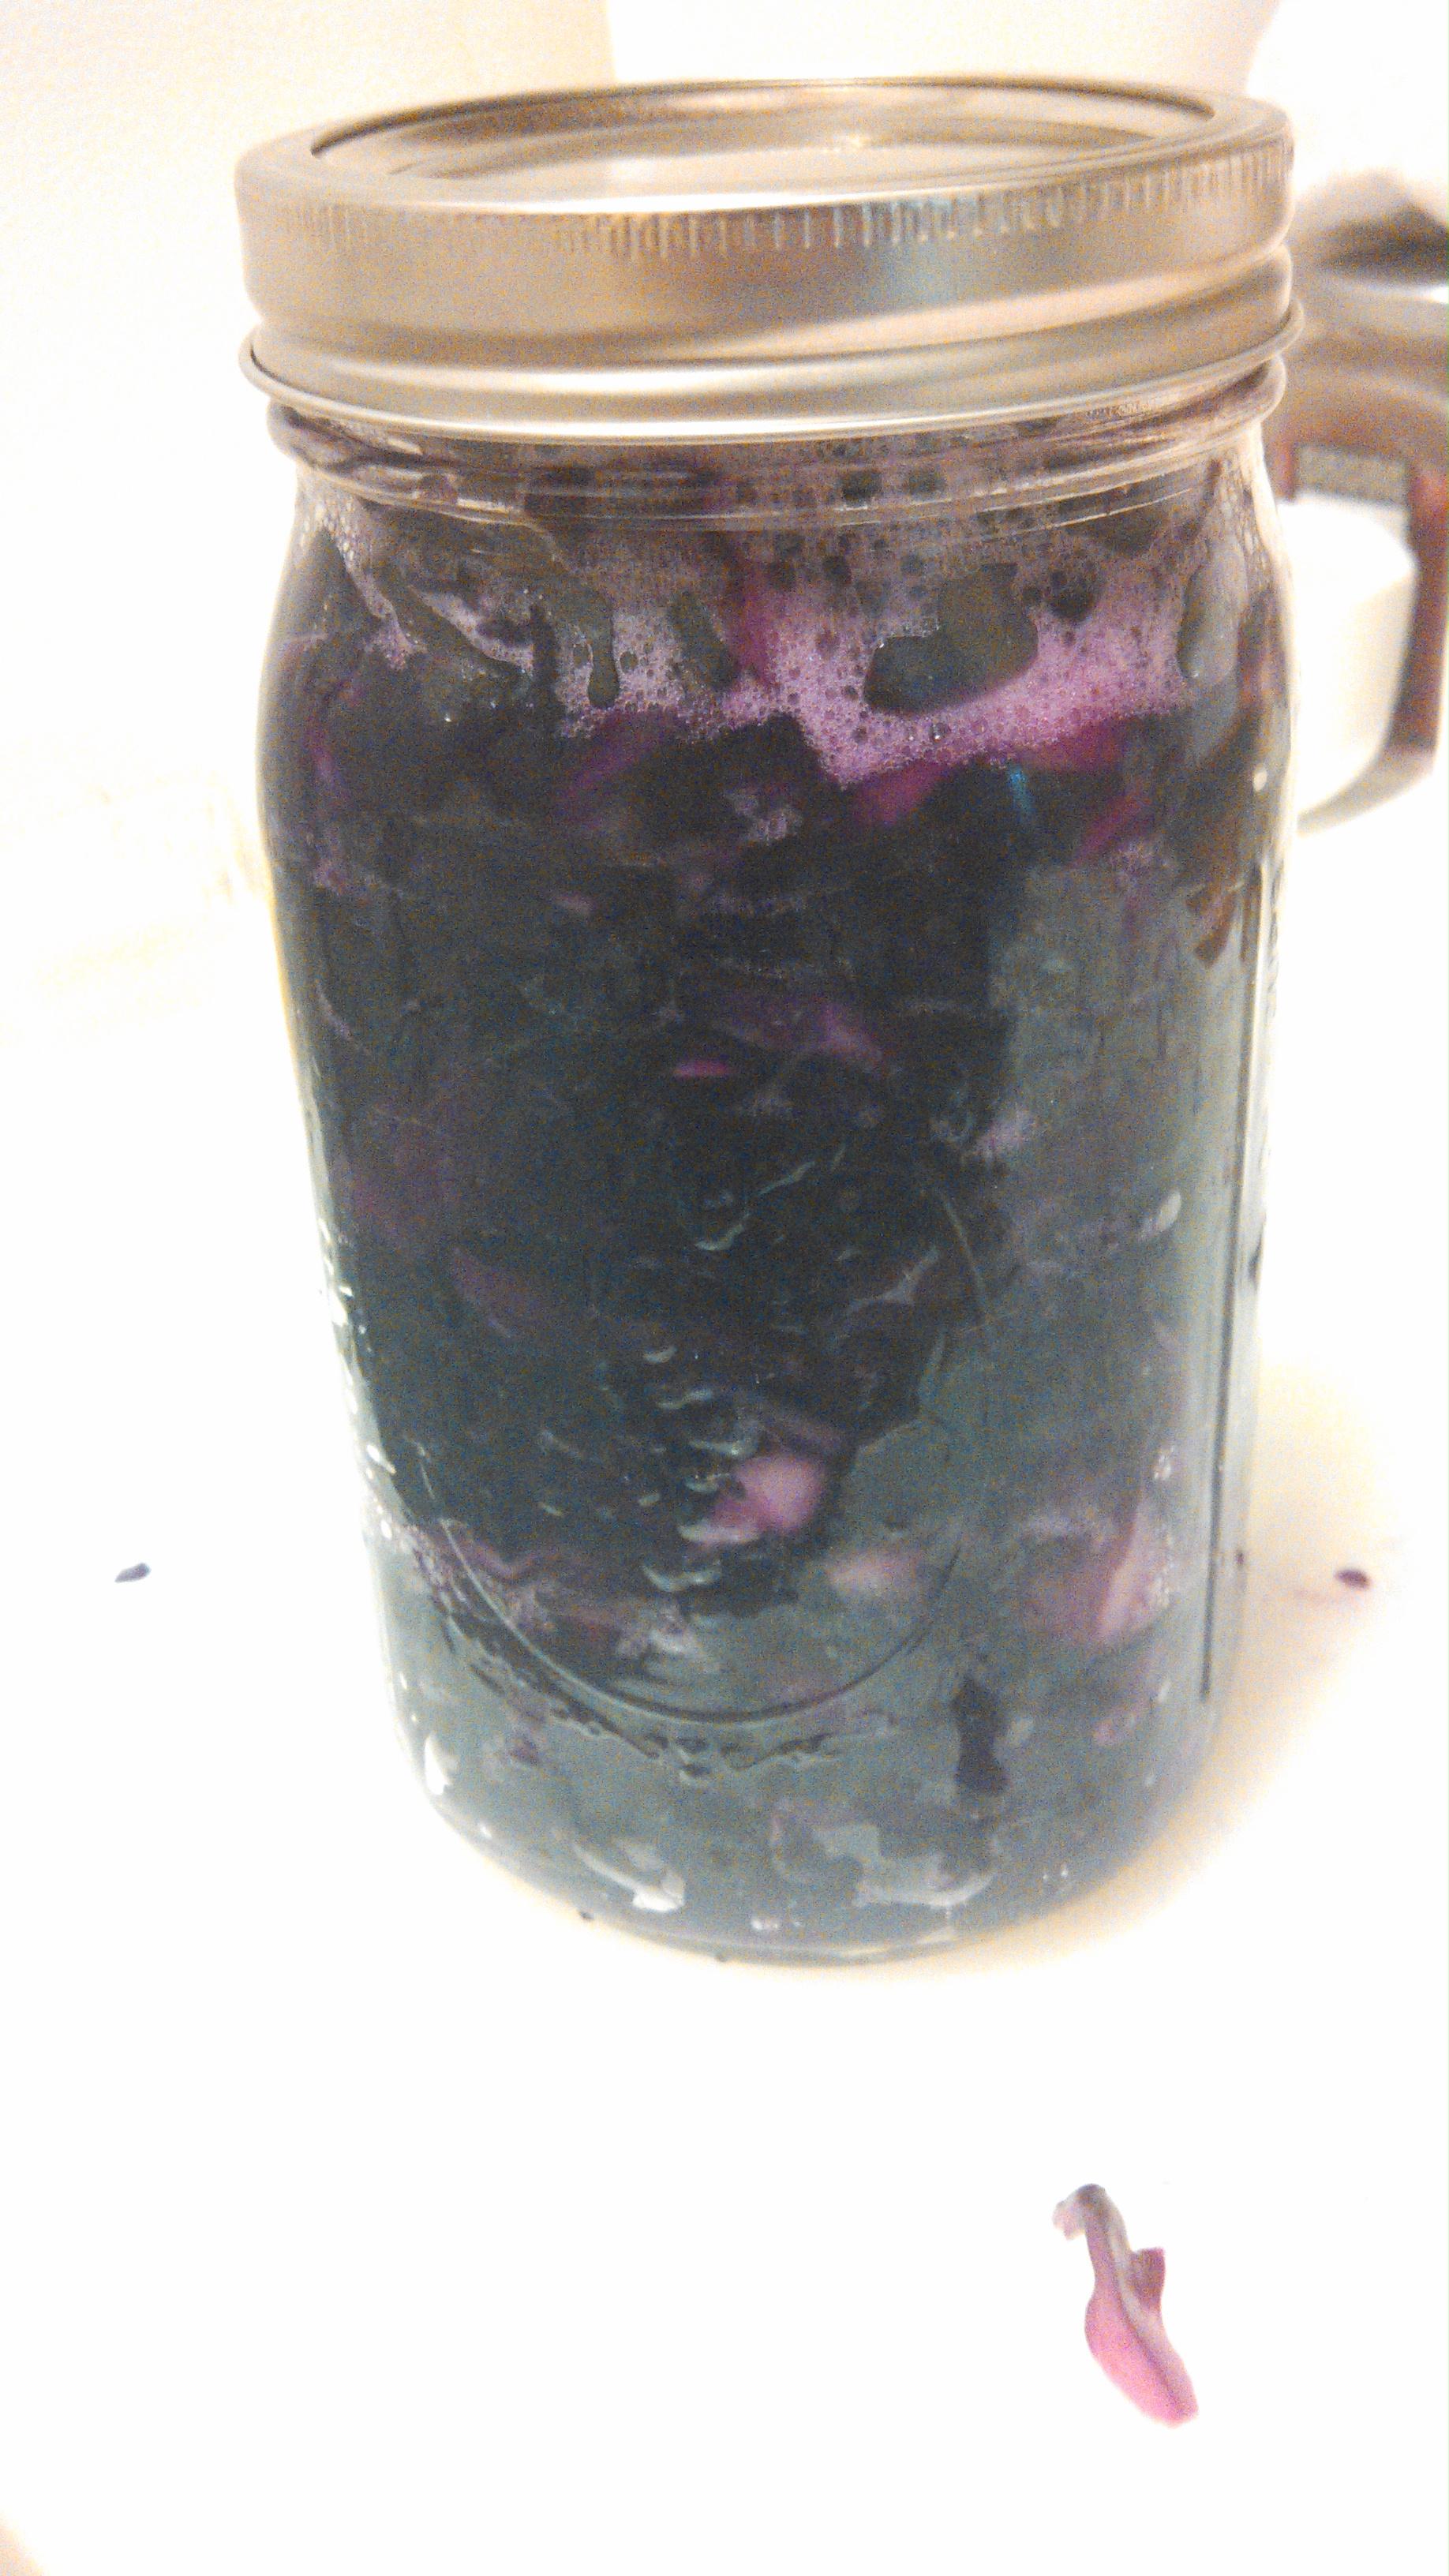
Sauerkraut is actually easier to make than you think. My mental image of giant tubs of foul smelly cabbage notwithstanding. All you need is a 2 lb cabbage, some salt, and a mason jar.


First, roughly chop the cabbage and sprinkle with salt (and whatever else your person recipe calls for. Some I found use caraway seeds). You won't think it's enough salt, but trust me. Massage the cabbage, working the salt in until it starts to break down.


Continue for another two minutes or so, then firmly pack the cabbage into the mason jar (mine made enough for a quart), pouring any leftover liquid over top. For the next 24 hours, pack down the cabbage (I used a half-pint jar as it fit exactly) and keep in a cool, dry place.