Monday, November 17, 2014

Preserving the Bounty: Pumpkin Puree

I've been putting this experiment off a long time. Much like sauerkraut I was under the impression that the whole thing was much harder than it actually turned out to be...plus pumpkin puree is so darn easy to find in cans, so why bother?

Well...it's tasty and easier than you, or at least I, thought.

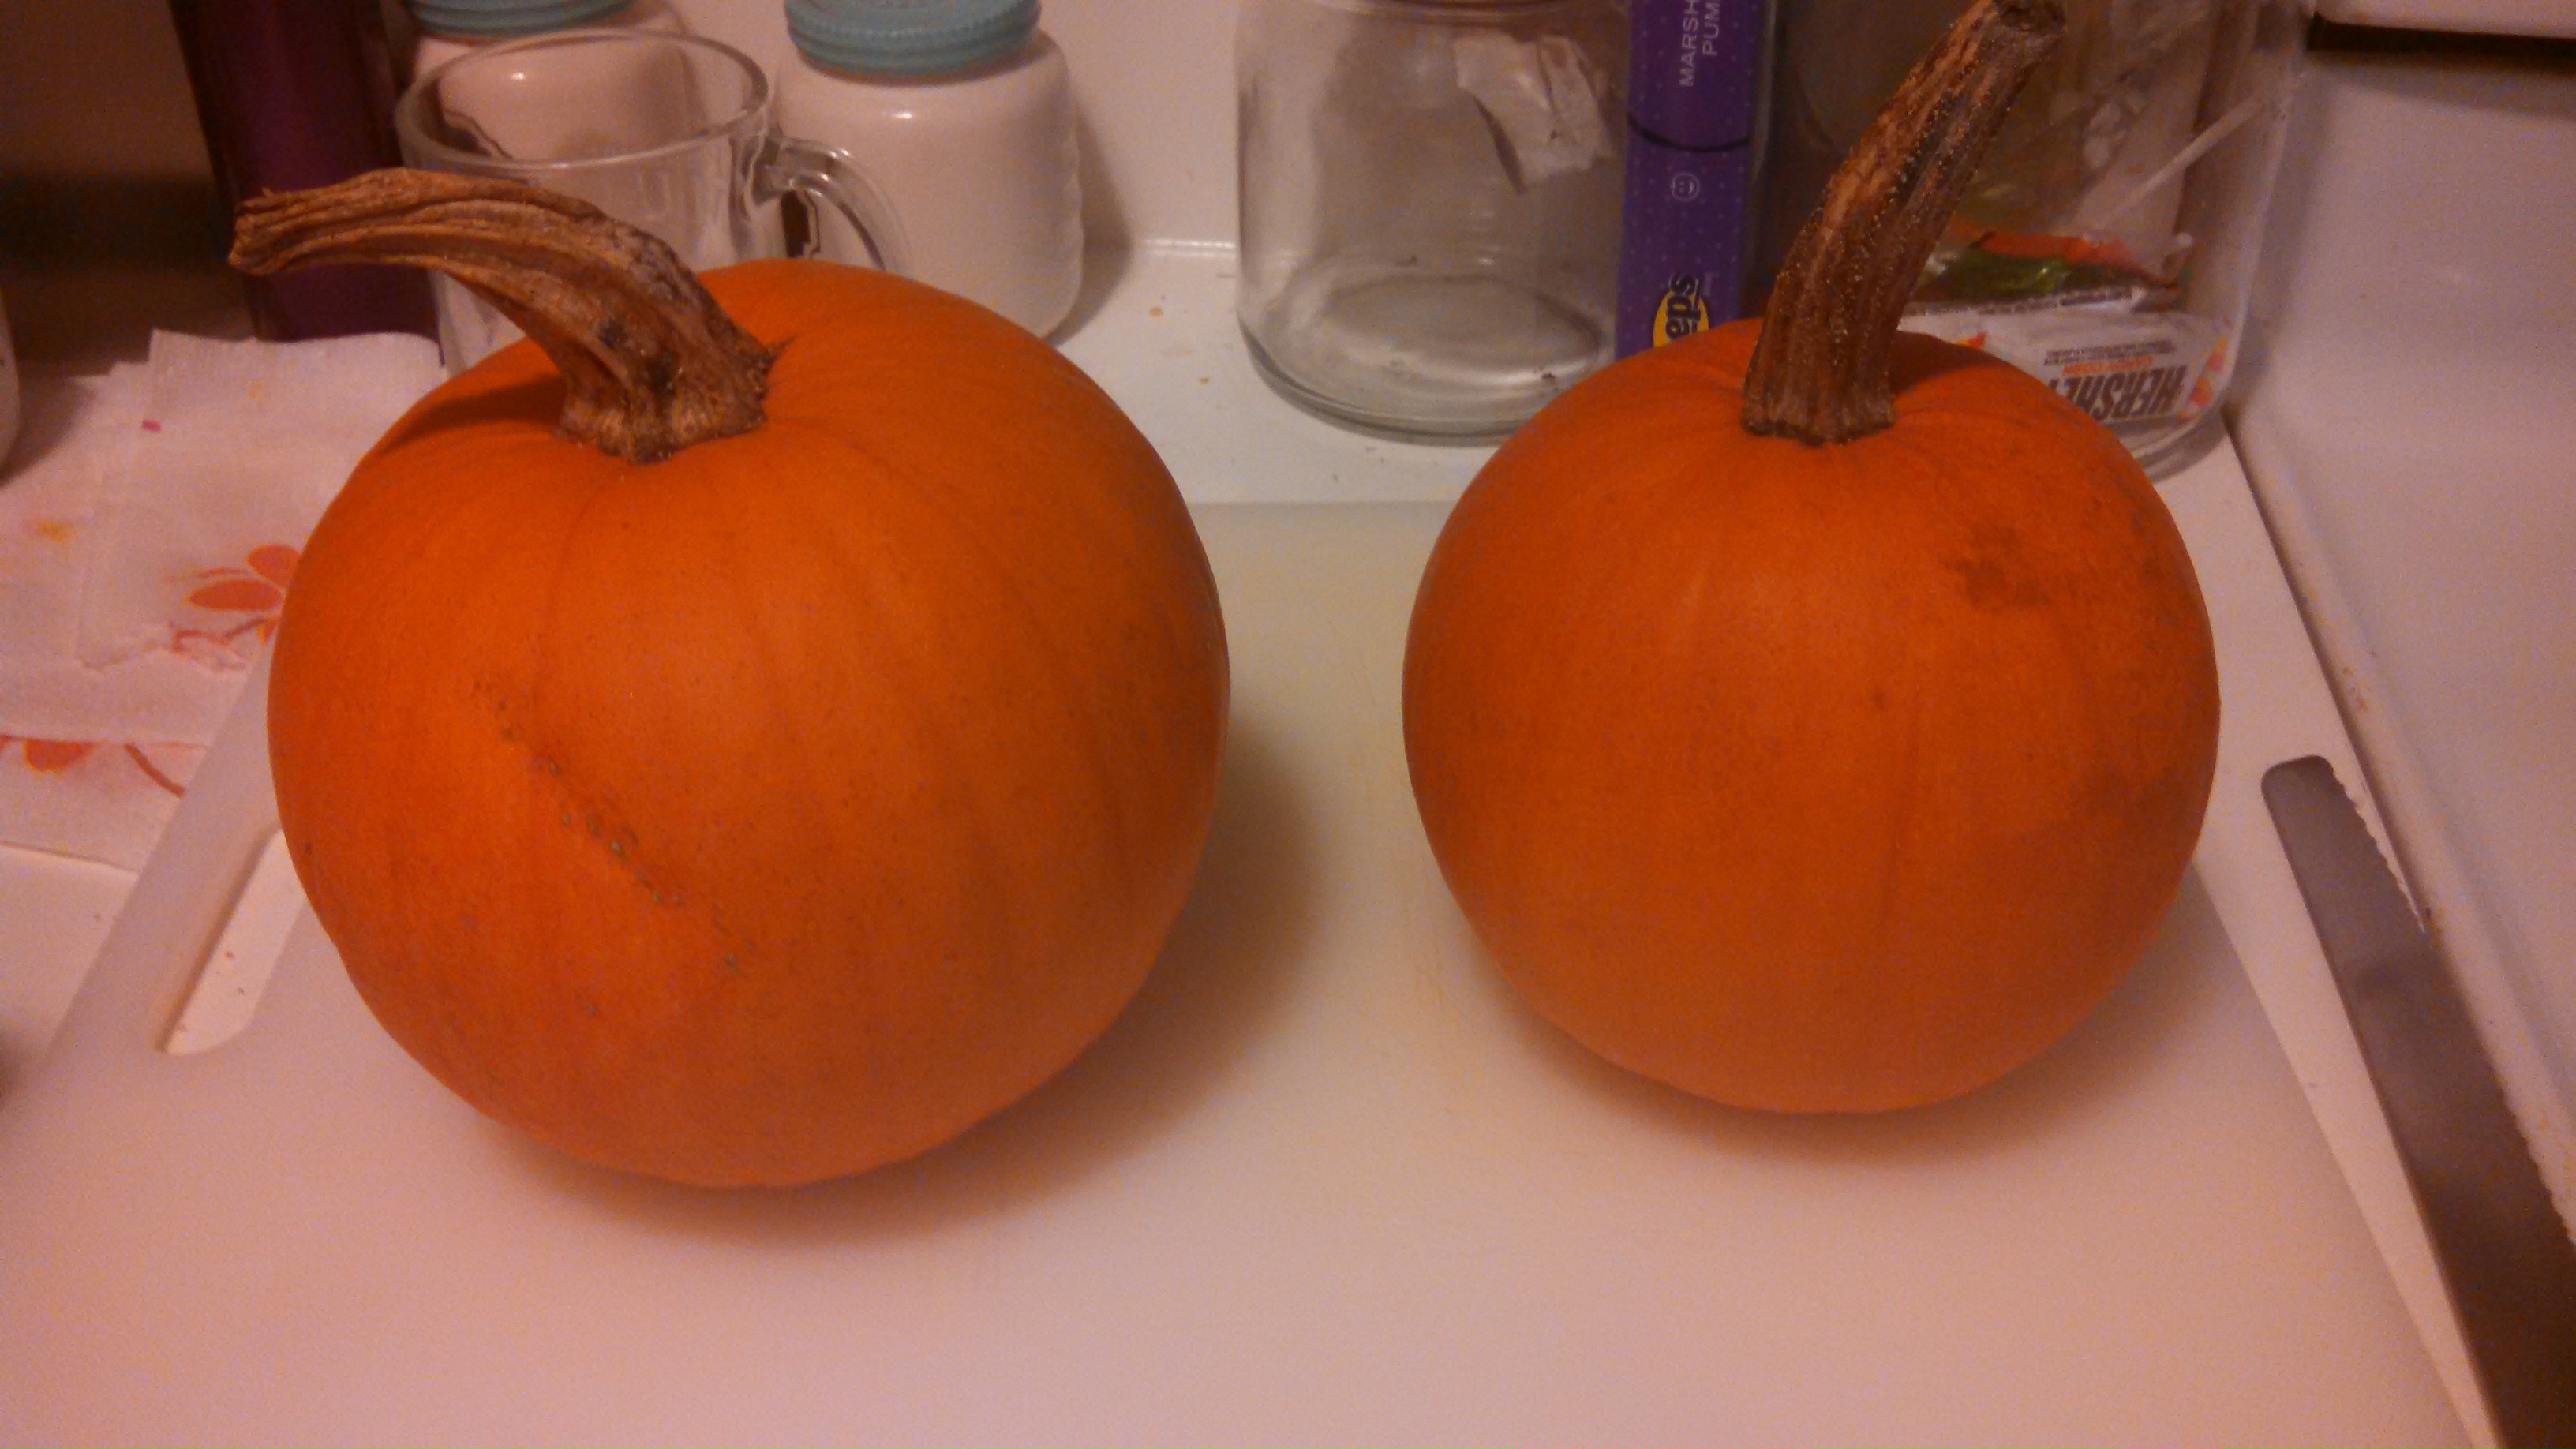
It starts with pie pumpkins, where unlike jack o'lantern pumpkins, erring on the small ish side is a little better.

These guys would make terrible jack o'lanterns, but they were born for baking.
Then you cut into them much in the way you would a jack o'lantern. Take the tops off and scoop out the seeds (save the seeds for later and bake them for a tasty treat. I -loooooove- roasted pumpkin seeds. You don't even know.)


Then cut the pumpkin into quarters and place on a baking sheet. Don't add salt, cinnamon, oil or anything to them. All they need to be is what they are.


Bake them at 350 degrees F for ~ 1 hour. It could be a little less or a little longer depending on how much "meat" on each piece. The important thing in that the "meat" be fork tender.

When it is, -carefully- peel the skin off and pop the "meat" (I really don't know what else to call it) into the blender and puree until nice and smooth.


And there you have it: your very own fresh pumpkin puree to freeze or use as you see fit.

(I promise to post the pumpkin dessert made with this puree soon. I promise.)

Monday, November 3, 2014

Year One in the Garden

I've got a retrospective of my first year gardening over on Medium. Those of you who were interested into my foray should head over and check it out:

My father bit into the first strawberry of the season. He hadn’t even taken it inside to wash; just popped it into his mouth like ballpark peanuts. Seconds later, his face had gone just as red as the not-yet-picked berries on the plant. Before I could run for help, he sucked in a breath and gulped down the air, reaching for another one.
“Damn! Those suckers have a kick to ‘em.”
And that was the year we accidentally cross pollinated habanero peppers and strawberries.
I come from a long line of plant people: fresh tomato snobs and home salsa canners, foodies before foodie was really a word, dating all the way back to the village cheese monger. I have learned a lot of lessons from the garden
But this was my first year on my own.

Later this week: Pumpkin Dessert, so stay tuned!

Tuesday, October 28, 2014

Italian Egg Drop Soup (Stracciatella)

Soup.

I love soup...

If I had to limit myself to eating only two kinds of food for the rest of my life, they would be pizza and soup. If I had to limit myself to one? As much as this pains me, pizza, it would have to be soup.

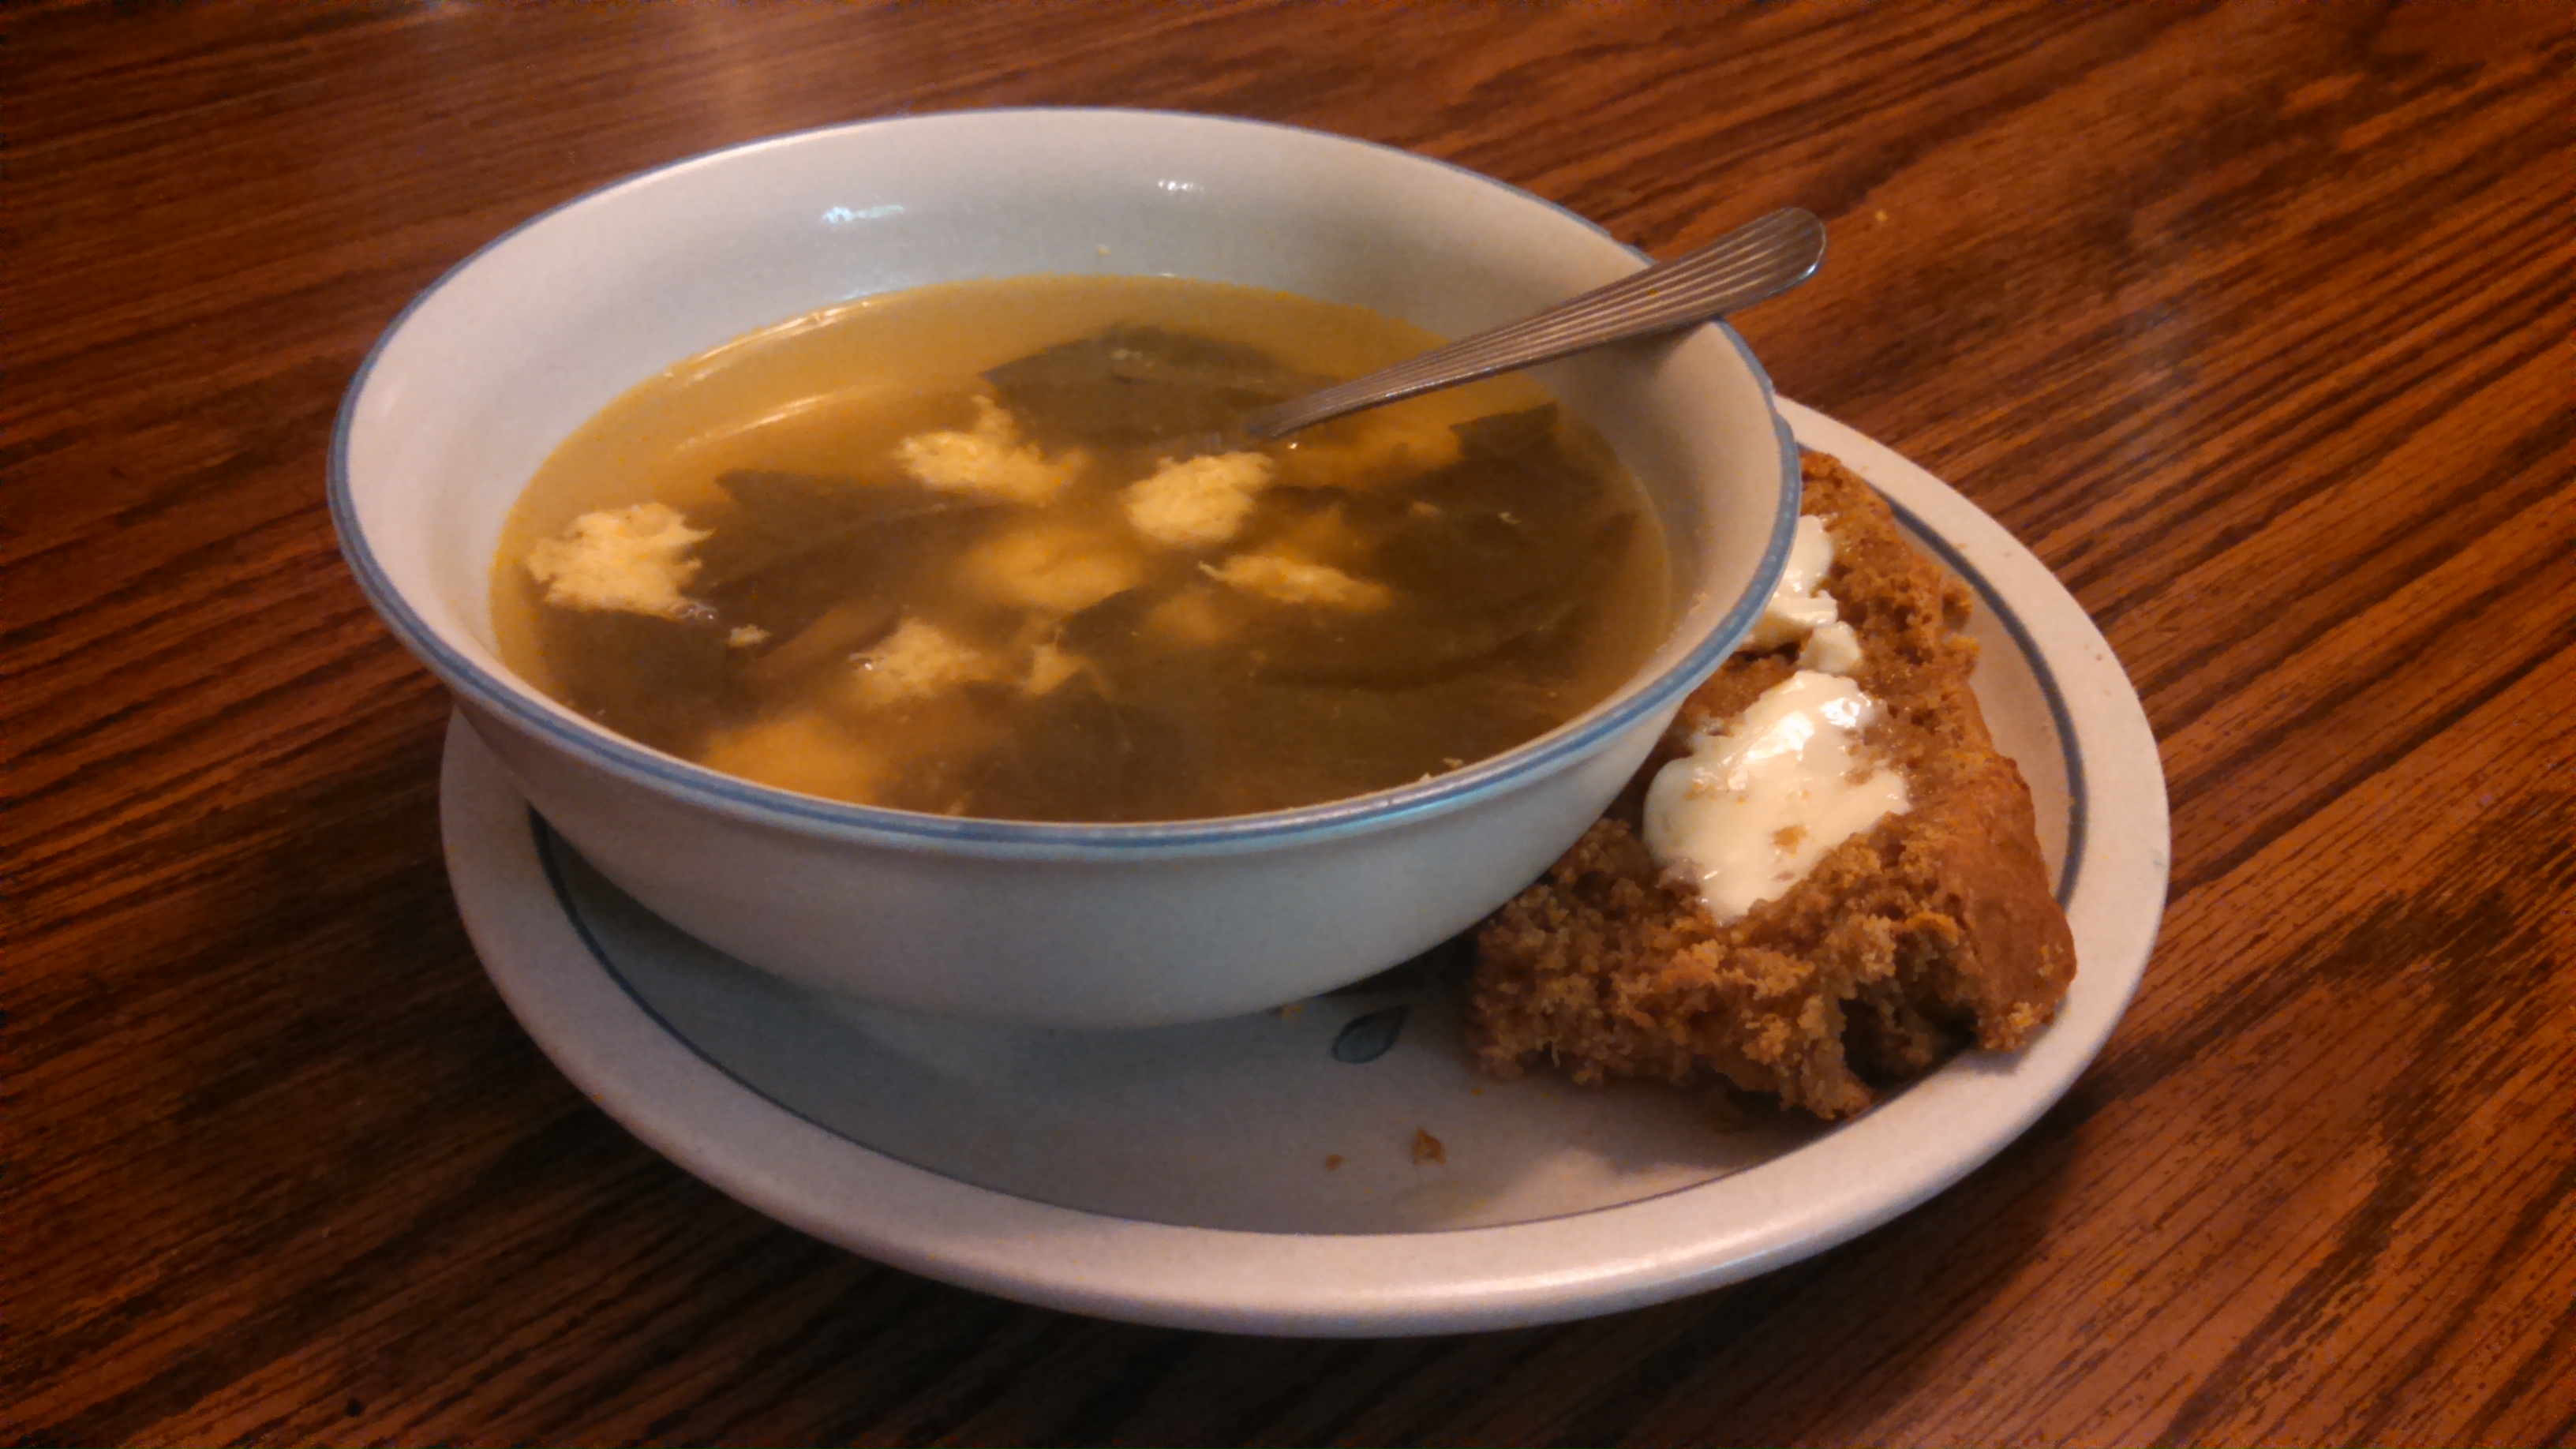
This soup...is spectacular. So much so that I made it twice in a week. And, not just because we really needed to use all the chard.


It's just a perfect soup for when the days begin to chill.


Italian Egg Drop Soup (Stracciatella)
inspired by Simply Recipes

[What You Need]
6 cups chicken broth
1 egg
1 T breadcrumbs
2 T parmesan cheese
2 cloves minced garlic
1 t ginger
1 t tumeric
1 t chili powder
1 or 2 bunch chard

[What to do]
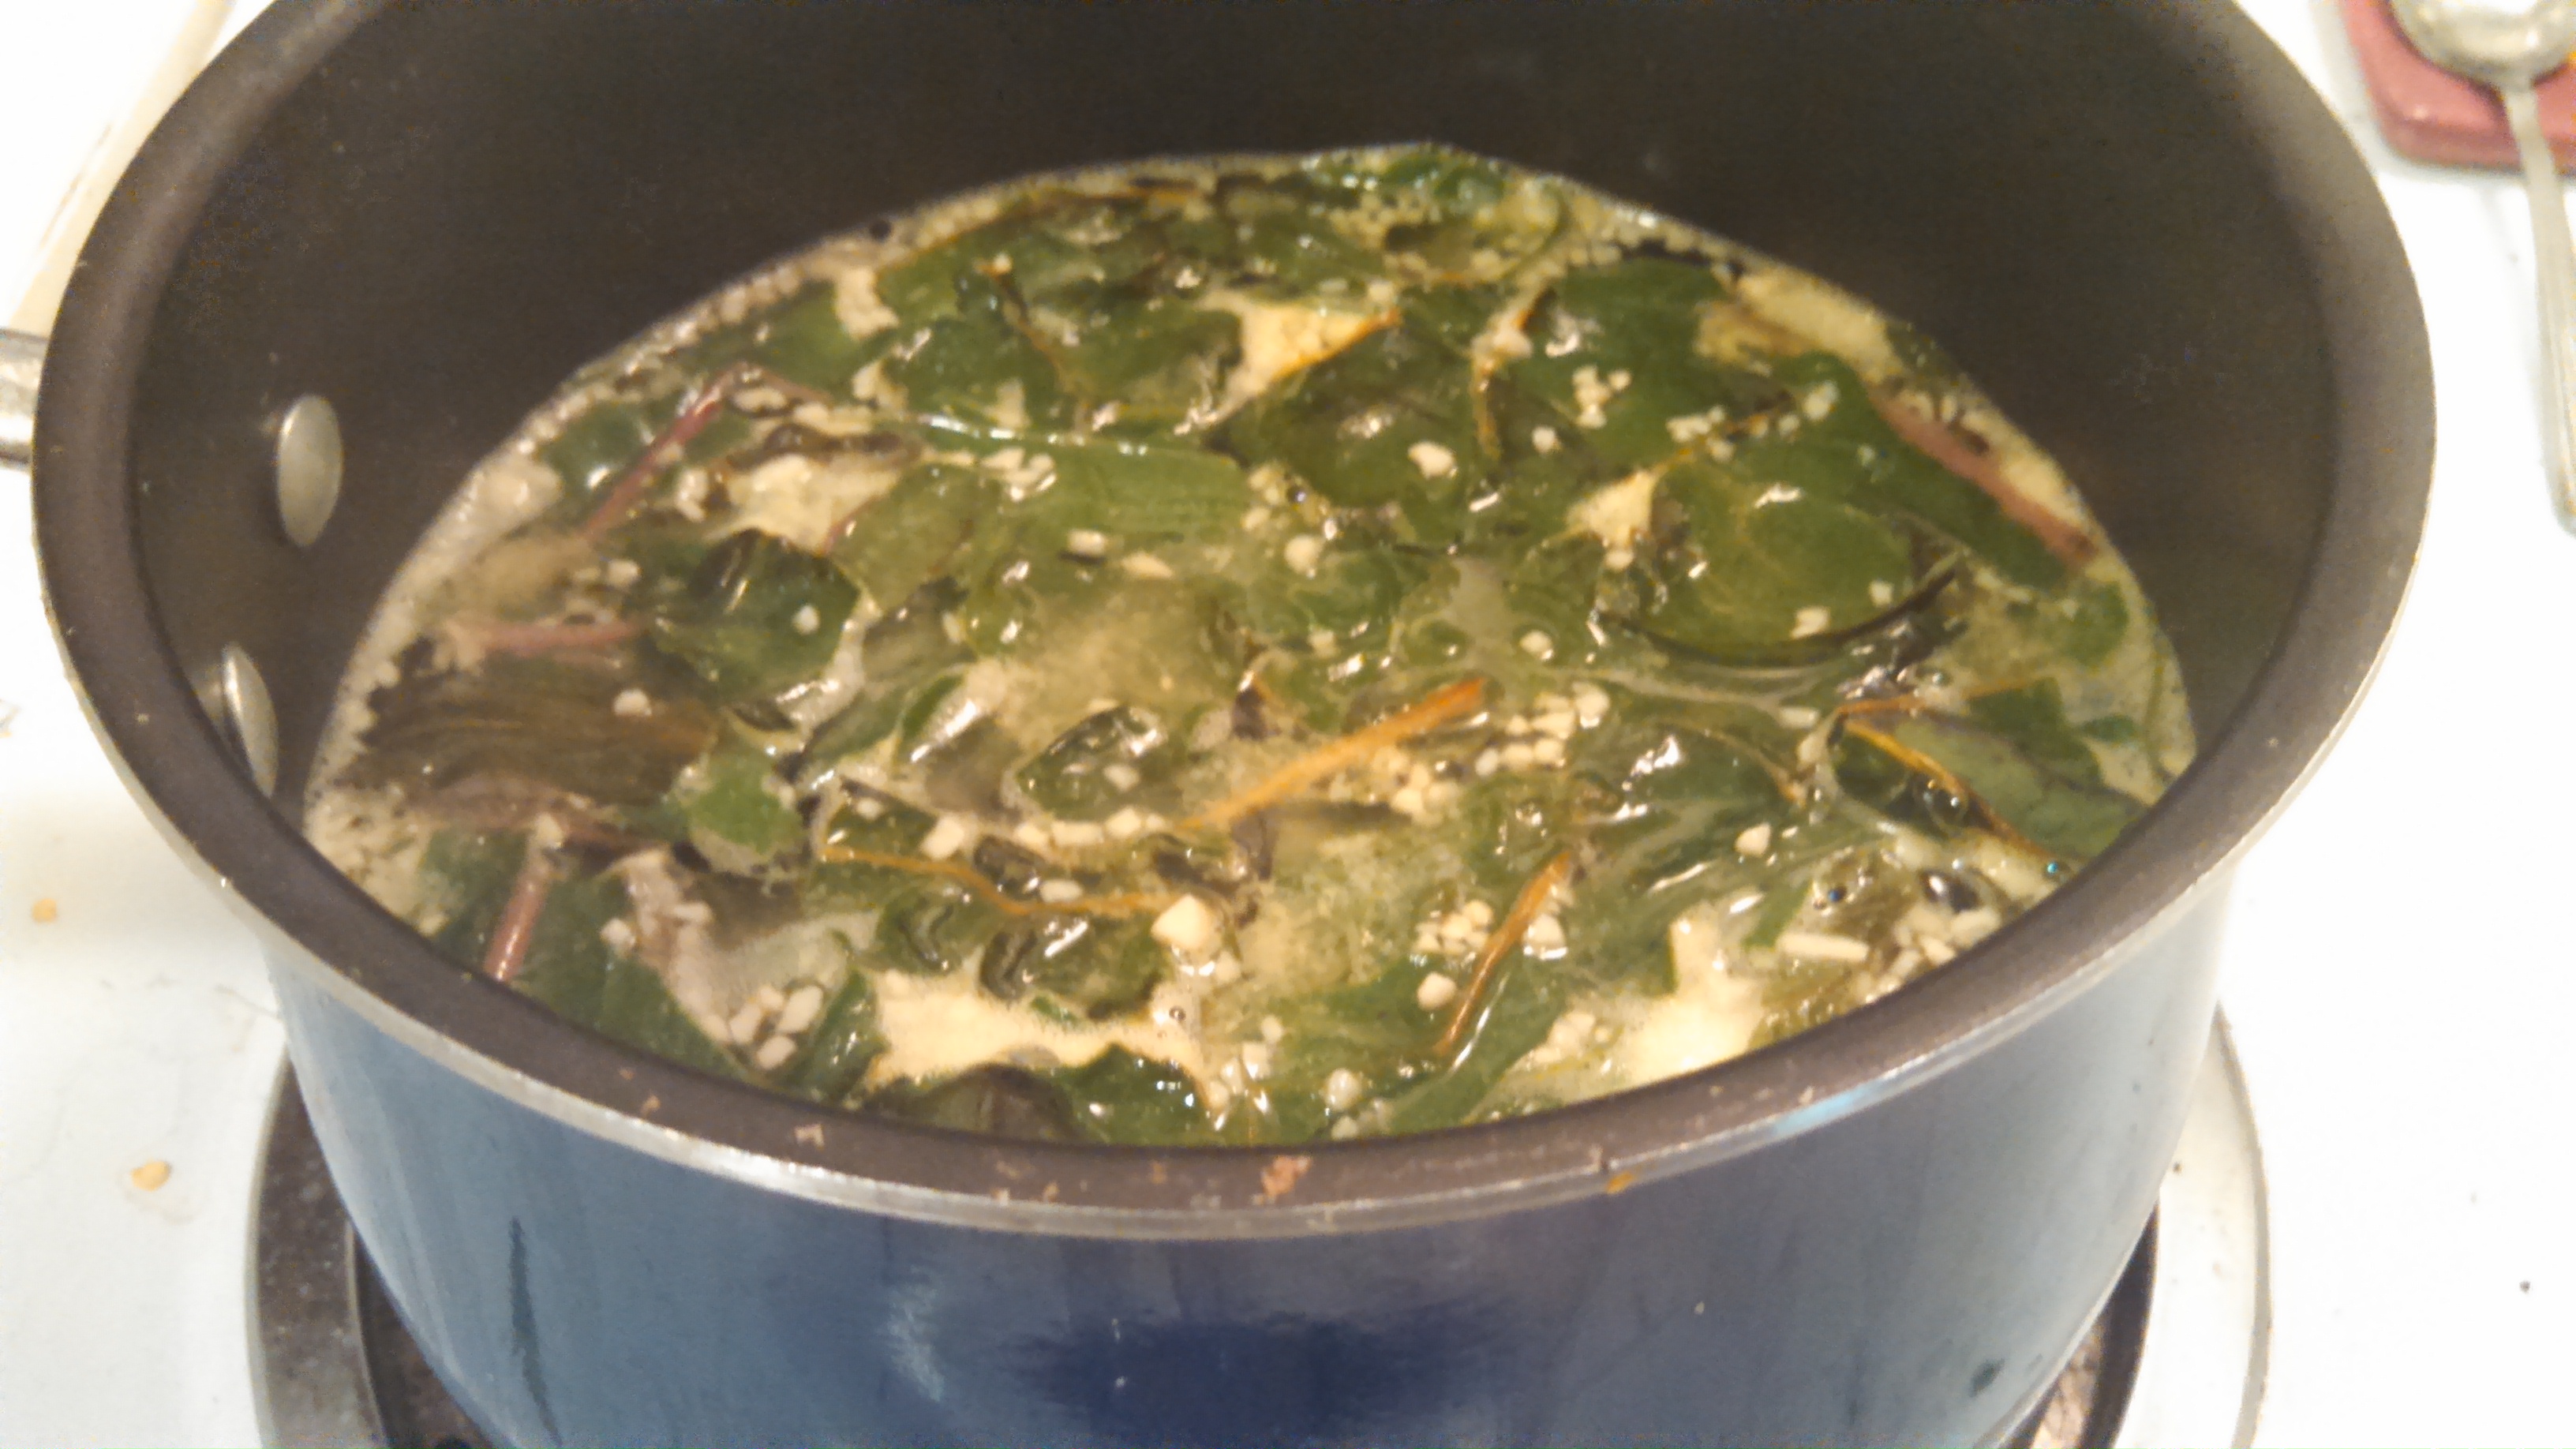
  1. Bring broth to a boil, add chard and garlic. Continue to boil ~5 min.
  2. Whisk egg, cheese, breadcrumbs, and spices together in a separate bowl.
  3. Gently drop the mixture into the soup. Allow to sit for a few seconds, then stir.
  4. Allow to sit for a minute before serving.


Monday, October 13, 2014

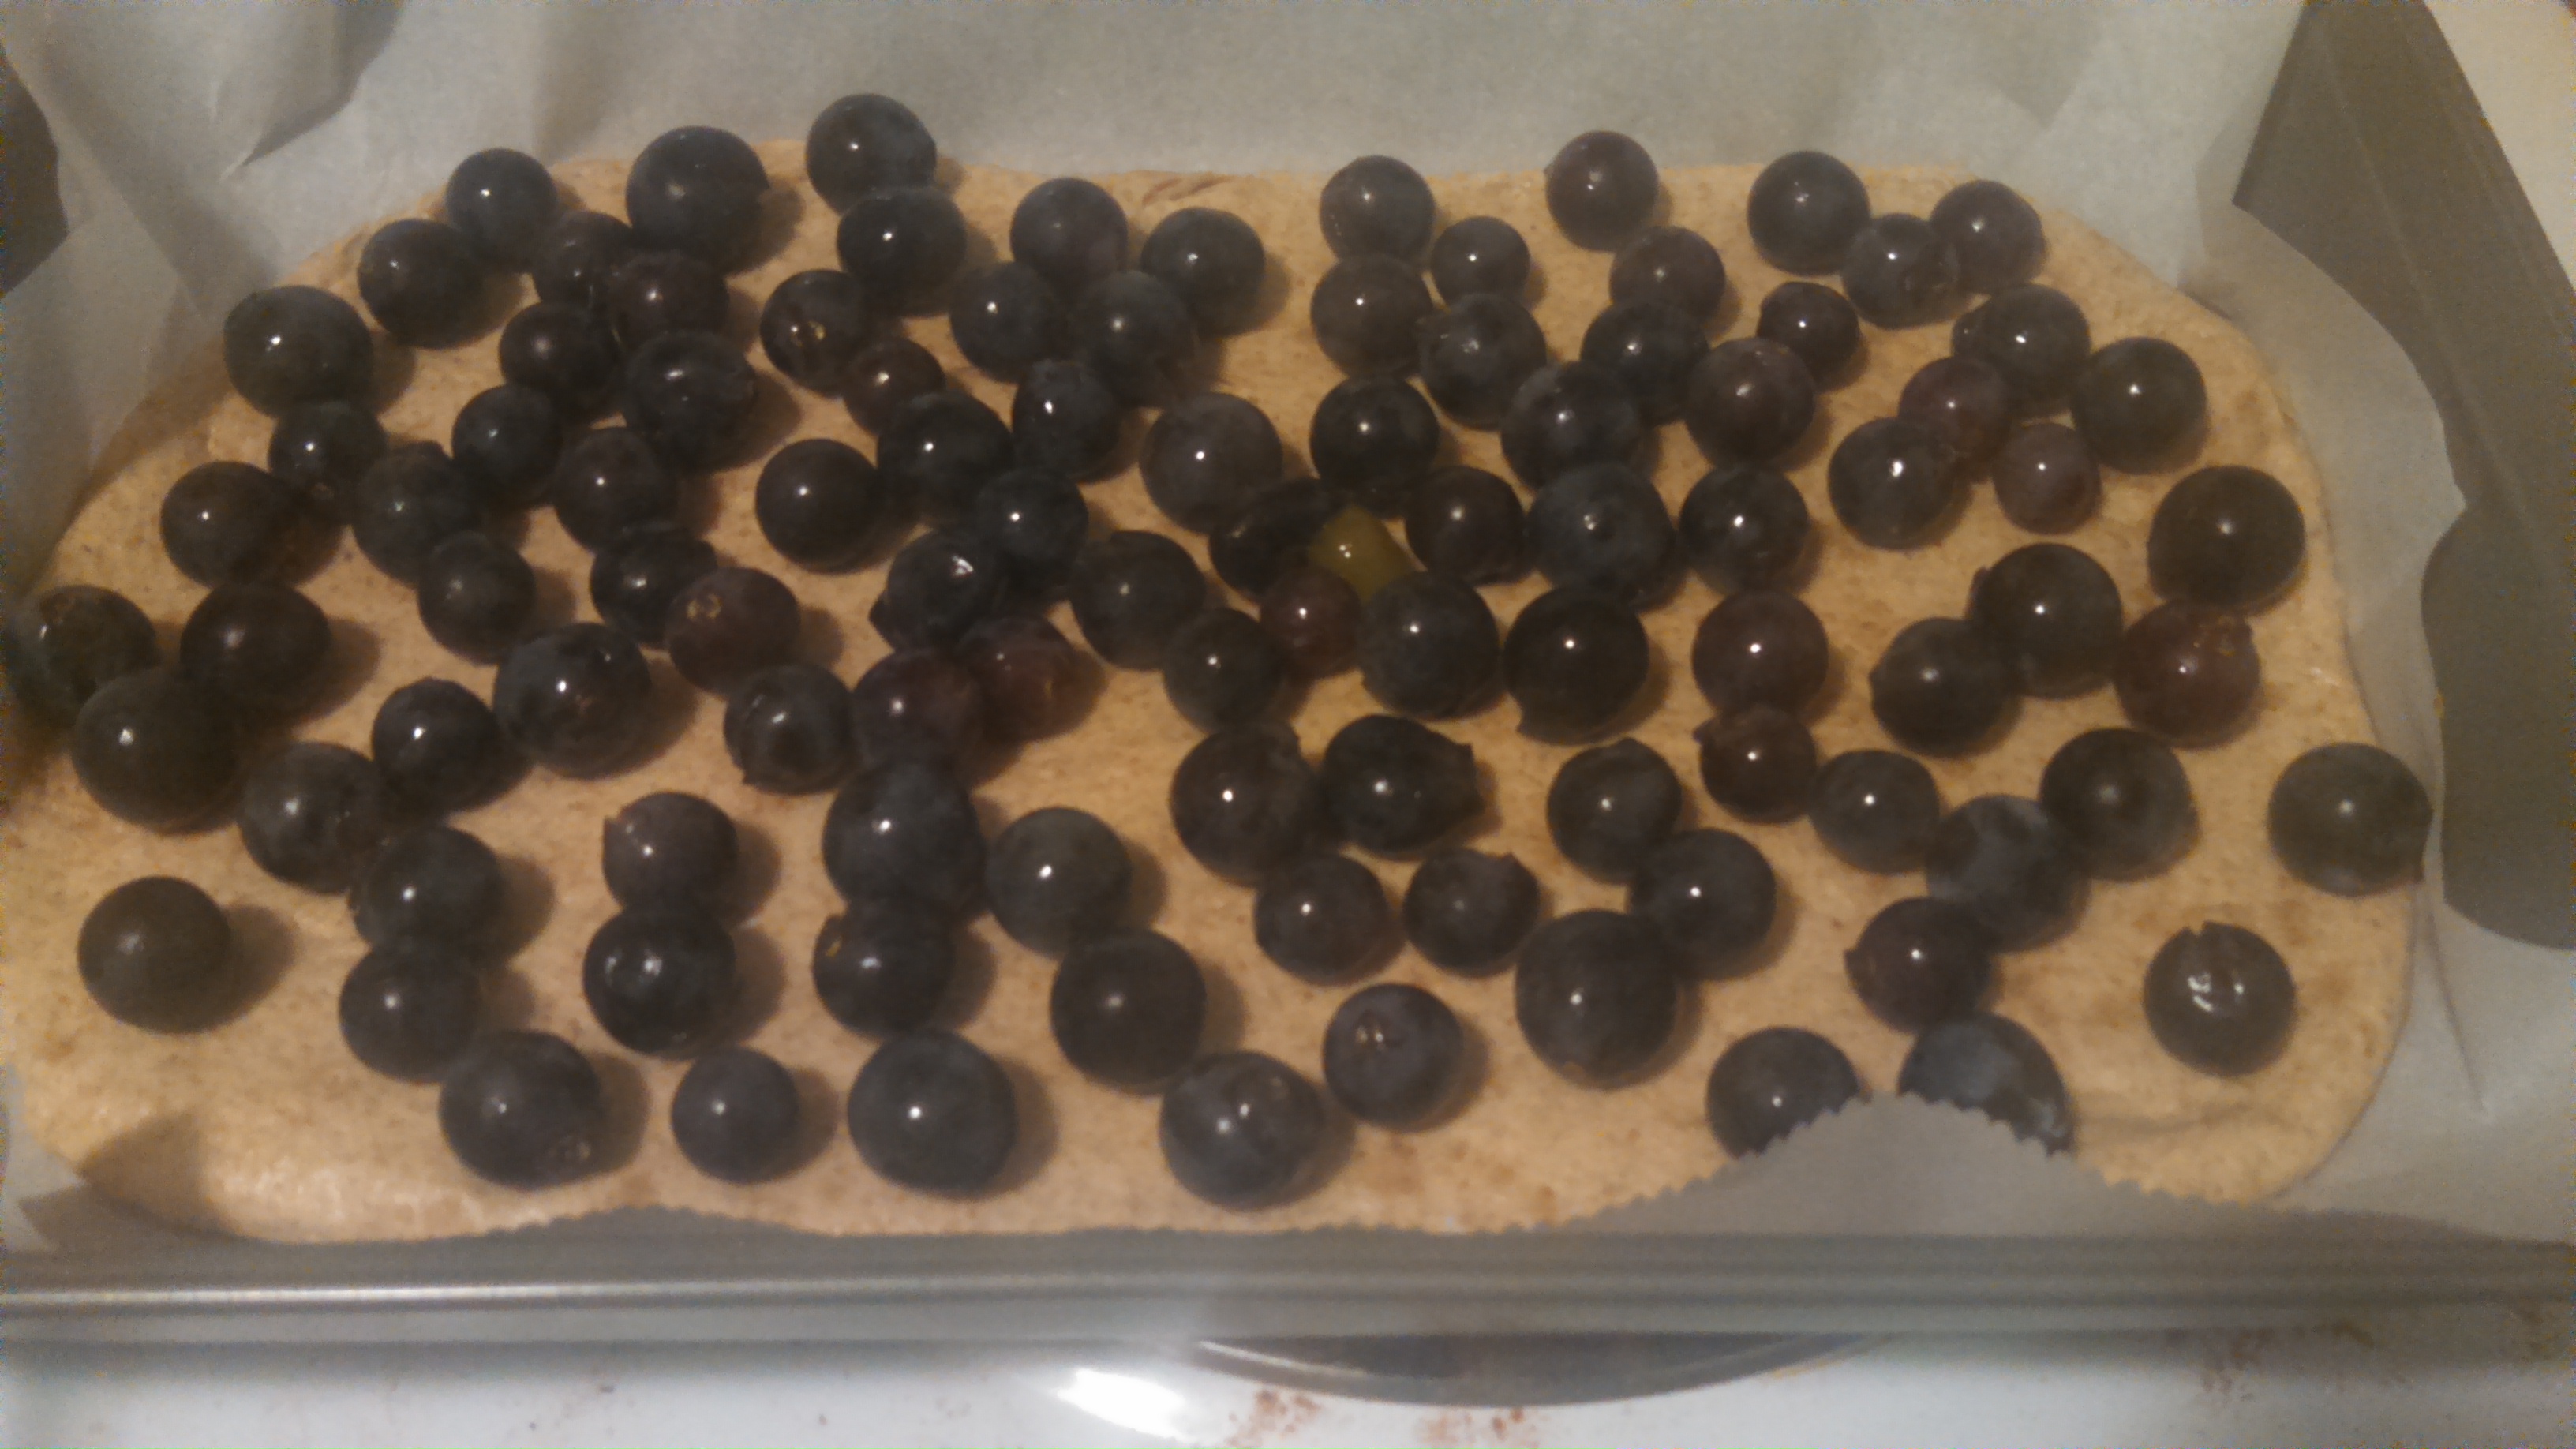
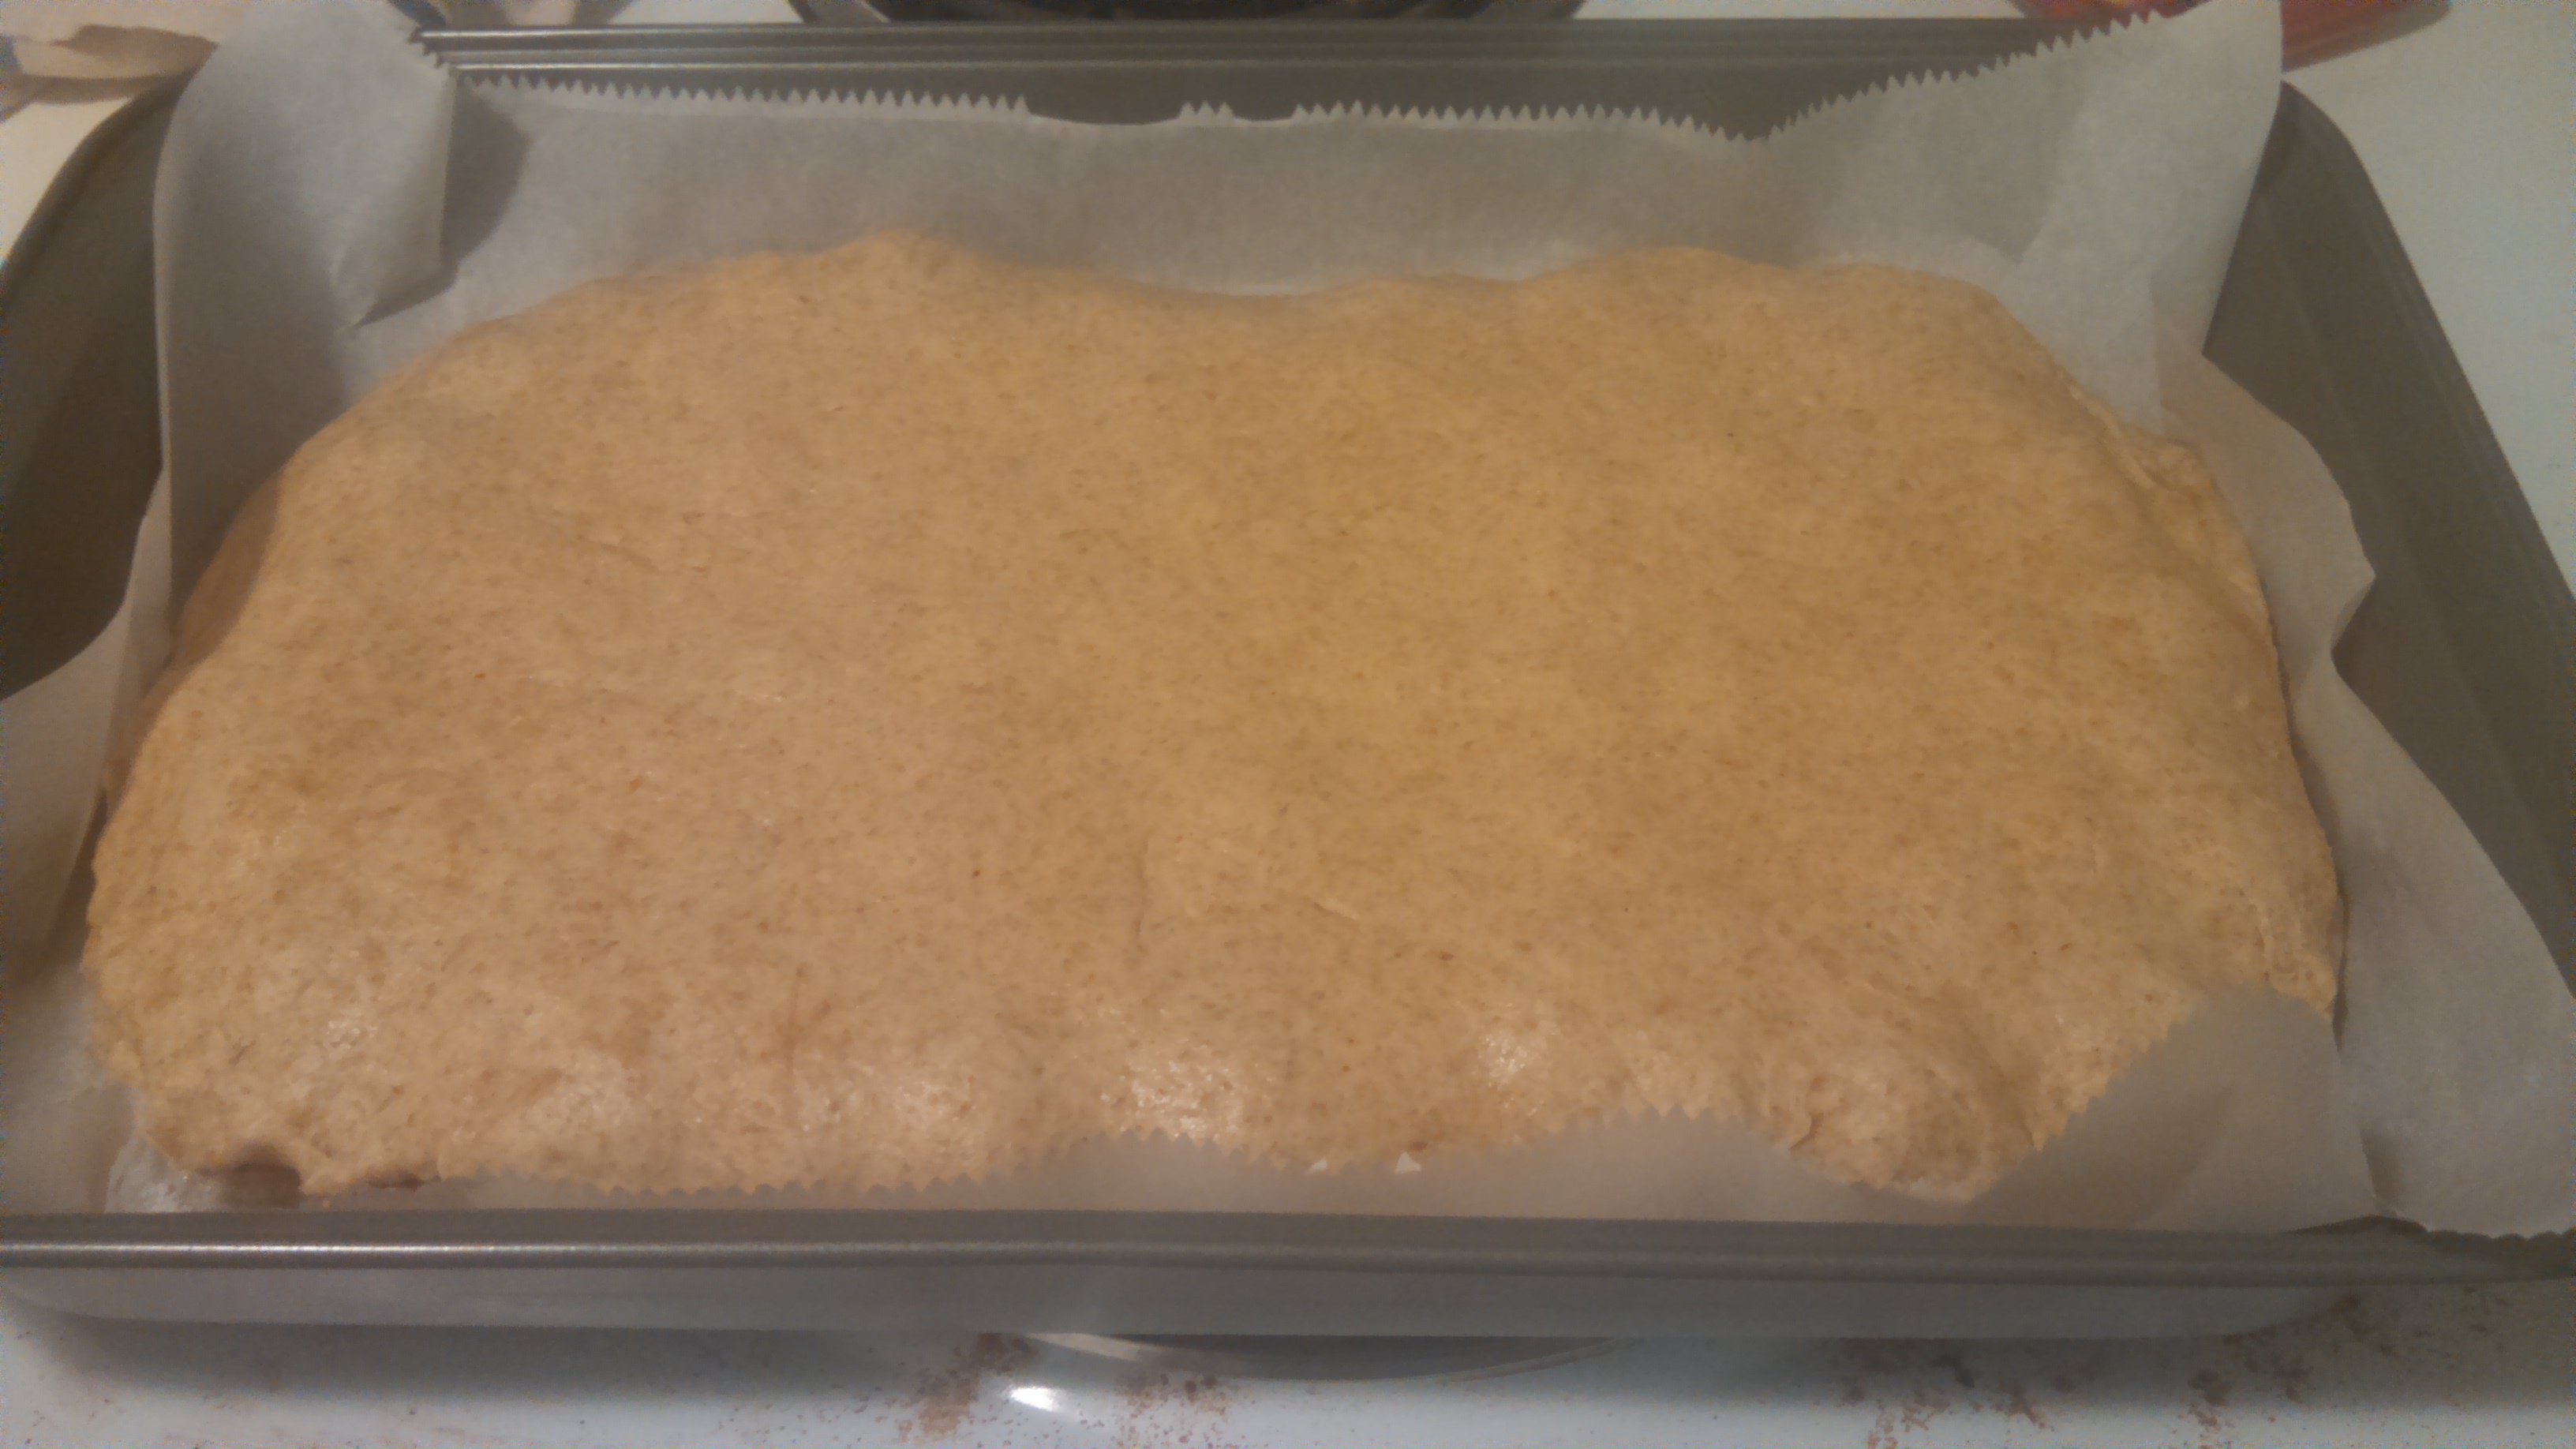
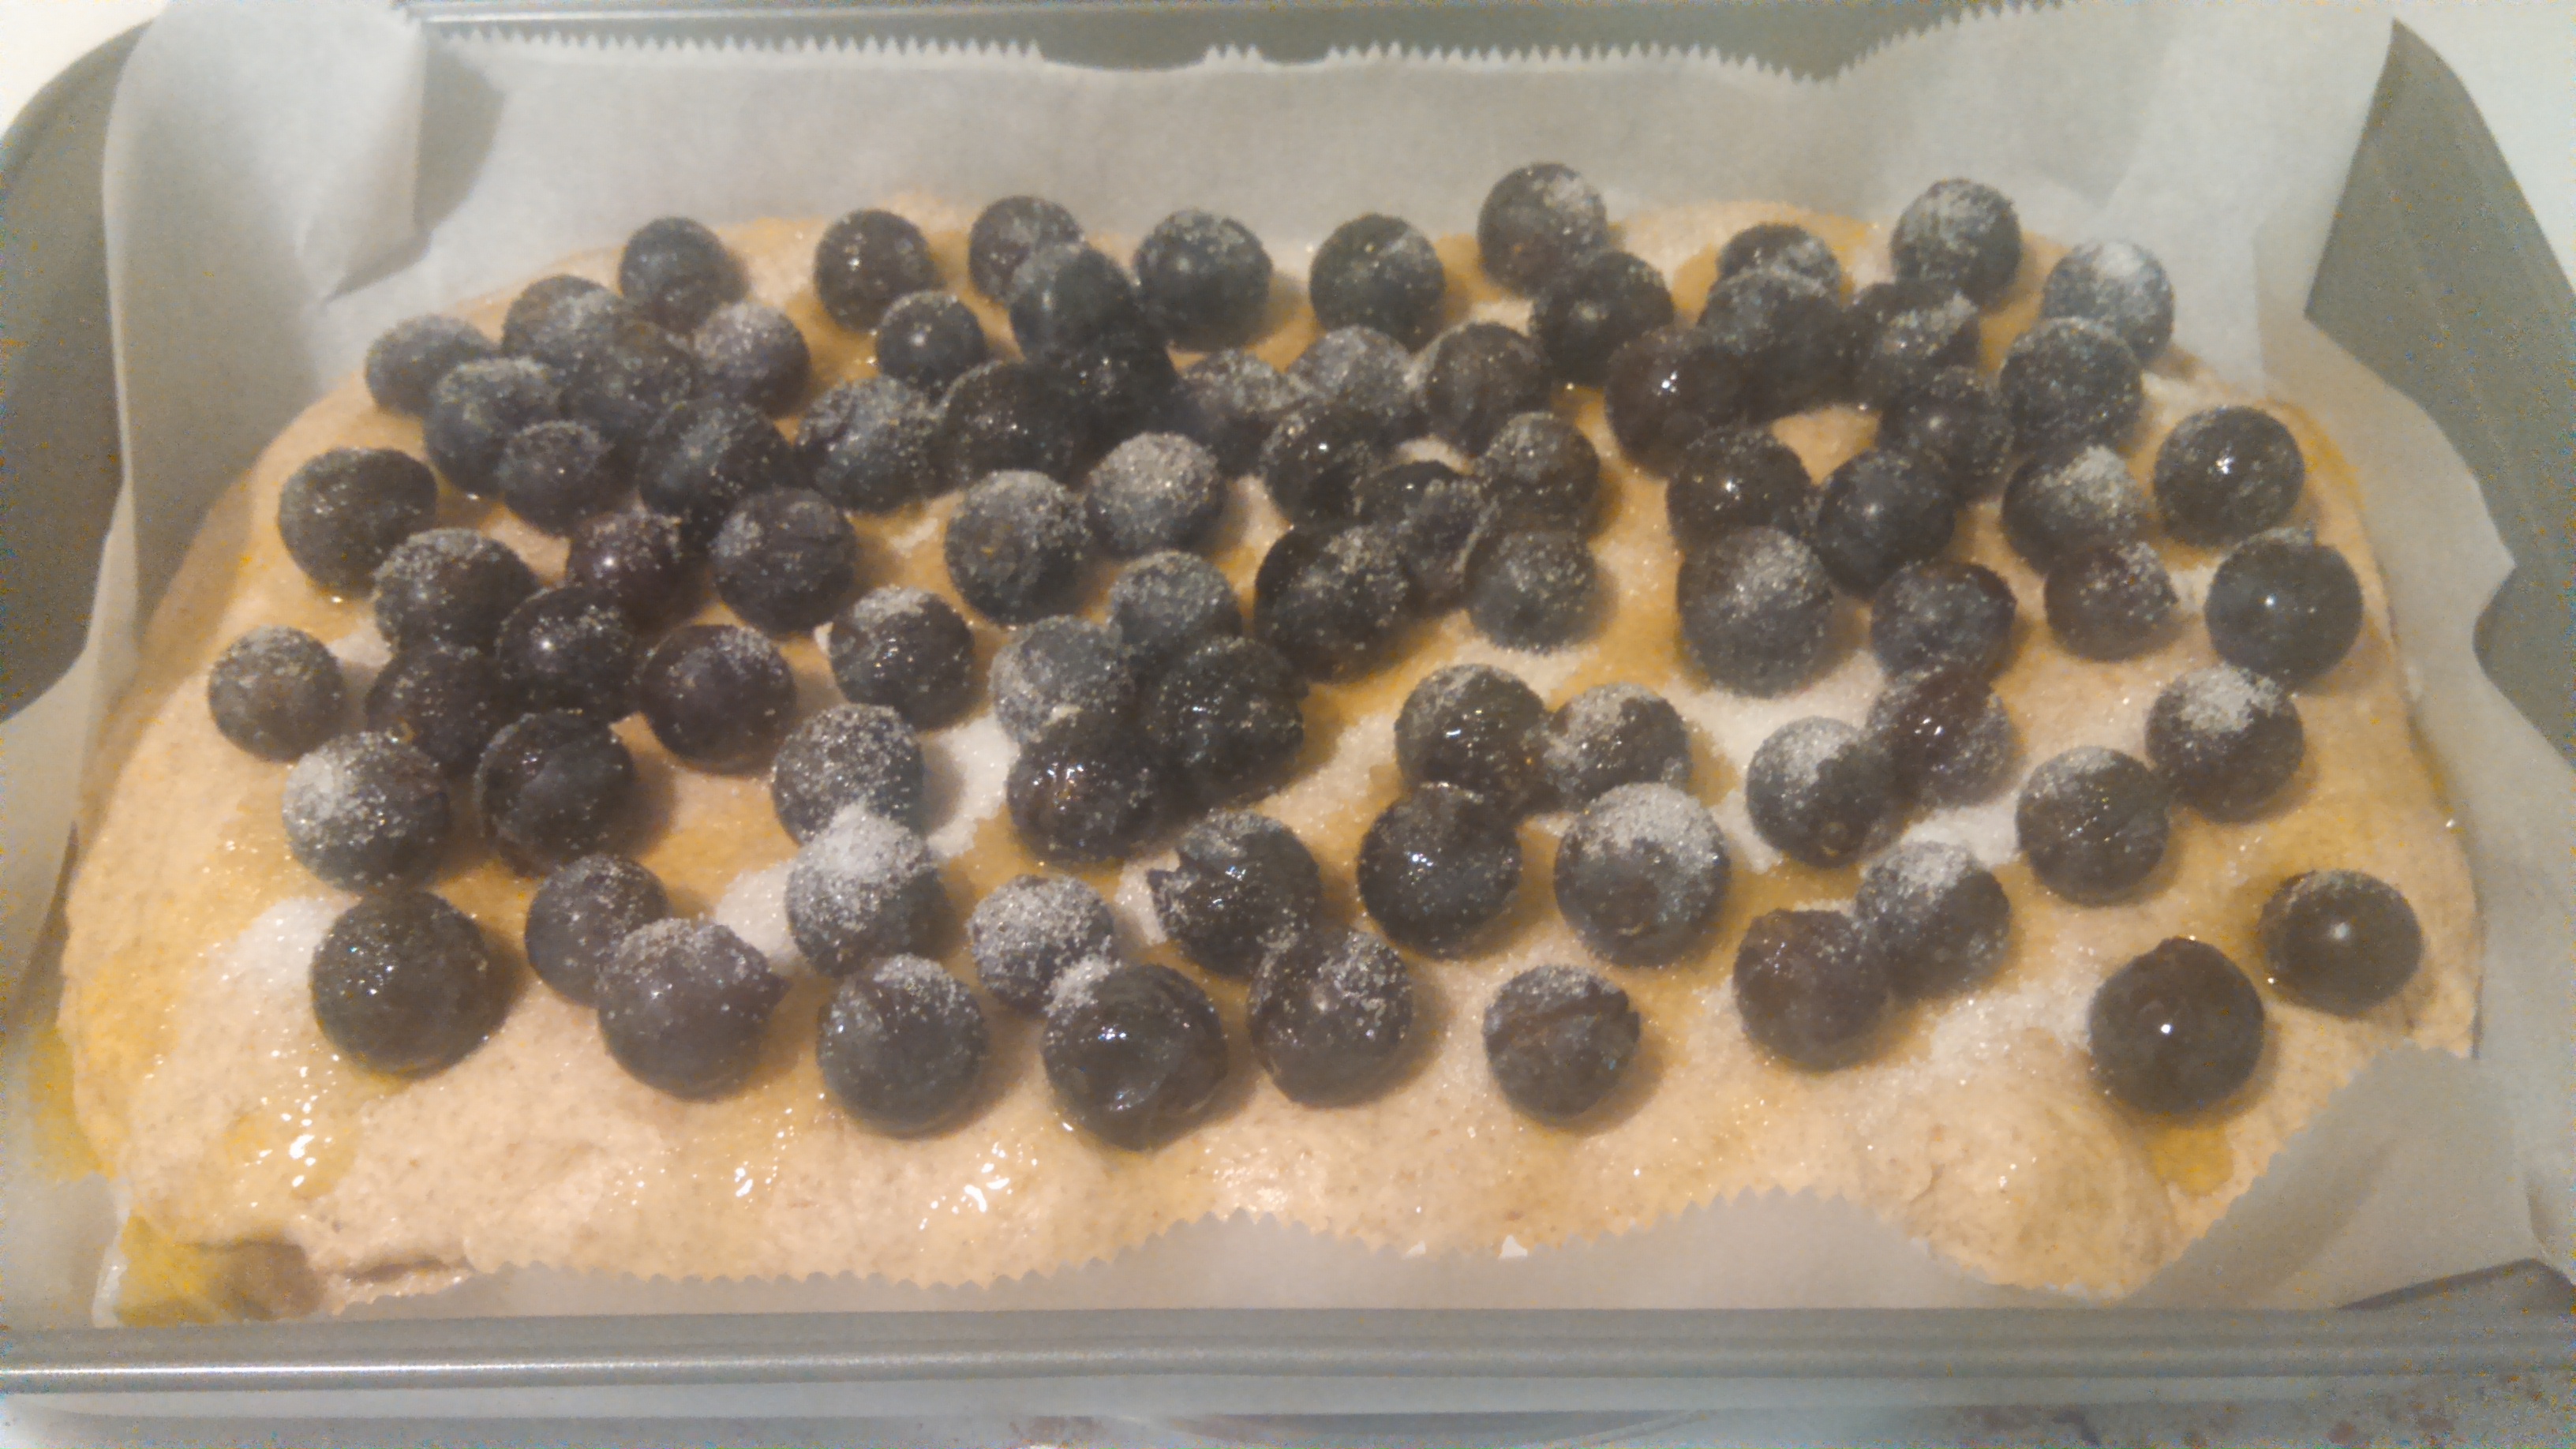
Grape Focaccia (Schiacciata all'uva)

One of the best things about sharing most meals with someone else is that you can experiment a little with what you make. If I were only cooking for myself, there is no way on earth I would have attempted this recipe.


Why?


Well, for starters, I'm not the biggest fan of grapes. I know, I know. I'm the girl who made fun of her father constantly throughout childhood for liking tomato soup but refusing to eat fresh tomatoes. I get how silly it sounds for a wine devotee to be grape-shy. But there's a reason for that too.


Grape flavoring reminds me of a certain cold medicine that I was often given as a child. I avoid syrupy cherry flavored items for the same reason. I know the grape was supposed to make it better, but...I now have a lifelong aversion to grapes that aren't in wine form.

As I got older I found the Muscat and Sultana varietals. I began to realize (or so I assumed) that "actual" grapes taste nothing like certain childhood cold medicines. It made logical sense. Medicine wasn't made with actual grapes for flavoring, but artificial flavors. I told myself it would be fine.


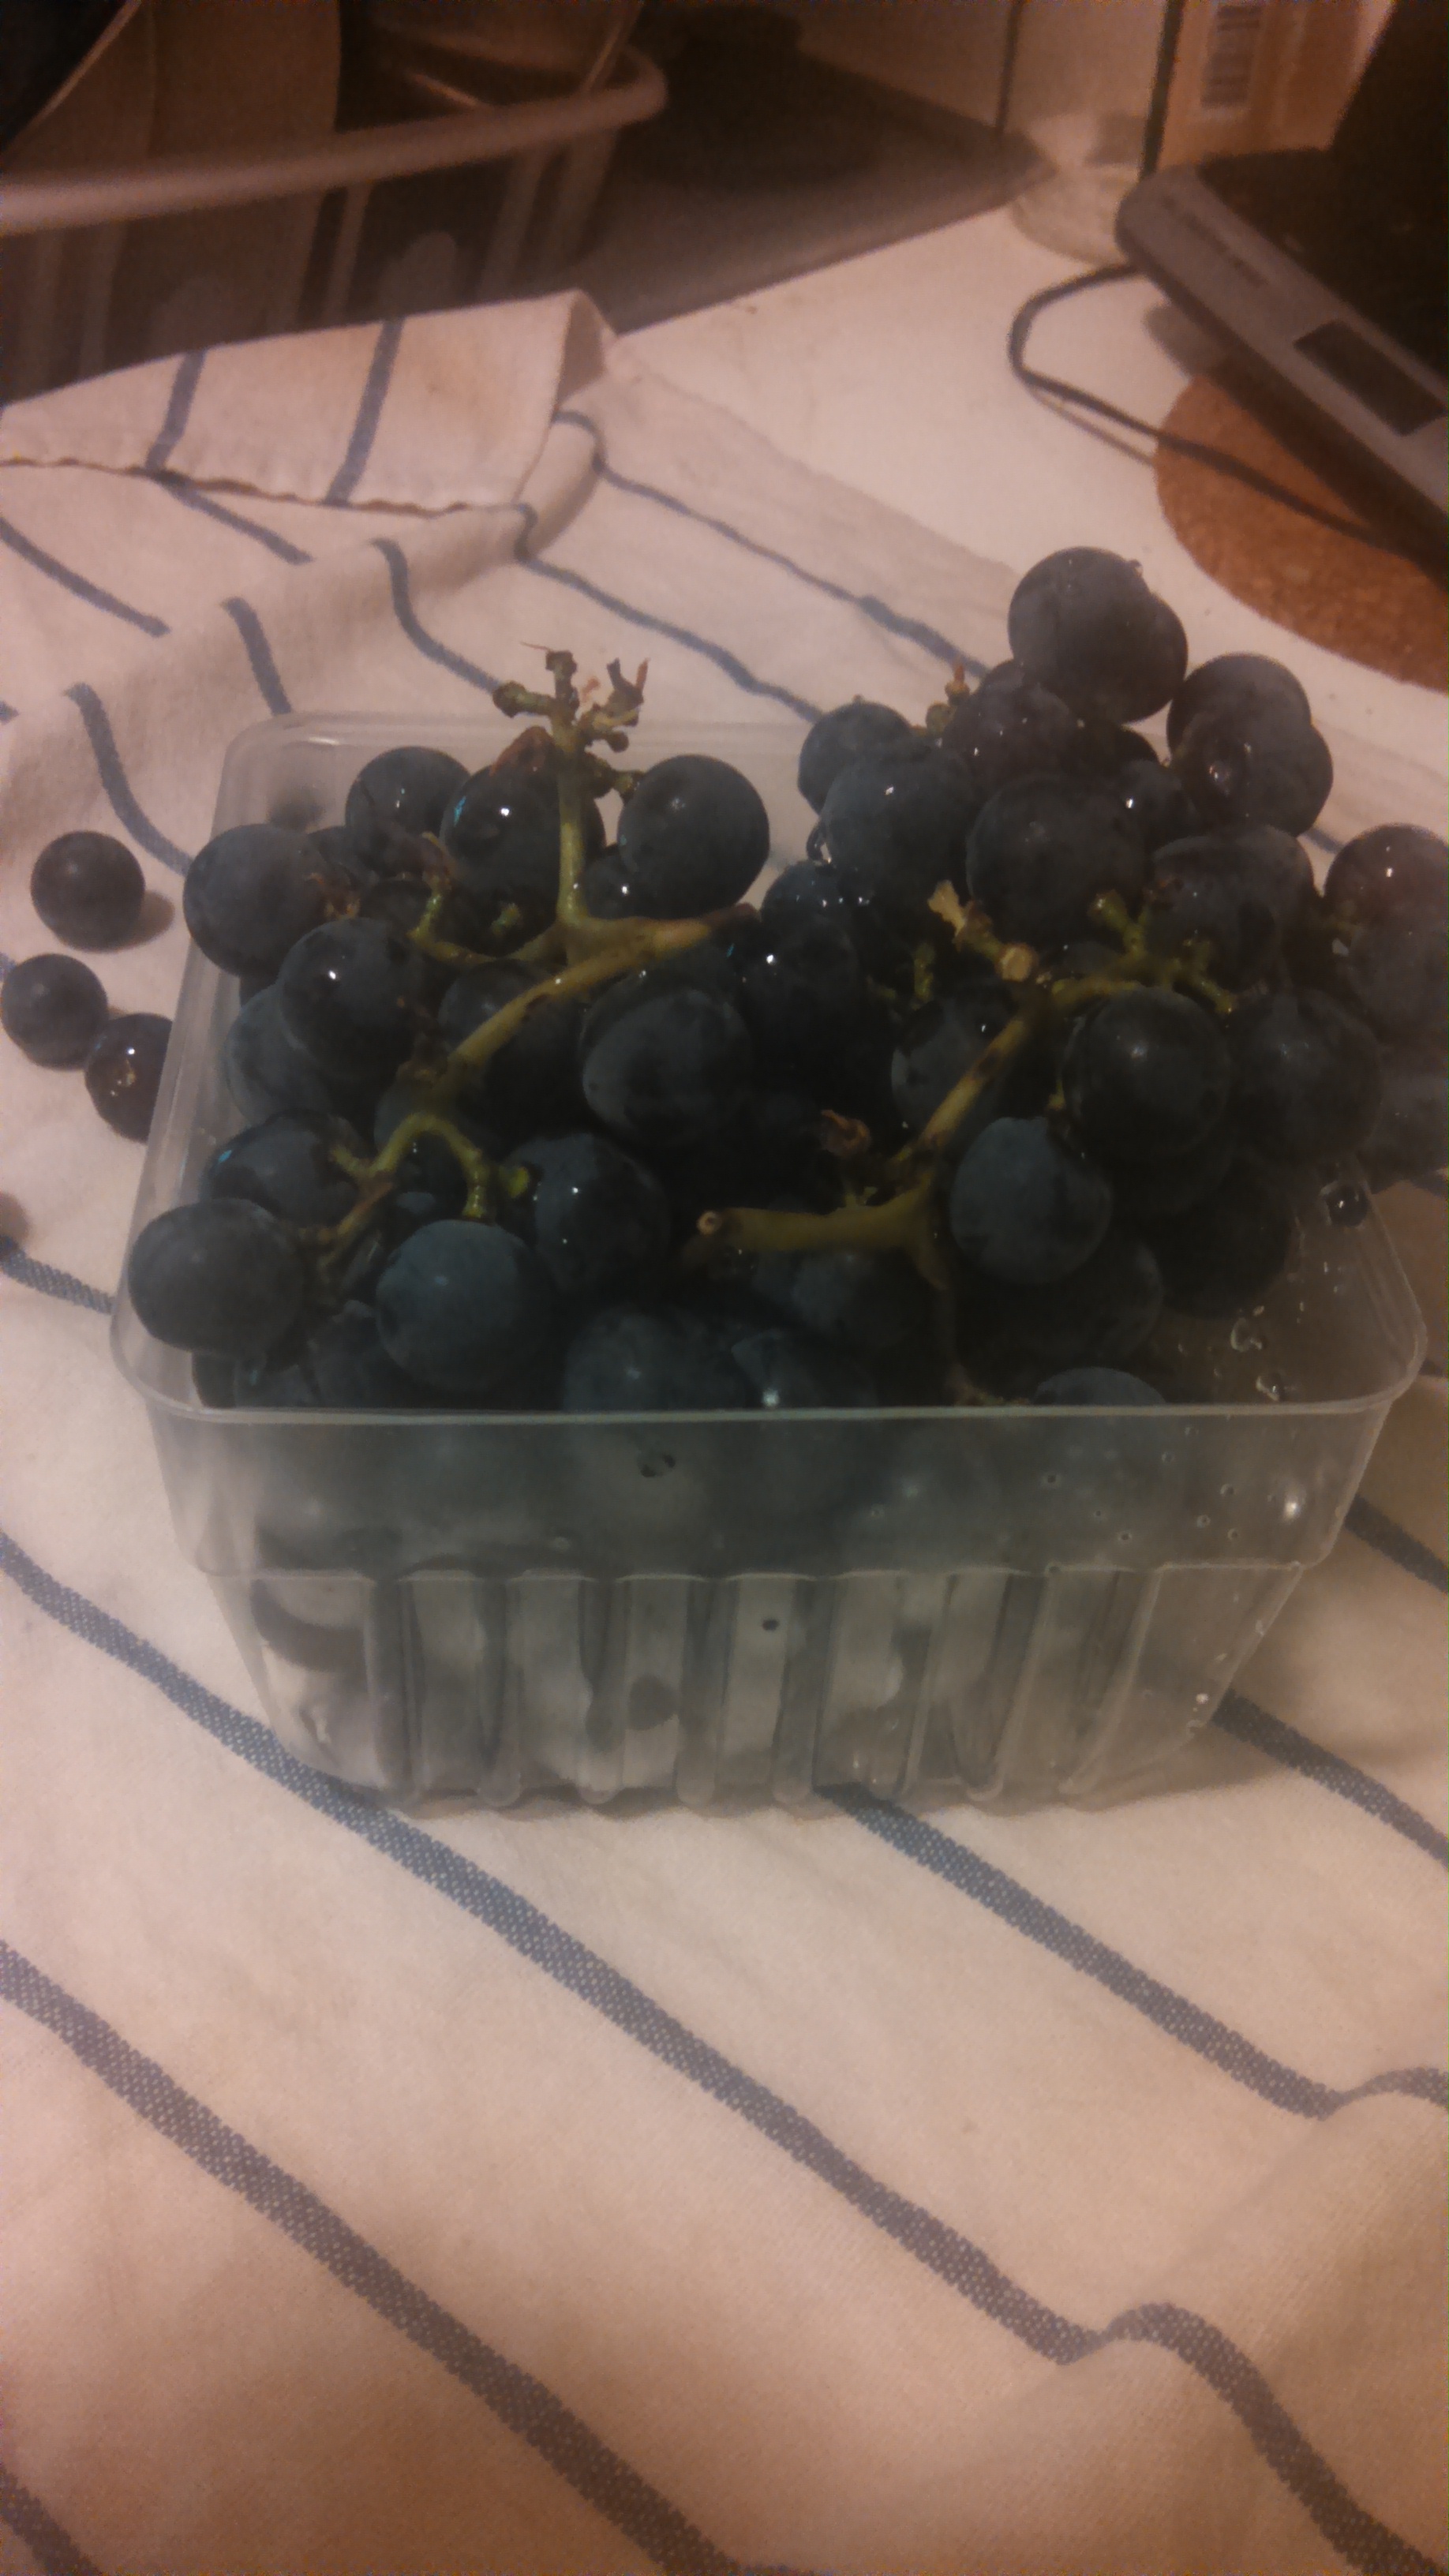
This recipe, though, doesn't call for Muscats or Sultanas. This recipe calls for Concords, which little did I know at the time...

are the inspiration for artificial grape flavor.


Unfortunately, Concord grapes still taste like that childhood grape flavored medication, so I didn't love this, but people at work called it wine bread, so I suppose in the right hands this recipe could be amazing. Head on over to Food52 and check it out.

Monday, September 29, 2014

Preserving the Bounty: Sauerkraut!!!

I've been meaning to try this project for awhile now, but I admit I have always found it terribly intimidating. Sauerkraut, like spaghetti sauce, has deep roots in my family. I can remember many a childhood day that contained it. Also spaghetti sauce, though, I never ate the stuff in childhood. I referred to it as Sour Crap.

Eventually, I saw the light.

And it's a good thing I did too. Cabbage is crazy good for you. Fermented cabbage? Well, that goes and doubles things, now doesn't it?

So...with extra cabbage in hand, I turned to the source:


Now, you'll notice a few things about this recipe that differ from other instructions. Number one of which is the addition of sugar and vinegar. I have heard that naturally fermented sauerkraut (aka the super healthy stuff) contains neither of these things, only salt. This being my first time making it, using my nonna's recipe was important to me, so I opted to use these ingredients. I may change that in the future depending on my research.

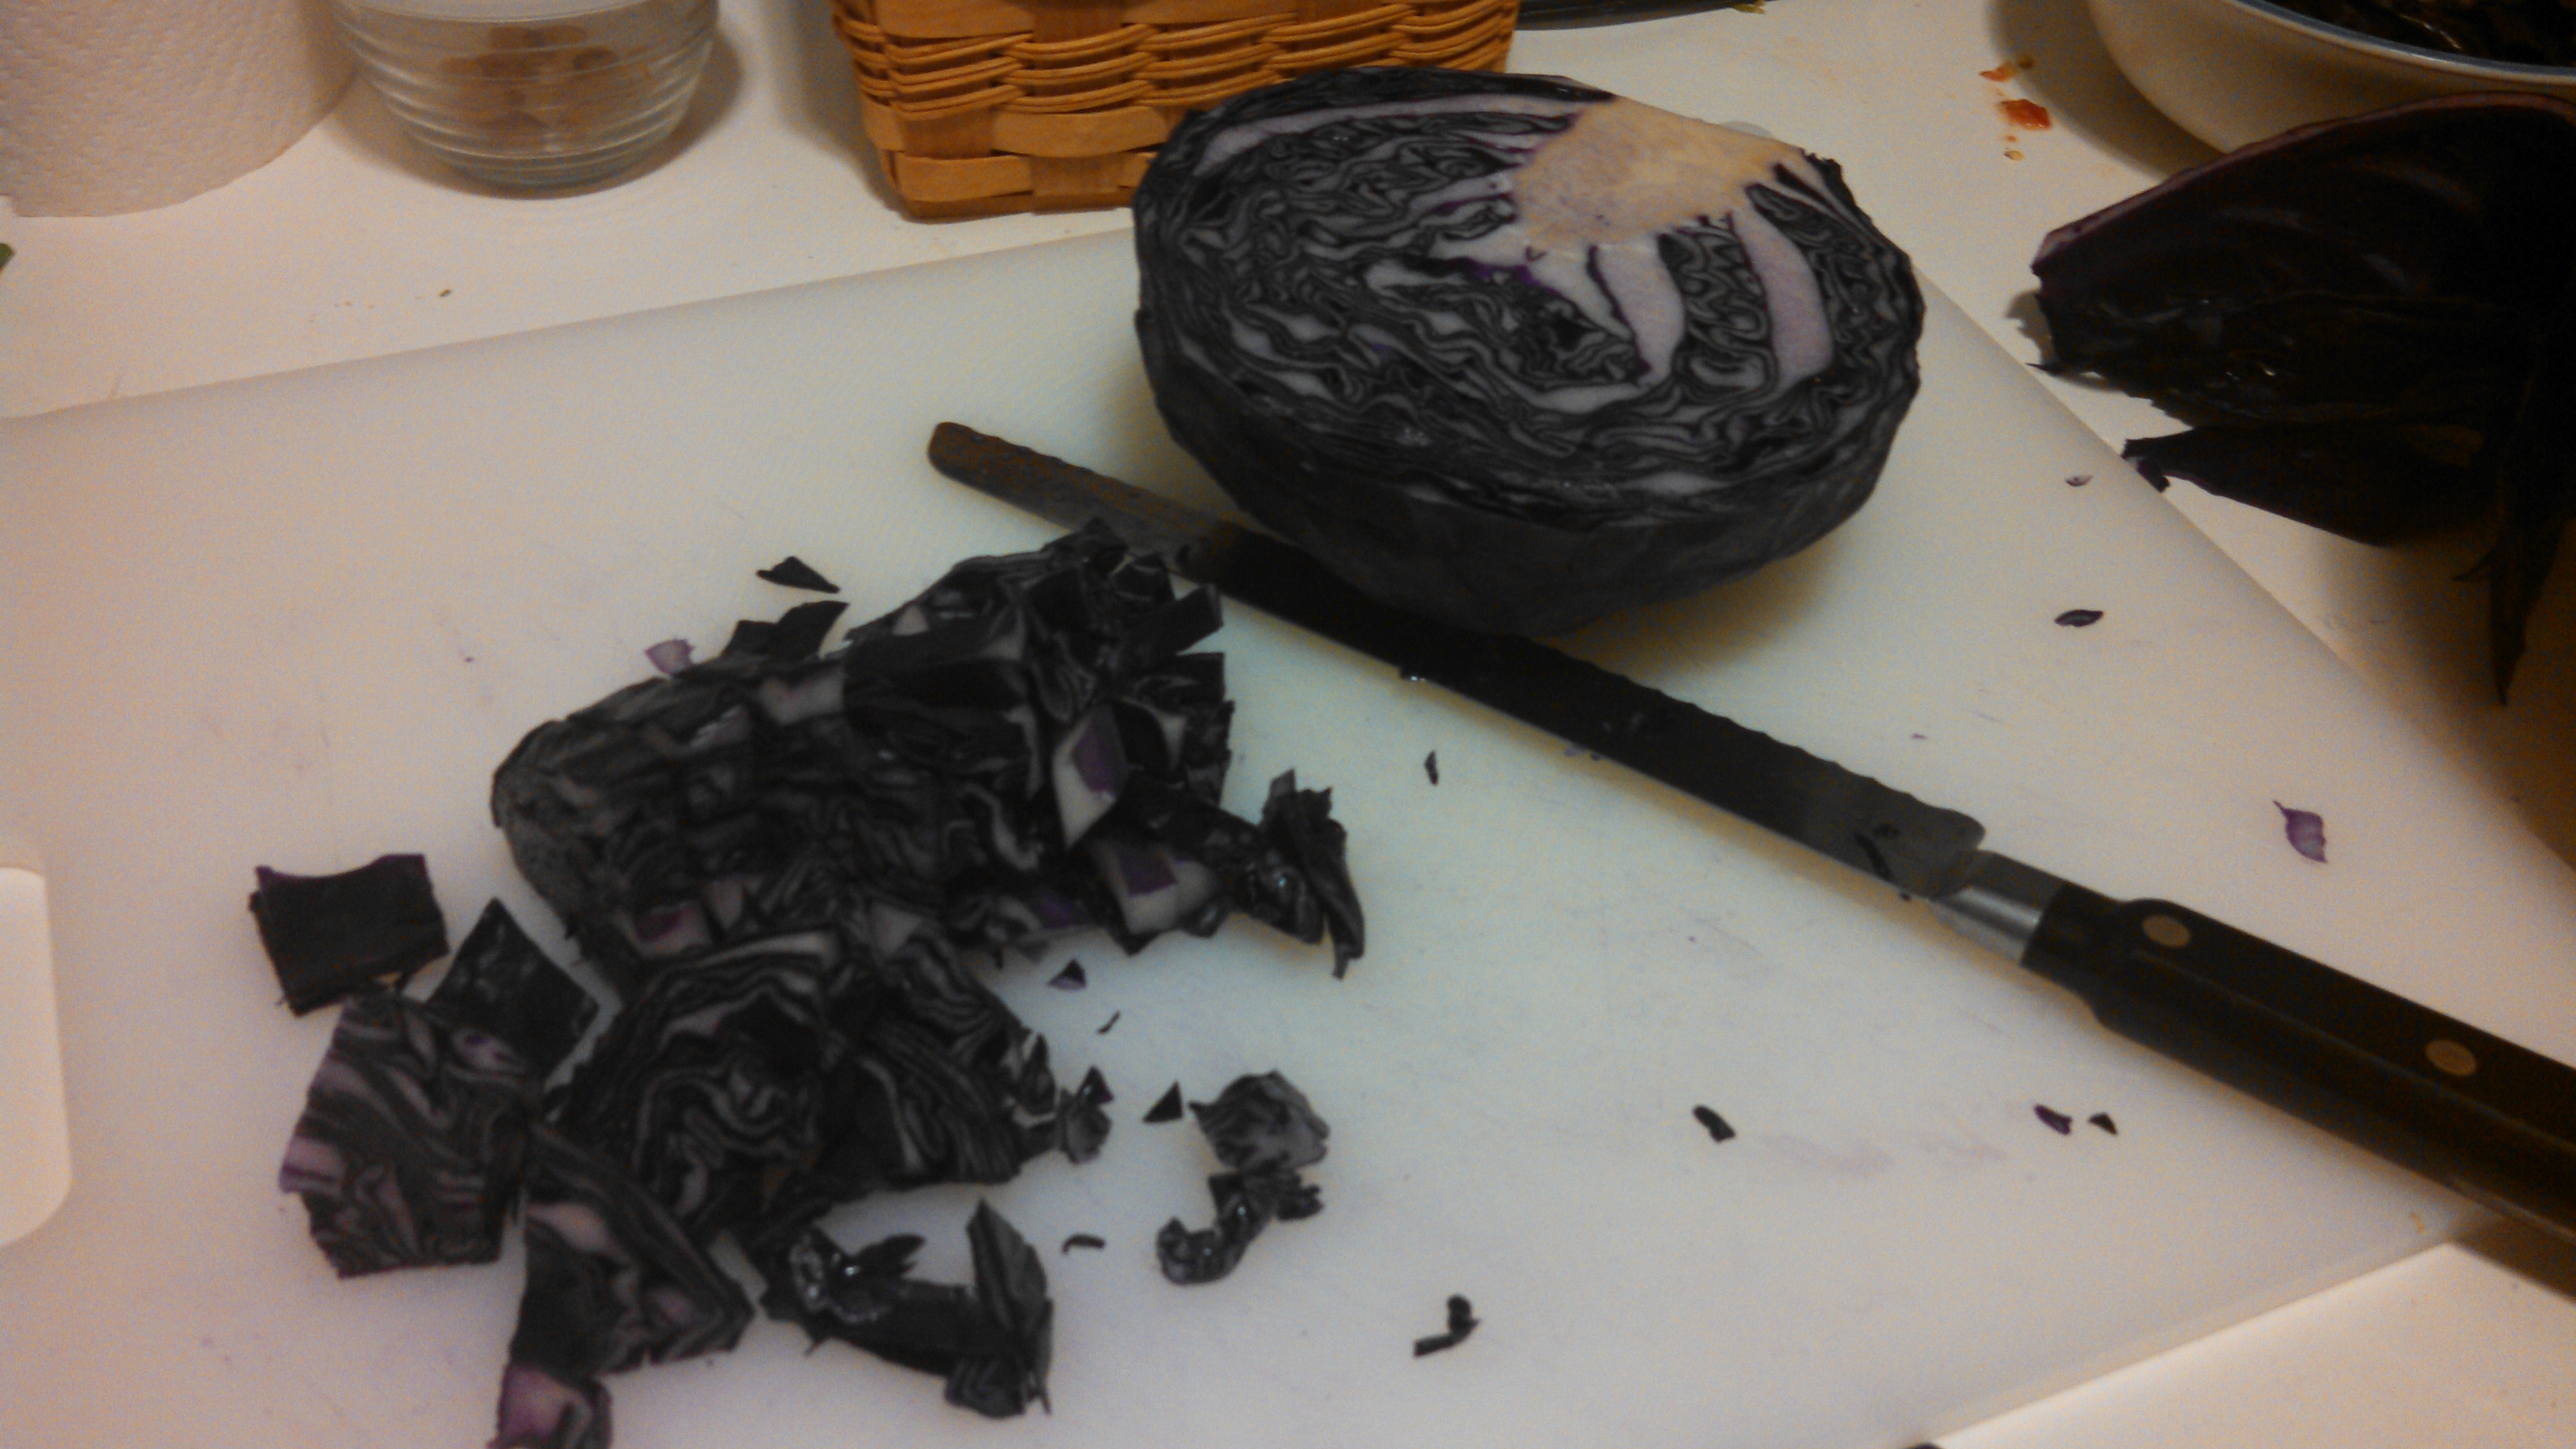
Also my cabbage is weird because it's purple, but this is what we grew in the garden this year. It actually turns out rather nicely, just make sure you have some lemon juice on hand in case your hands or counters get stained.

Sauerkraut is actually easier to make than you think. My mental image of giant tubs of foul smelly cabbage notwithstanding. All you need is a 2 lb cabbage, some salt, and a mason jar.


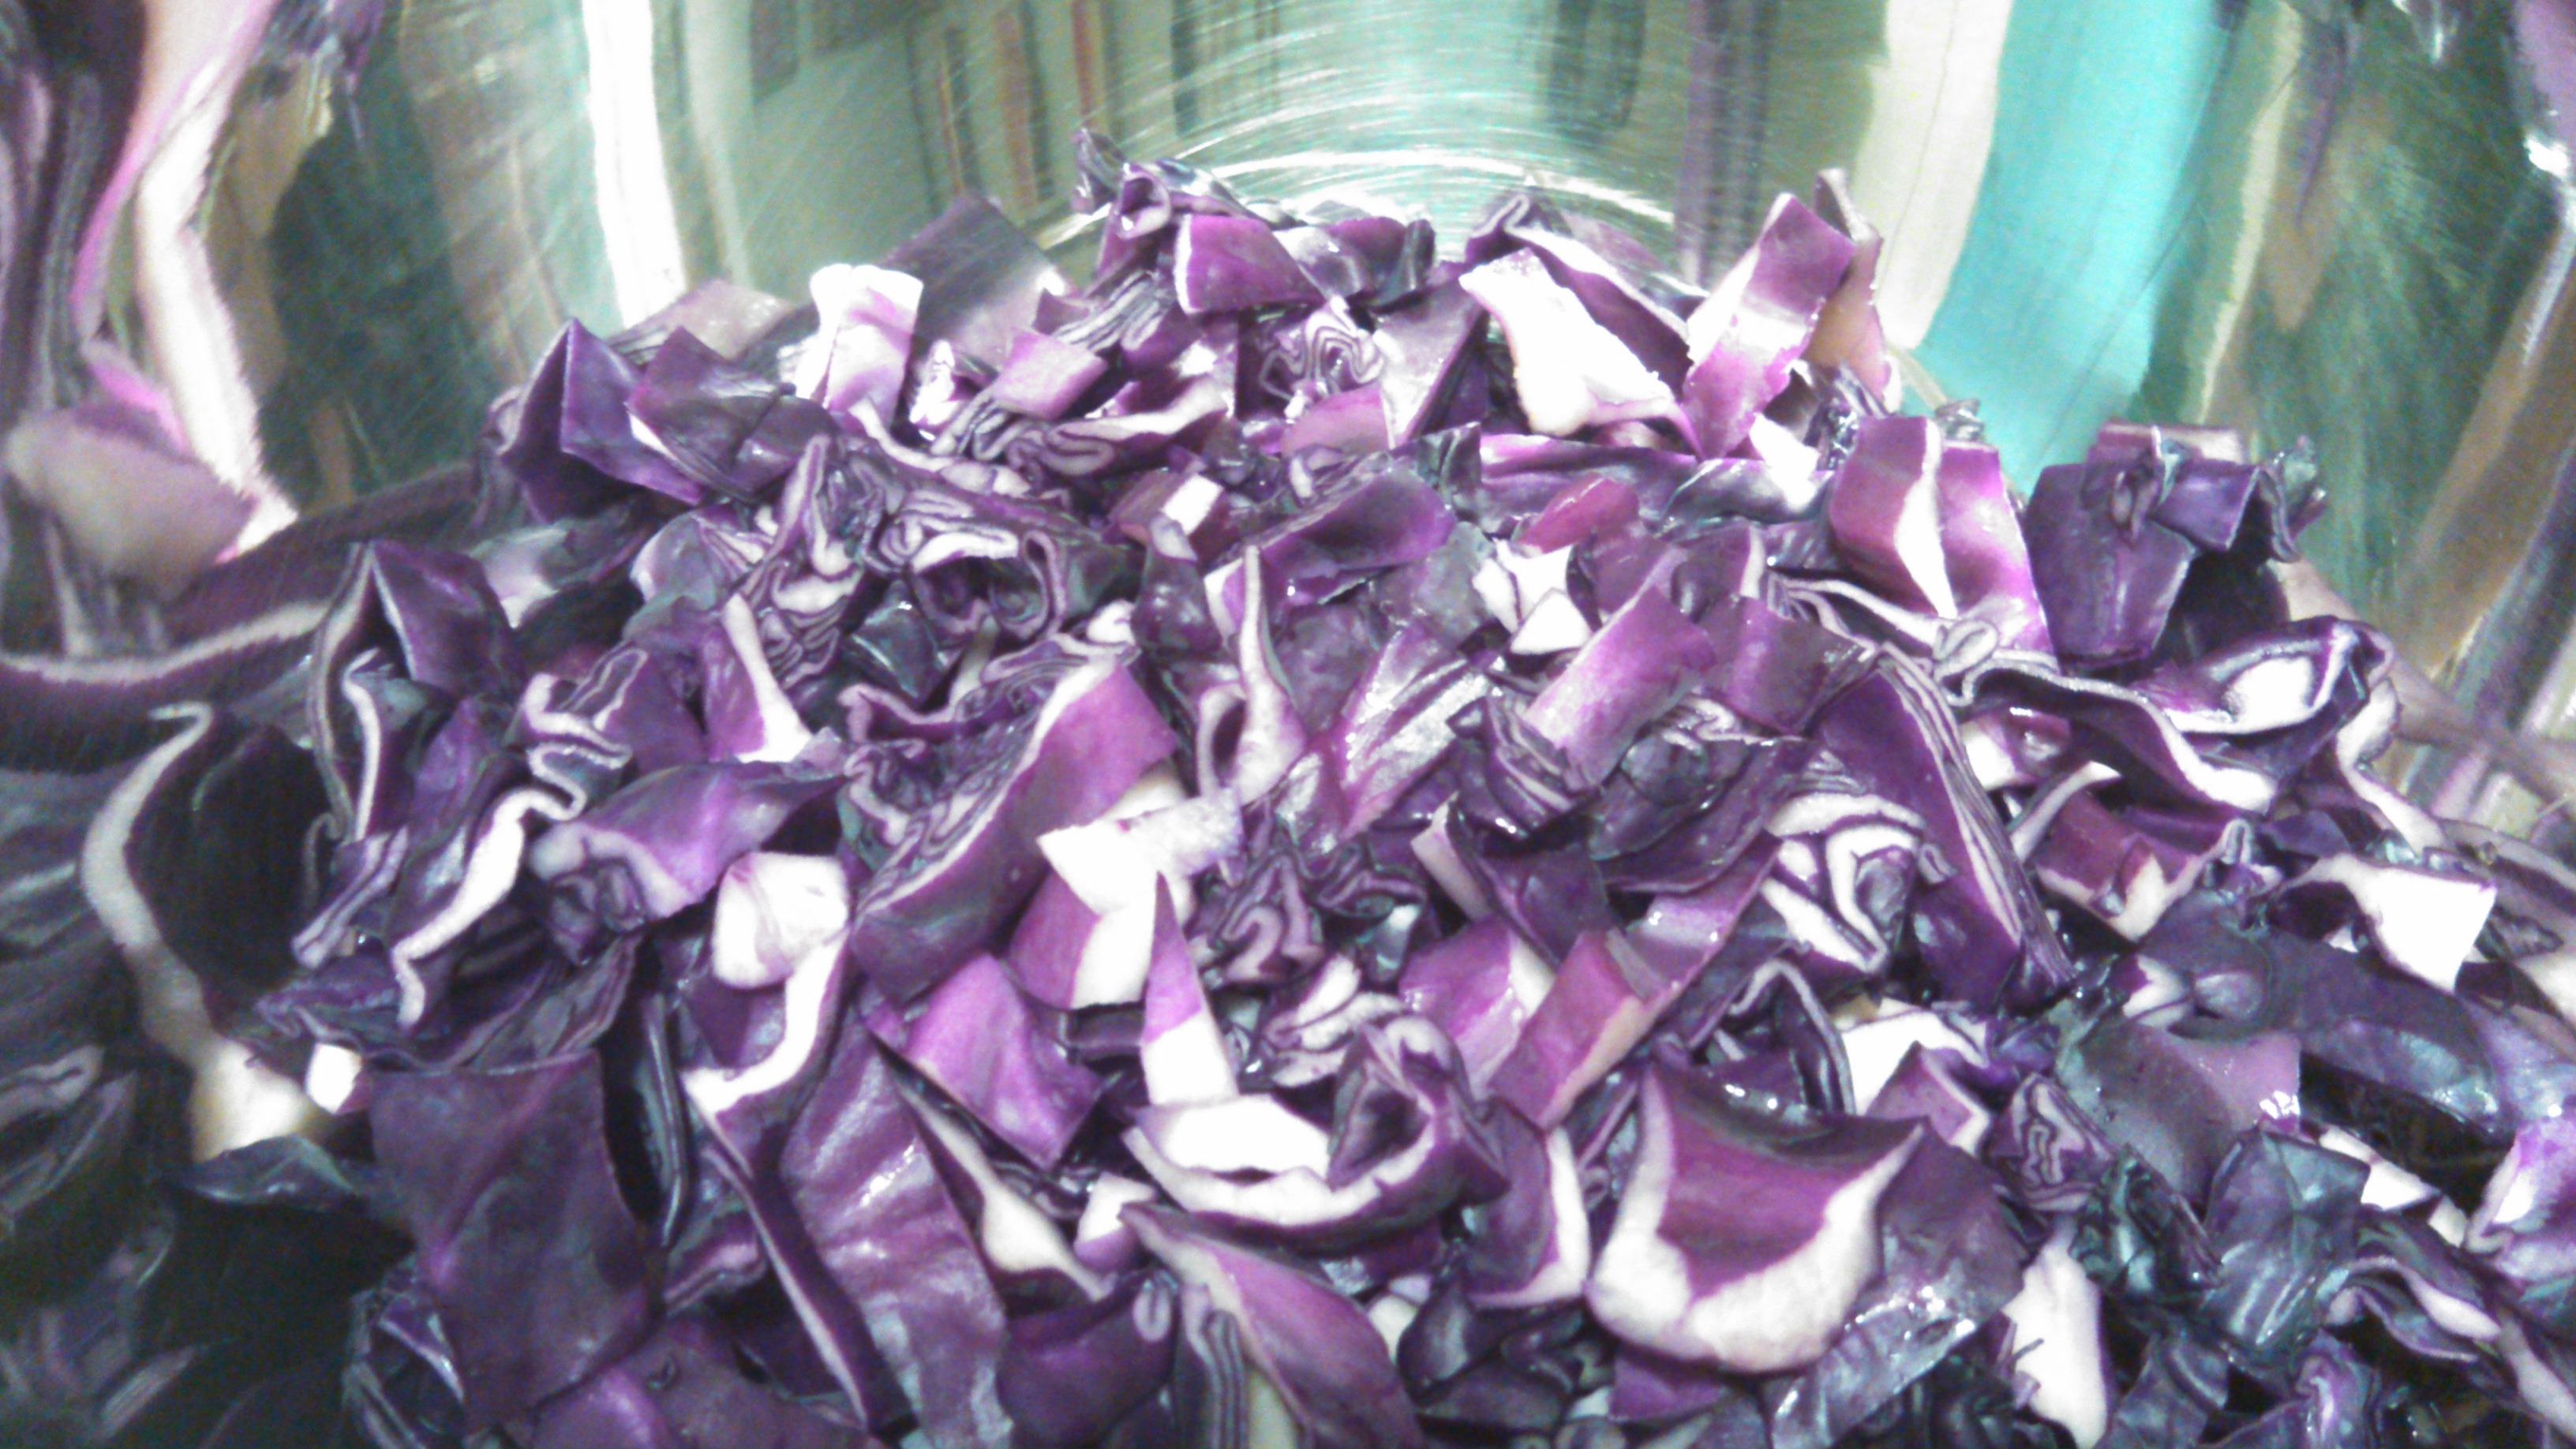
First, roughly chop the cabbage and sprinkle with salt (and whatever else your person recipe calls for. Some I found use caraway seeds). You won't think it's enough salt, but trust me. Massage the cabbage, working the salt in until it starts to break down.


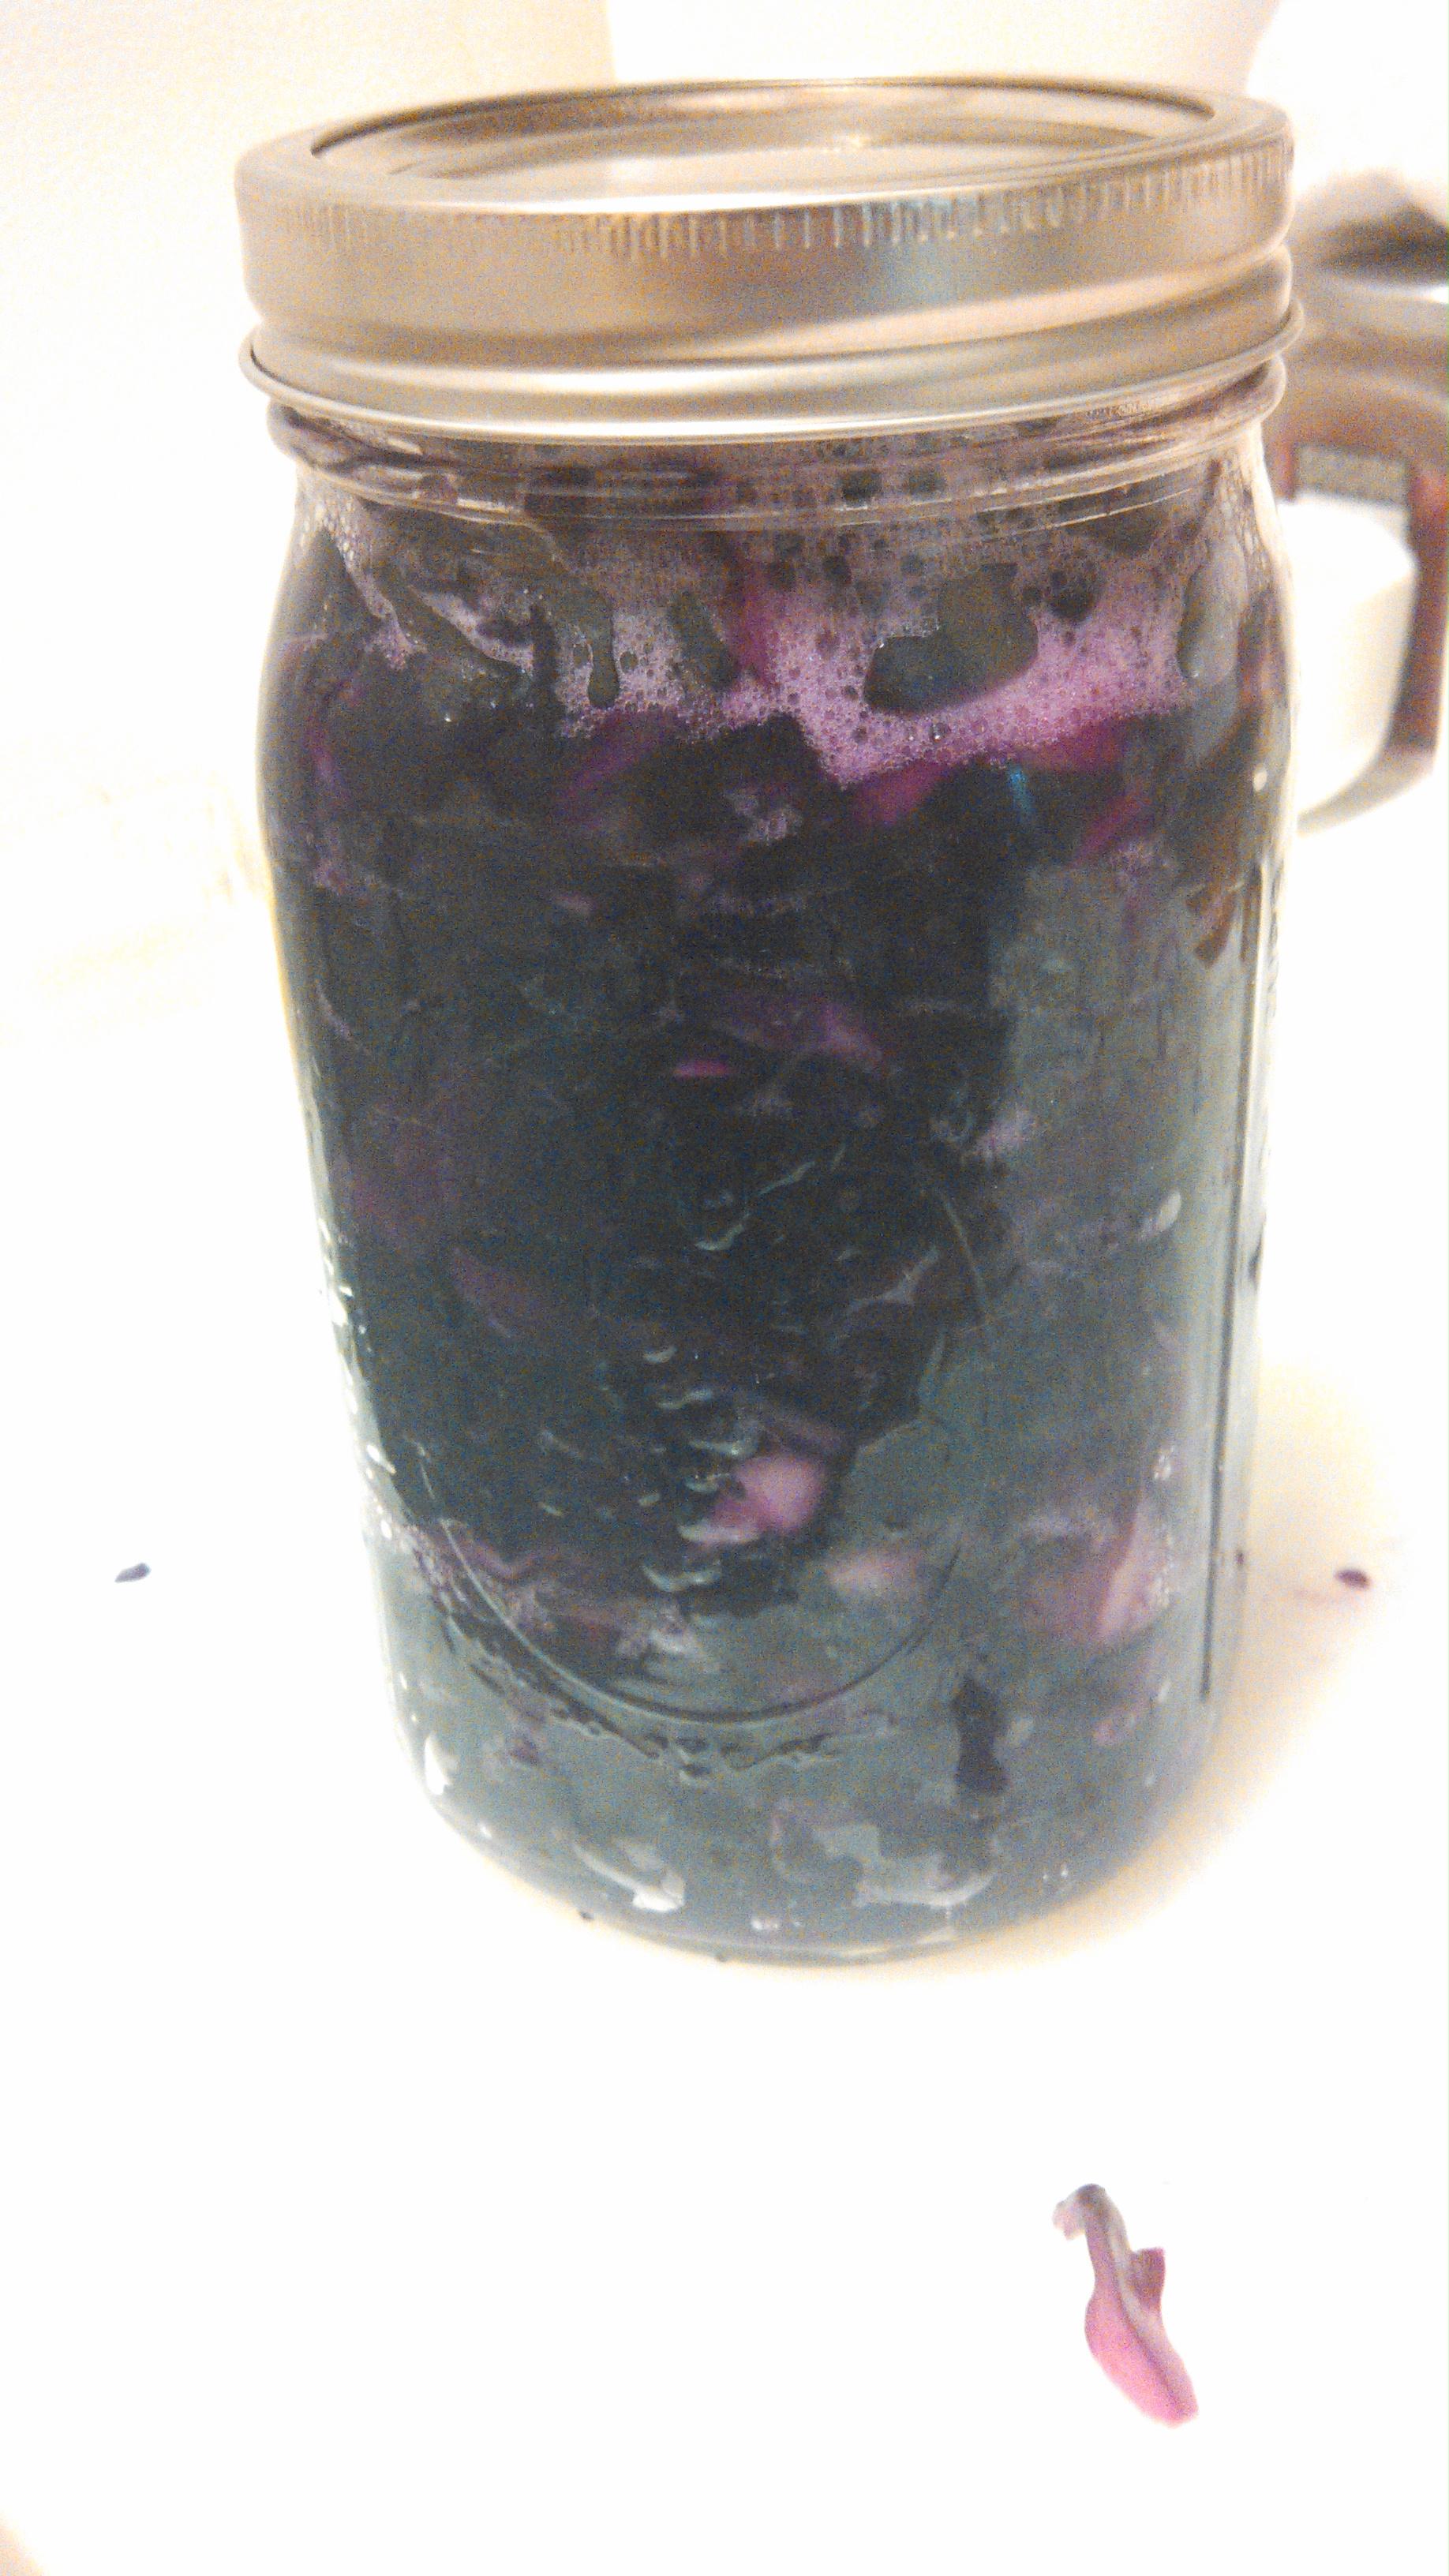
Continue for another two minutes or so, then firmly pack the cabbage into the mason jar (mine made enough for a quart), pouring any leftover liquid over top. For the next 24 hours, pack down the cabbage (I used a half-pint jar as it fit exactly) and keep in a cool, dry place.


Monday, September 8, 2014

Preserving the Bounty: Sweet Sauce [The Cookbook]

A week ago, Madre came to visit and we canned several quarts of sweet sauce (we also did salsa and pickled peppers as well, because we had an absolutely absurd amount of tomatoes from our garden). Sauce has been on my cooking bucket list since, well, pretty much forever. It's...got a legacy in my family. Nonno was well known for his spaghetti sauce (even though I refused to eat it until I was well into my teens - it's a long and terribly odd story that I'll save as fodder for the memoir), and Bisnonna's sweet sauce is a starting point for the majority of her main dishes.

As I am not feeling well; however, I will let the pictures and madre do the talking on this one:


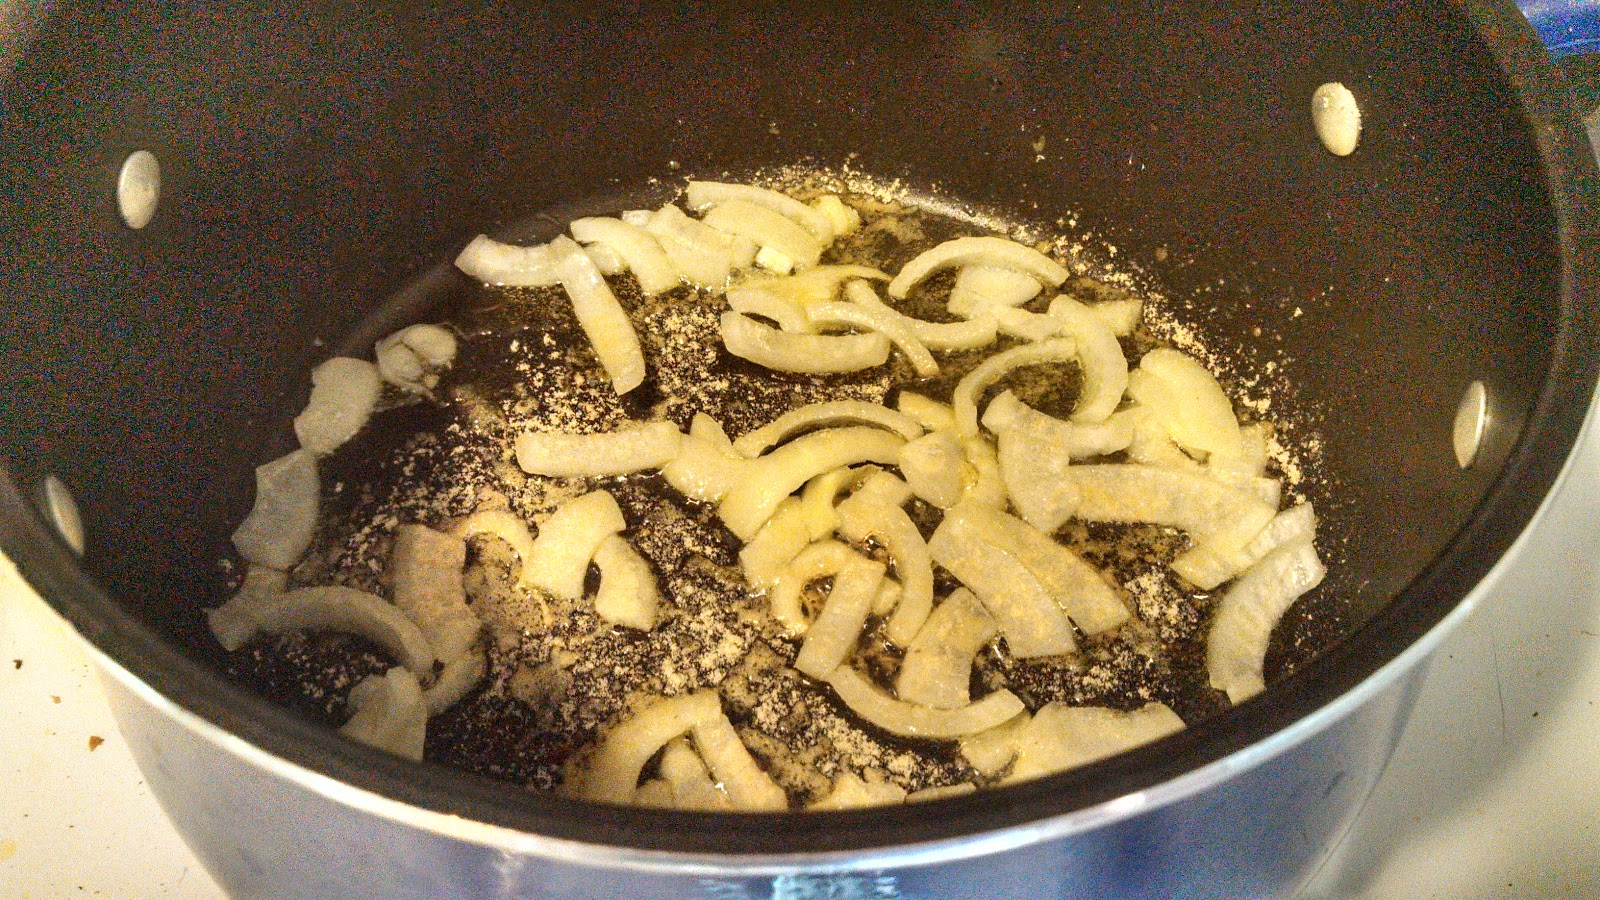
Sweet Sauce: [madre writes] Brown a couple onions in a little oil. Blend your tomatoes in the food processor. This will blend everything. Grandma used to put her tomatoes in really hot water, then peel the skins off and squeeze the juice and seeds out of the tomato. You do whatever method is best for you. Add a pinch of salt, sweet basil, oregano and pepper. Let it cook for a little while. Then add a can or two of paste. Add some sugar to taste. Let this cook a good while so that it thickens up. All the amounts of the ingredients depends on how many tomatoes you are using. Use your own judgment. I like to can mine. Grandma would put hers in the freezer. Here again, do what is best for you. This sauce can be used as a base for vegetable soup, spaghetti sauce, and chili. Have some fun with it.


Monday, August 18, 2014

Pasta and Broccoli [The Cookbook]

I had fun with this one for a variety of reasons.


Number one of which is, I love broccoli. Always have. Probably always will. I was a weird kid in my youth. Any stereotypical vegetable that your average American kid isn't supposed to like, I gobbled down with  joy. My other favorite green vegetable is brussel sprouts. Quite frankly, I can't get enough of either and this year, we tried to grow both in our garden.

Growing broccoli is a bit of a fraught experience though. It has to be picked at exactly the right time or it goes to flower and then is no longer quite as tasty. Then, it has to be eaten fairly soon as the amazing antioxidant qualities that broccoli has degrade quickly after the head has been picked. No fun. No fair.

Luckily, Bisnonna was on hand with a fun recipe to use up the surplus broccoli that we managed to collect. I have no memory of this recipe, but it is simply delicious, and clearly someone does because it managed to gain inclusion in the cookbook. Take my word for it.


Pasta and Broccoli
Via The Cookbook (as told by Zia Sandy)

Bisnonna Writes: Fry an onion and garlic in oil. Chop up your broccoli in small pieces, put it with your onion mixture and 1 c. water and let it cook down until tender. Take 1lb pasta broken in 3 inch pieces, cook in a separate pan, drain and put with the other mixture. Add 1/2 c. spaghetti sauce. Let it cook a little so that the flavors mingle.

Amy adds: Throw in a few dollops of ricotta cheese and mix well. It really adds a nice creamy element.

Monday, August 4, 2014

Tabbouleh: Sicilian Style

There is a fair bit of Middle Eastern influence in Sicilian cuisine. It's most obvious in classics such as cassata, the use of couscous, and a fondness for apricots. This dish, which started as a way to use up an absurd amount of parsley from our garden, plays off those influences.


Sicilian Tabbouleh
inspired by Ina Garten with a lot of random additions by yours truly

[What You Need]
1 cup toasted wheat berries
3 cups water
2 tomatoes
1 cup roughly chopped parsley
1/2 cup roughly chopped mint
1/2 red onion, chopped
1/4 cup crushed pistachio
3 T. olive oil
3 T lemon juice

[What To Do]
  1. Boil wheat berries in 3 cups boiling water for ~1 hour. They should soak up all the water much like rice.
  2. Throw the pistachios in the blender if they're not yet crushed.
  3. Toss all ingredients together in a large bowl.
It's that simple and it's a great dish for summer potlucks!


Monday, July 14, 2014

Preserving the Bounty: Kale and Potato Freezer Soup

As much as I wish it were hot peppers, our garden has been producing at least one vegetable with abundance and consistency: a trendy brassica known as kale. We've been cutting bagfuls of kale every other day it seems with no let up in sight. I enjoy kale and it's very good for you, so I'm not going to complain, but I was starting to run out of ways to prepare it: after several batches of kale chips, plenty of smoothies and stir-fries and salads, we still had several bags languishing. Kale is a terrible thing to waste, so the search began, Is there any way to preserve Kale for future use?


You can only can greens if you have a pressure cooker, so that was out. I was about to attempt freezing the individual greens when I remembered cabbage soup. My traditional m.o. when it comes to cabbage soup is to make a -huge- batch in the fall and freeze as many leftovers as possible. The result is lunches of cabbage soup all winter long. It occurred to me that something equally delicious might be created with kale.


And I was right! We were able to use up quite a bit of kale and preserve it for down the road when the greens parade has ended for our garden...and the soup is quite tasty too.


Kale and Potato Freezer Soup
inspired by Once A Month Meals

[What You Need]
Olive oil
2 cloves garlic
1 onion
5 cups vegetable broth
4 cups chopped red potatoes
1 cup Greek yogurt
1 teaspoon spicy brown mustard
1 tablespoon of oregano
1 cup milk
7 tightly packed cups of shredded kale

[What To Do]
  1. Chop garlic and set it aside to rest.
  2. Heat oil in a large stock pot and add chopped onion. Saute until tender and add garlic.
  3. Add broth, potatoes, mustard, oregano, and yogurt. Bring to a boil and then allow to simmer until potatoes are cooked through.
  4. Carefully blend about half the soup.
  5. Stir in milk and kale. Allow to cook just a little while longer until the kale is slightly wilted.


Tuesday, July 1, 2014

Cream cheese candies [Prozia Margaret]

I was first introduced to these beauties at a cousin's bridal shower. I recall being floored by their delicate appearance and flavor. I also recall being happy to learn of my great aunt Margaret's relatively simply recipe for creating these masterpieces.


Now, I warn you, my recipe may not be 100% exact to her original. This is my attempt to recreate it without calling any relatives. I may have made these very late at night. Additionally, Prozia Margaret's candies were made in beautiful candy molds creating lovely rose shapes, which I did not have on hand. I'm sure you can find similar ones online. These were made very much on a whim and, again, very late at night.


Cream Cheese Candies
via Prozia Margaret

[What you need]
1/4 cup butter
1 8oz block of cream cheese
5 cups powdered sugar
1 1/2 tsp flavoring of your choice (I used peppermint as it was what I had on hand, but I recommend almond or anise for a more authentic touch)
a couple drops food coloring in preferred color.

[What to do]
  1. Melt butter in a saucepan. Add cream cheese and stir until softened and mixed with butter.
  2. Slowly, a cup at a time, mix in powdered sugar until the mixture forms a firm and moldable dough
  3. Add in food coloring and flavor of choice. Or if you wish to do multiple, separate into bowls and do as many different flavor and color combinations as you wish. Mine were "Patriotic Peppermints" for the World Cup as well as upcoming Fourth of July holiday.
  4. Roll into balls. At this point, you can either put them into molds and allow them to set this way or use a fork sugar cookie style if you find yourself sans molds like I did.


Monday, June 23, 2014

Arangini (Rice Balls) [The Cookbook]

I know it's been a while since I've presented a recipe straight from The Cookbook, which was the original purpose for this blog, but I hope to present quite a few of them soon. This week, I challenged myself to a classic bit of Roman street food, and it definitely was a challenge. Not that it was particularly difficult once I figured out how to put it all together, but simply because, unfortunately, many of Bisnonna's recipes are not written as clearly as I would like. Someone are only a list of ingredients. Others...a vague set of steps. It makes following them difficult.

This one falls into the vague set of steps category, but it was actually kind of fun trying to sort it out.

Why can't I ever make anything that looks half as good as it tastes?

Arangini (Rice Balls)
via The Cookbook

Bisnonna Writes: 1# rice, a little salt
cook and cool. Add 1/2 c. of Romano cheese. 4 T. melted oleo. 3 eggs well beaten, a little tomato sauce
Brown 1# hamburg, 1 clove garlic crushed, 1 onion chopped, 1/4 of tomato paste or 4 T. sauce, 1 c. water. cook 20 mins. dip in well beaten egg.
roll in bread crumbs and fry

Amy interprets and makes a few alterations:

[What You Need]
1 cup of cooked rice
1/2 cup of Romano cheese
1 lb hamburger
2 cloves garlic, chopped
1 onion, chopped
tomato paste
1 cup water
Well beaten egg
Italian bread crumbs

[What to do]
  1. Brown hamburger, add garlic and onion to mixture and sauté for a few minutes. Add 1/4 can (about 2 tablespoons) of tomato paste and a cup of water. Cover and simmer about 5 more minutes.
  2. Combine rice and cheese, them add hamburger mixture.
  3. Form balls, dip in well beaten egg and them roll in bread crumbs
  4. At this point you can either fry them for a more authentic street food take or cook them for ~1/2 hour at 350, which is what I did

Monday, June 16, 2014

How Does Your Garden Grow?

Unfortunately, I am again sans recipe this week. Garden work has been dominating a lot of my time. Community garden plots come with a whole host of problems that container gardens just don't seem to have: -lots- of weeds, more pests than I can comprehend, etc, but we're managing them as best we can.

And Just look at all those lovely tomato seedlings to the left!

I'm learning a lot about the work involved in growing the food that we eat. It's something I've always been vaguely aware of, but I still don't think I ever fully thought it all out. I still have a -far- from comprehensive understanding. Our plot is only 25' x 15' after all. Nevertheless, I can definitely say that after painstakingly picking cabbage worms off our cabbages, I am going to really appreciate eating that cabbage. 


Wednesday, June 11, 2014

Soup Bones

One of my favorite Bisnonna stories passed down through the family is the Tale of the Soup Bone. It's not really a complex story, but for some reason it has always stuck with me. Maybe because it was something so outside of my own experience that I didn't really have the means to process it.

In the tale, Bisnonna's madre sends her to the store with ten cents. She is supposed to get a soup bone and pay a little extra to get one with some meat on it.

Of course, this threw me as a child. Even if my madre was making soup from scratch, there still weren't any bones involved. There was stock, and veggies, and maybe some meat, but never bones. Right?

Flash forward several years. One month a delivery of meat arrives from the CSA with a strange additional item.


"What are we supposed to do with that?" My boyfriend asks sounding a little confused and eyeing the trade-in bin.

The story of Bisnonna and her ten-cent mission comes rushing back to me as I read the words "soup bone". "We make soup!" I announce proudly. "Keep it. I'll make a batch of beef stock."

I think he was pretty skeptical, but went with it anyway.

This endeavor did not turn out to be anywhere -near- as simple as I had been imagining it. Stock is a more labor intensive process than I could have ever expected and it involved touching and dealing with a lot of beef fat, which, thanks to my madre, I am very squeamish about. I do not think I will be making beef stock again any time in the near future. I will consider this one of those nice modern conveniences, but at least I now -know- how to create the sort of beef stock my Bisnonna grew up and that's the important part.

To Make It:

  1. Gather a soup bone, some kitchen scraps (I had some onion skins and tops left over from dinner), and various herbs (I used parsley).
  2. Bake the bone for 1 hour. 
  3. Put bone and ingredients in a crockpot and cover with water. 
  4. Cook on low heat for at least 6-8 hours. (One recipe I looked at called for 24 hours in a stock pot on the stove. I suppose this would have been more authentic, but I would be far too afraid to leave a burner on that long.)
  5. As it is cooking, occasionally strain the fat off the top of the liquid.
  6. Strain out liquid using a cheesecloth


Tuesday, May 27, 2014

Rhubarb Curd

I know, I know, back on the rhubarb train. It's funny...I don't think I can recall -ever- eating rhubarb even once in my childhood. Which is odd if you think about where I grew up.Rhubarb is the quintessential country spring fruit? veggie? stalk? (The definition isn't very clear), but here I am...just really discovering it for all it's magical properties. I have to wonder at the reason for this. Did somebody in my family dislike rhubarb? As often as we had strawberry pies (both homemade and bought from the ever illustrious Troyer's) and as often as strawberry is paired with rhubarb, you would think it would have come to visit every once and awhile.


It all started with the glaze, but I've been on a wild rhubarb ride ever since. I think it's that first blush of a new passion. (oh, and around these parts it's going to be another few weeks, at least, until the strawberries come in, so the old couplings are out - but the best advice is from The Kitchn blog: Don't wait for strawberries. It's May and winter was long. It's time to celebrate and enjoy rhubarb now.)


And so I did. I made their recipe for rhubarb curd. It has become the go-to toast topic around the apartment the past few weeks. It really is magical enough to eclipse peanut butter for a little while! So head on over and give the recipe a try. (Note: if I were to do it again I would cut the sugar though, so do as you see fit in that department.)


Monday, May 12, 2014

The First Asparagus of the Season

I knew it was coming. I first knew it on Wednesday when I heard rumblings that soon it would be here. I could scarcely believe it. Were the rumors true? Could it finally be time? Could the wait be over? As luck would have it: it was. Three vendors at the Farmer's Market this weekend had asparagus (and good, ready to eat asparagus, not stringy too early asparagus). It's the vegetable event of the season and I was there!

Okay...now that I've gotten really weird on you, let's talk asparagus. It is one of my absolute favorite vegetables. Not only is it delicious, but it was used as an ancient medicine to fight fatigue. There's probably a reason for this. Asparagus is a rich source of vitamin B6, calcium, magnesium, zinc, beta-carotene, vitamin C, vitamin E, vitamin K, folic acid, iron, phosphorus, potassium, and a ton of others. The list just goes on and on. (Of course, this list also includes the amino acid as asparagine which is important to the breakdown of ammonia in the body, but also responsible for the "side effects" of asparagus)


Now, how does one get all these benefits? Countless ways! There's asparagus soup, asparagus risotto, asparagus pizza, but honestly? The best way is the simplest way. Asparagus is great. There's no need to dress it up.


It's so simple, just toss the asparagus with a little minced garlic and olive oil and toss it in the oven for about 15 minutes (or on the grill for a little less than that). Serve with spaghetti and a dash of Parmesan cheese and bread crumbs. Trust me: it's heavenly.

Monday, May 5, 2014

Leek and Fennel Soup

Coming home to 50 degree Michigan from 80 degree Puerto Rico was a bit of a shock to my system. Not going to lie. 50 probably would have felt like a tropical heat wave just a month ago, but to me, this weekend, it feels like it does in September: soup weather. I suppose that's not a bad thing. It gives me a chance to display a spring vegetable soup! (And don't worry, I'll be waxing rhapsodic on the amazing cuisine of Puerto Rico soon enough.)

This soup is also, unfortunately, another in the "it doesn't look pretty, but I promise it tastes good" vein.

Well, it looks pretty before you blend it, at least.

Leek and Fennel Soup
(Inspired by these two recipes from Food52)

[What You Need]
2 leeks
1 bulb of fennel
Olive Oil
5 cups vegetable broth
1 cup buttermilk
Several big handfuls of fresh parsley
Parmesan cheese
Black pepper

[What to do]
  1. Chop up fennel, leeks, and parsley. Set the parsley aside and saute the leeks and fennel in the olive oil.
  2. Add stock and buttermilk. Bring to a slow boil, then reduce heat and simmer for 20 minutes.
  3. CAREFULLY blend the soup until creamy.
  4. Serve with a spoonful or two of Parmesan cheese and black pepper


Thursday, April 24, 2014

Rhubarb Glaze (great for chicken or fish)

[Apologies for the delay, all. I've been working very hard to get the next book in the Season of the Witch series ready to go to my editor.]

I consider this recipe a very significant achievement. My boyfriend is far from a foodie. He's just not the type of person who gets really excited about food. High prize from him is "it was good." That's why I was so impressed by this concoction, because my boyfriend could not stop effusing about how good it was. Since making it, whenever I mention rhubarb, he immediately says "I could go for that fish thing again." I feel I have done my job well.

However, it might be controversial among my family members as it includes an ingredient that I love, but no one else seems to like. Feel free to leave it out if it's not your taste. You'll know which one it is.


Plus it's rhubarb. One of the first foods of the spring season. My dishes are starting to look colorful and inspired again.

Rhubarb Glaze
inspired by Epicurious.com

[What You Need] -(for a recipe to serve two with some leftovers)
Olive Oil
1/2 red onion
4-5 stalks of rhubarb 
1 T lemon juice
1/4 cup butter
3/4 cup sugar
4 T anise seeds
4 cups broth of choice (depending on what you're serving it with. I used mostly water and a T of chicken base)

[What To Do]

  1. Heat Olive Oil. Add chopped onion and sautee until tender. Then add chopped rhubarb. 
  2. Melt butter in saucepan. Add sugar and anise seeds. Heat until the sugar dissolves.
  3. Add contents of saucepan and broth to rhubarb, always to simmer for ~1 hour until mixture has reduced by about 1/2
  4. Serve over meat of choice. In our case we used white fish.
It may not look pretty, but is sure does taste good.


Monday, April 7, 2014

Roman Braised Artichokes

The last recipe I posted was a Sicilian artichoke recipe, so this week we're going to explore an artichoke recipe from another part of Italy.

This process was a little different, and it burned my fingers less. Though I have admit, as much as I enjoyed this recipe, I still preferred Bisnonna's. Guess that means I'm more of a Sicilian girl deep down. Sorry, Bisnonno.


Roman Braised Artichokes
inspired by Simply Recipes.

This recipe, instead of steaming then baking the artichokes, calls for soaking, then streaming in a sauce (which basically consists of onions, parsley, mint, and wine) for a longer period of time. I pretty much followed their recipe exactly (believe it or not, I do that from time to time), so it wouldn't be right to copy it out again, but head on over and give it a try. I'd love to hear your thought comparing the recipes from the two different regions. 


Tuesday, April 1, 2014

March and the struggle of an empty larder (with a garden to come)

It's April now, officially. But March, as a month, is a rough one for cooking. I was thinking about how uninspired most of my cooking was over the past month coupled with a very bare farmer's market and I began to think a lot about food and surviving a hard winter before it was possible for a person like me to go to the grocery store and pick up bananas.

It's so much harder imagining that sort of life than I like to admit.

I try so hard to eat seasonally. Strawberries are only allowed on my table in early summer. That's why we shop at the farmer's market whenever we can and are working on planting our own garden. For the first time ever, I get to work my own plot of land! No more five pots of sweet peppers hidden on the balcony. It's exciting: starting seedlings, waiting for ground to thaw (another reason I can't imagine having to rely on this garden for my food. This has been a particularly bad winter. We're just seen the ground for the first time since January about a week ago.). Really, the planning has gotten me through this truly uninspired month.

Gardening means a lot to me. 

I can remember my parent's garden and the year they accidentally crossbred strawberries and habanero peppers, creating a very interesting experience. I also remember my nonno's garden in the backyard: mostly made up of fragrant tomatoes for his famous sauce. Incidentally, we a planting a large number of fragrant tomatoes in our own plot this year. I hope to replicate that sauce someday. To make up for all of the terrible years I refused to eat it as a child.

Gardening's in my blood as much as anything.

Mi bisnonna in -her- own garden

Monday, March 10, 2014

Sicilian Stuffed Artichokes

When we came across some artichokes at the market, I was suddenly struck with a memory.


I said, "I'm going to make something really good, I just...have to remember how to make it."

And I tried. I checked the cookbook and was shocked by the lack of recipe (I'm still tagging this with "The Cookbook" because as far as I'm concerned it should be in there). I scoured the internet. I called my madre. All were a little stumped on one detail or another. But eventually we worked out something that I think was just right or close enough. It brought back a slew of memories and was just as divine as I had hoped.


Sicilian Stuffed Artichokes
inspired by a memory of something Bisnonna used to make

[What You Need]
Artichokes
Italian Breadcrumbs
Ground red pepper flakes
Parsley
Oregano
Grated Parmesan cheese
Mozzarella cheese
Tomato sauce
1 egg

[What To Do]
  1. Pre-heat oven to 350 degrees F. Grease a baking dish.
  2. Steam artichokes briefly using your preferred method. (I cheat and use the microwave method which involves placing the artichokes in a shallow dish of water in the microwave for about five minutes). The artichokes should be tender enough to pull the leaves apart gently.
  3. Mix stuffing: breadcrumbs, spices, parmesan cheese, and egg
  4. Taking a deep breath and guarding against burning your hands, slowly pry the leaves apart and put stuffing inside. This step has me convinced that Bisnonna could not feel pain from heat (the story of the cannoli molds and no means of removing the shells from them after frying will be related at a later date). Place artichokes in baking dish as you do this.
  5. Cover artichokes in tomato sauce to taste. In my memories, Bisnonna flooded them with sauce and sopped it up using bread. I didn't use quite that much and some of my outer leaves were a little dry, so take that as you will.
  6. Sprinkle some mozzarella on top.
  7. Bake for about 45 minutes to an hour.


Monday, March 3, 2014

Paczki Day!

"I'm going to make pączki."
"What's that?"
"They're...like...jelly doughnuts, but...a million times better."


I know a lot of this blog is mostly dedicated to my Sicilian heritage, but there's a lot of Polish going on in my background too, and I am just as proud of, if not nearly as knowledgeable about, it. Pączki (plural of  pączek, fyi) are a Polish doughnut of sorts, a deep fried treat for Tłusty Czwartek (Fat Tuesday), and one of my favorite things in the world. I seek them out annually. I make sure that I get one of these babies every year on Pączki Day. This year, I decided to make my own.

They are -fattening-, not even slightly healthy. However, as far as I'm concerned, that's okay. Pączki are not meant to be eaten every day. They are meant to be a moment of joy before 40 long days of fasting and contemplation. Sometimes you need a little dose of joy.

I warn you, this is an endeavor. It takes all day. But it's worth it. It's so worth it.

Whether you're celebrating Fat Tuesday tomorrow or you're just looking for a delicious treat, this recipe is just the thing you need.


Pączki 
inspired by traditional recipes in the Polish American Journal and this one from Serious Eats

[What You Need]
2 cups whole milk (full fat)
4 1/2 tsp instant yeast
1/2 cup + 1 T. sugar
4 cups all purpose flour
1 cup rye flour (optional - if you want you can just use 5 cups of all purpose)
4 eggs yolks
1 whole egg
1 tsp salt
1 tsp vanilla extract
1/4 cup unsalted butter
1 oz. rum
1 tsp honey
Oil for frying (I used canola because it was what I had on hand, but anything with a high smoke point should work)
Filling of choice (optional)

1 cup powdered sugar for dusting (optional)
orange rind (optional)

[What to do]
1. Melt butter and set aside to cool.
2. Heat milk to ~115 degrees F.
3. Stir in yeast and give them a tablespoon of sugar to eat. When you see the yeast is active, stir in 2 cups of flour, cover with a moist dishcloth and set aside for 30 minutes. (Essentially, you are creating a starter here)
4. Whisk the eggs together with the rest of the sugar, honey, vanilla, and salt.
5. Add melted butter and egg mixture to starter, combine slowly and stir only as much as needed to combine the ingredients.
6. Finally, slowly add the rest of the flour. It will form a very sticky, but soft, smooth dough. Cover and set aside to rise for 1 1/2 hours.
7. On a floured surface, knead the rum into the dough (the alcohol content keeps the oil from absorbing too deeply into the dough while frying), then roll it out until ~1 in thick.
8. Cut out circles of dough. For me, this recipe made about 30 circles, but if you roll it out thinner, it may make more. Set the circles aside to rise for an 1 1/2 hours.
9. Heat oil for frying: I keep a small amount of dough to test for this.
10. Fry the circles (which will have risen to twice their size) and let them cool.
11. (optional): using a pastry filling pipe, fill with your choice of filling (traditional fillings [filling is controversial, though] include rose custard, plum, etc. I used raspberry for 1/2 and did not fill the rest.)
12. (optional): fill a shallow bowl with powdered sugar and/or orange zest and roll pączki in it to cover them. (I used sugar for unfilled and zest for raspberry to distinguish the two types.)

So there you have it. My most complex recipe to date. Enjoy! Happy Mardi Gras!